- What you need
- Start Activity
- Configure Dossier
- Place Signature
- End Activity
 Guide to Create Dossier Function on GoSign (Web)
What you need
- Link to GoSign Portal;
- User ID and Password to the portal.
If you need to sign documents included in GoSign dossier creator, check the "what I need" section of Sign & Send Function on GoSign (Web) Guide.
Start Activity
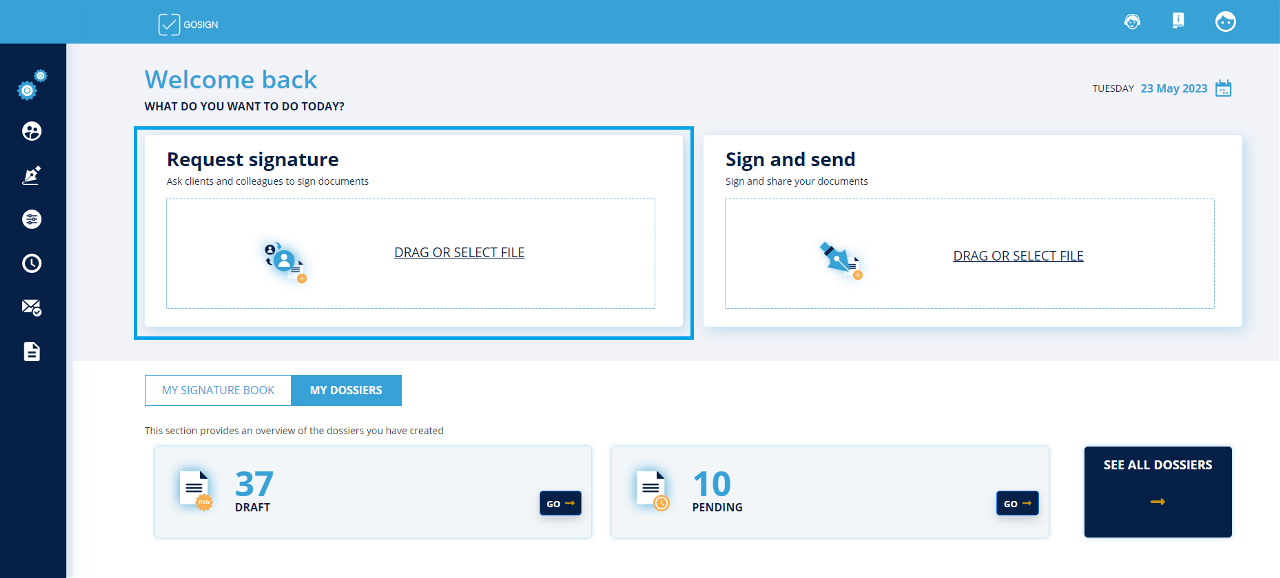
The Request Signature function lets you send documents to multiple recipients to ask them to sign the documents in the dossier.
After you login in GoSign, you can use the request signature button. The Request Signature button is also available in My signature and My Dossier sections.
Configure Dossier
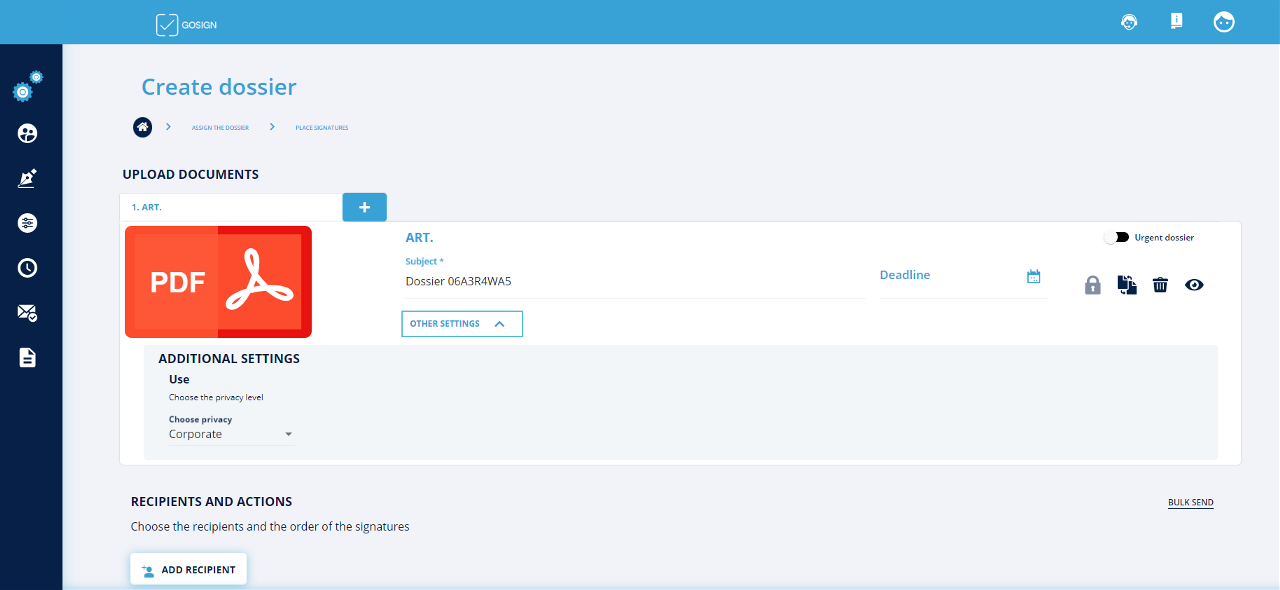
Uploading documents
To upload a document, click on the Home page.
One advantage of GoSign Web is that you can upload any type of file (.pdf, .doc, .xls, .jpg), including documents in .p7m format.
However, depending on the type of document, not all types of signature will necessarily be possible. You can also upload several documents at the same time.
Additional settings
Once the document(s) have been uploaded, you can view some dossier management settings:
-
a dossier number is automatically generated by default;
-
the deadline (by which the dossier must be completed - click on the calendar icon to set the date);
-
the Trash icon to delete the document (you will first be asked to confirm that you want to delete it);
-
the Eye icon to display the uploaded document.
You can also assign the dossier a priority level: just switch on Urgent dossier.
Click on OTHER SETTINGS to modify some of the dossier’s parameters:
- Privacy Level: you can set the privacy level as PUBLIC (so the document can also be seen outside the company) or CORPORATE (the dossier is for internal use).
Selecting recipients
Click on the recipients email address line to add them to the email that will contain the dossier. The address book pop-up window will automatically be opened so that you can choose the recipients with a click. To delete a recipient, click on the X next to the email address.
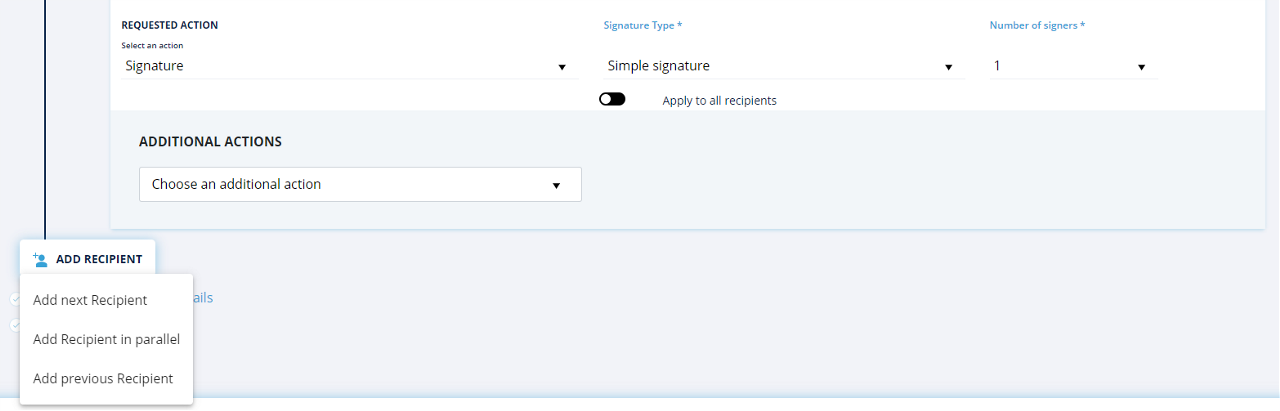
The recipient will be told what you want them to do on the dossier (in this case, Sign), the Type of Signature and how many signatures to be attached.
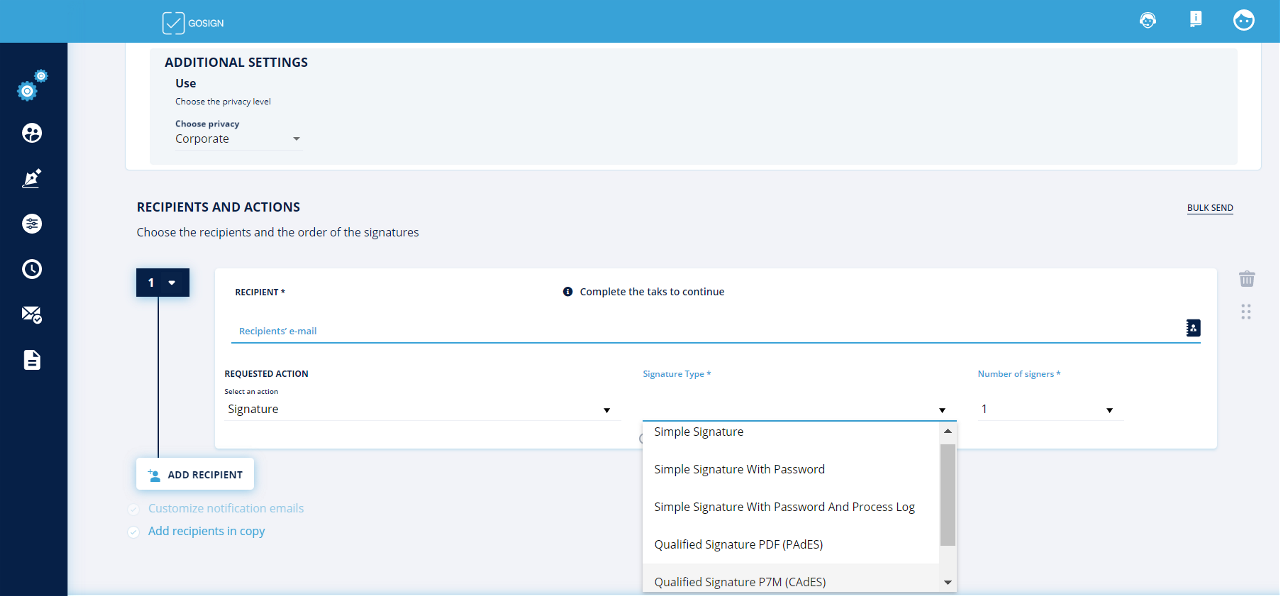
Additional actions for recipients
For each recipient, you can also define additional actions that must be taken by the signatory to complete the dossier. The additional actions that are currently available are:
- Request attachments: lets you ask the signatory to attach documents to the dossier.
Click on ADD RECIPIENT to add another recipient and decide when they have to sign the dossier:
-
Add next recipient. This recipient will receive the file only after the first recipient has signed the document.
-
Add recipient in parallel. This recipient will receive the dossier at the same time as the first recipient and the order in which the file is signed does not matter.
-
Add previous recipient. This recipient will receive the dossier before the previously configured recipient.
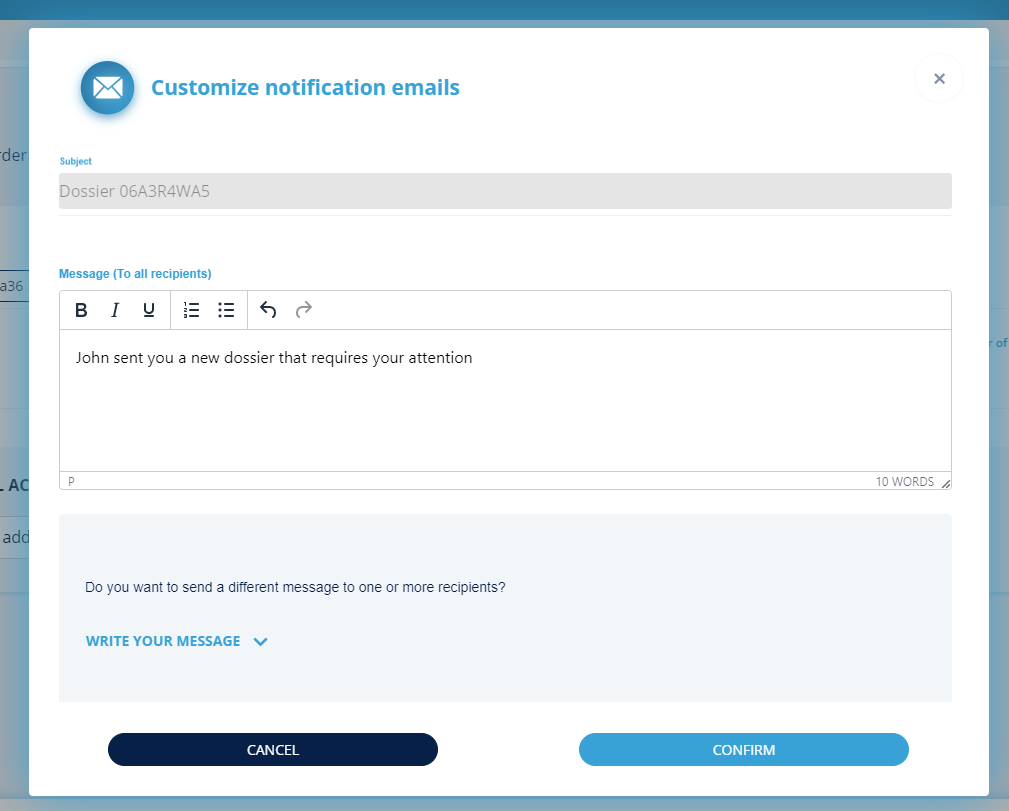
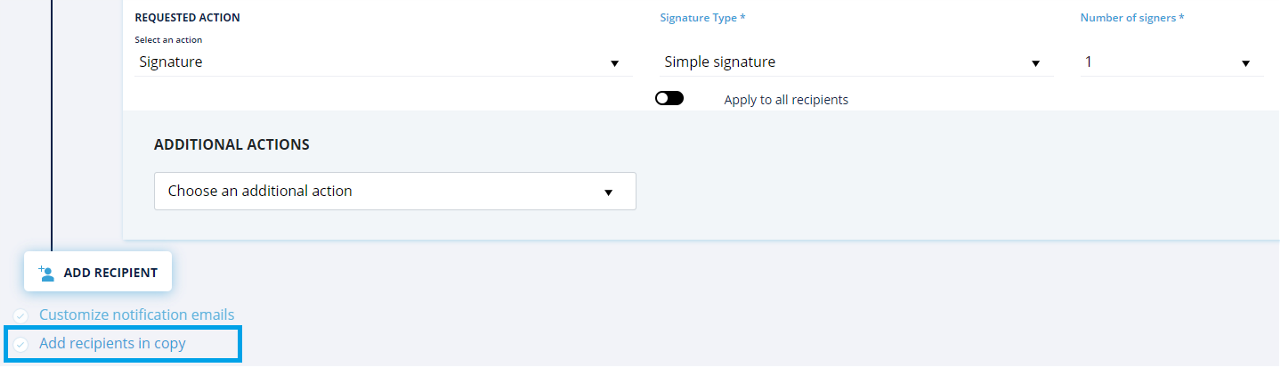
Check Customize notification email to open a pop-up window where you can modify the text of the email that the selected recipients will receive.
You can also add recipients via Add recipients in Copy. The recipients chosen will receive a copy of the email but will not be required to sign the document.
Place Signature
Document navigation
A preview of the document is displayed on the right side of the screen. There are some possible actions you can take on it.
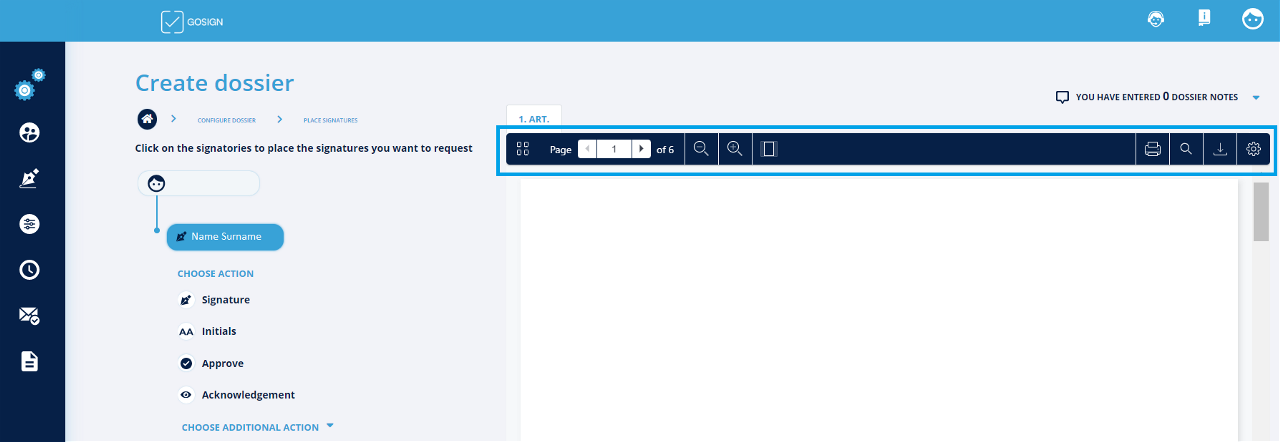
To zoom in and out of the document, click on the Magnifying Glass with the +and - icons. Click on the Printer icon to print the document. Click on the Empty Magnifying Glass icon to search in the document.
Click on the first icon on the left to change the way the preview is displayed.
If there are several documents, click on the tab containing the name of the document you want to see to switch between them.
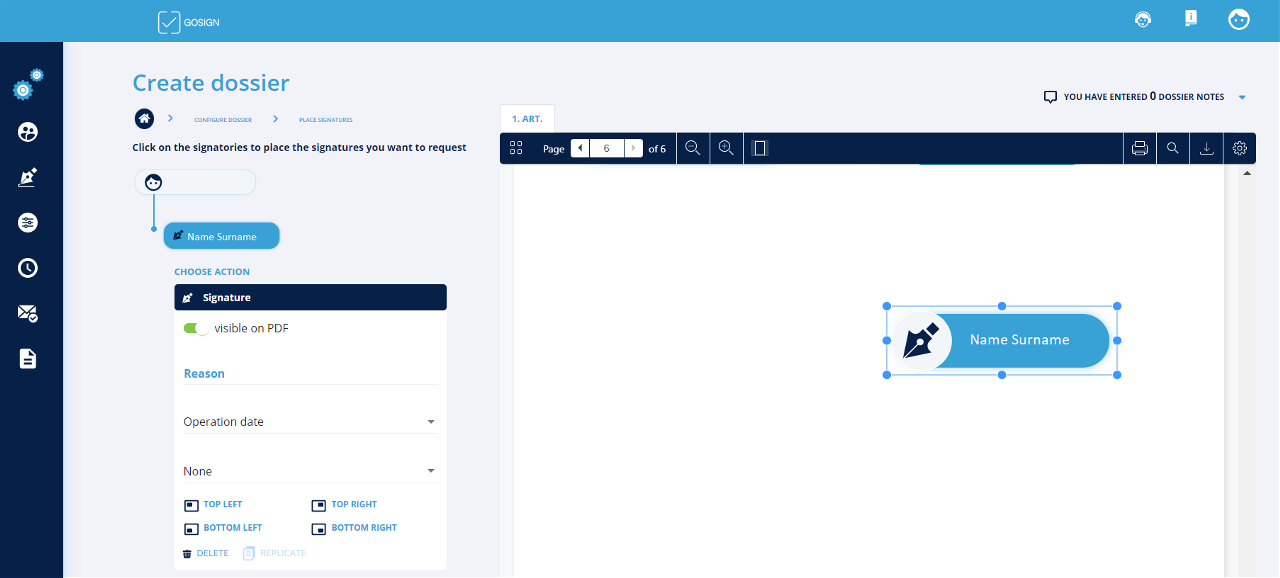
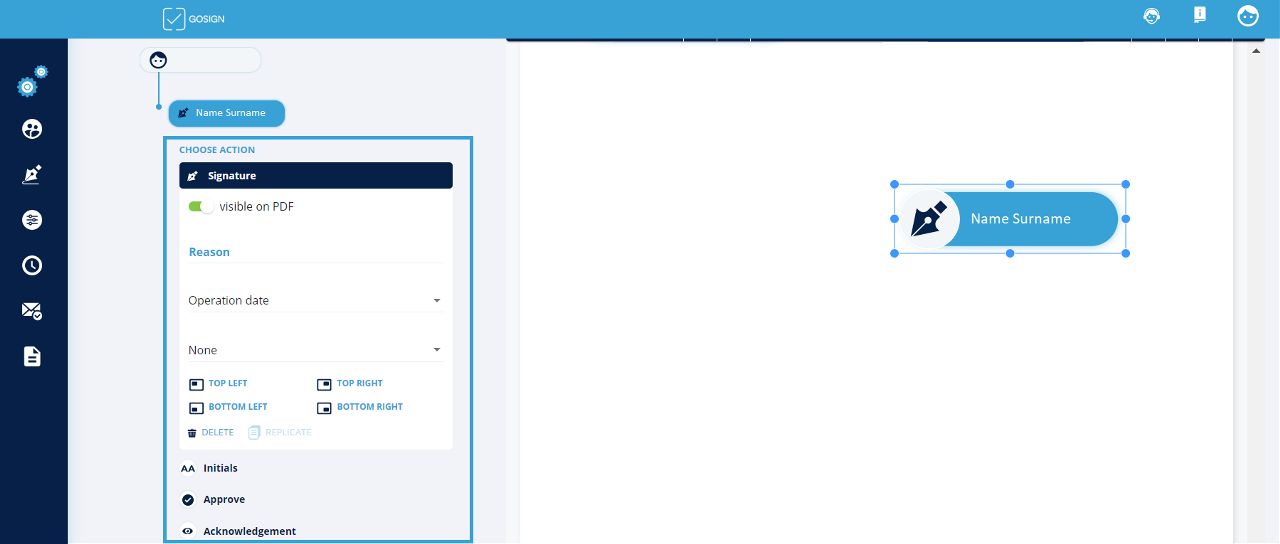
Selecting actions
Several action options are displayed to the left of the document preview:
-
Sign: When you click on the document preview, an icon is placed on it. You can also decide whether you want the signature to be visible on the document.
-
Initials: When you click on the document preview, an icon is placed on it
-
Approve: When you click on the document preview, an icon is placed on it.
-
Acknowledgement: when you click on the document preview, an icon is placed on it.
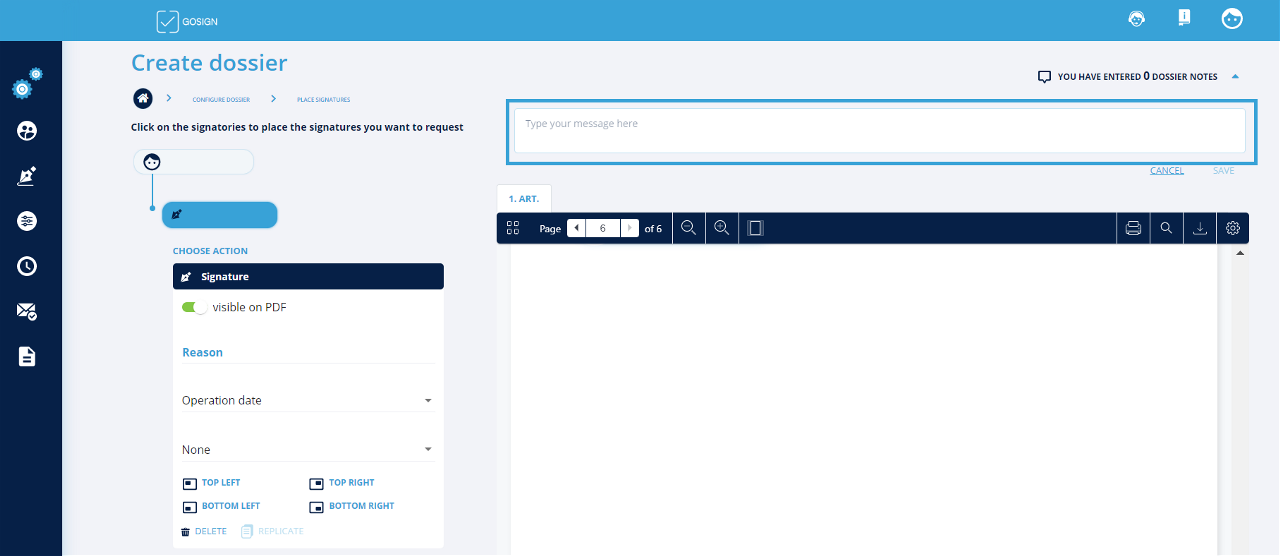
Additional information
You can also add notes to the dossier. To add a note, click on YOU HAVE ENTERED 0 DOSSIER NOTES to open a text box.
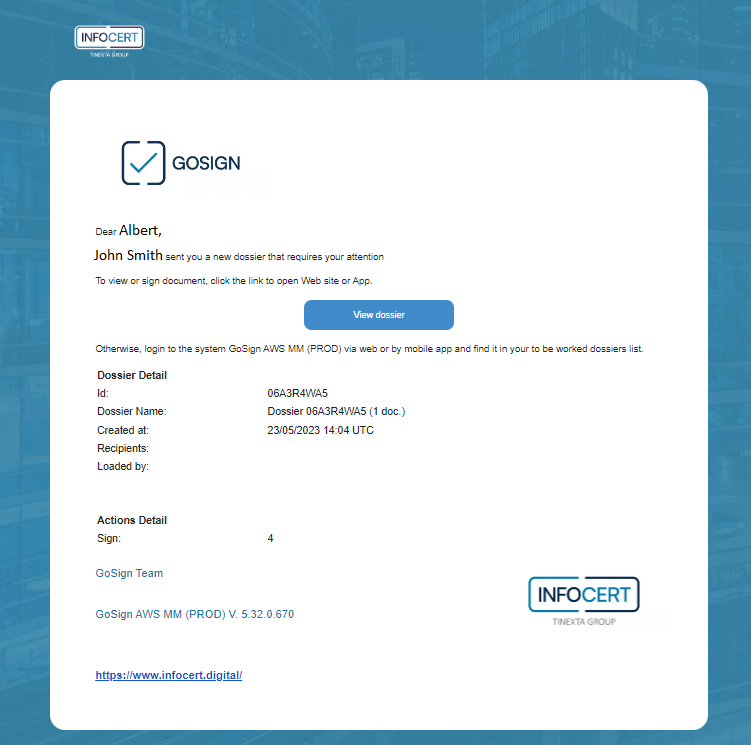
Once you have completed all the steps to configure the dossier, click on NEXT to send the recipients an email inviting them to sign the dossier with a link.
When they click on Go to Signature, a GoSign Web page will be opened where they will be asked to click on the SIGNATURE button to confirm their signature. If they do not confirm, they click on the REJECT button.
End activity
In the section My practices, section Completed, in the homepage you will find the file processed when the documents have been processed by all the recipients.
To logout, simply click on the Logout command available in your personal menu.
