 Guide to Registering a New ESEAL Account on GoSign Desktop
With the 2.1.9 update, the user in possession of an ESEAL certificate already configured in GoSign Desktop will necessarily have to log in again using the user and password credentials of the relevant account, valid for access to MySign.
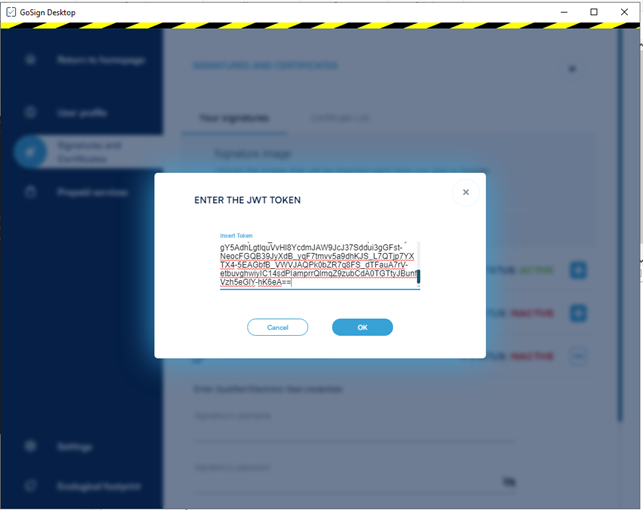
The configuration of the ESEAL account also requires the insertion of a “Virtual OTP Token” / long-lasting JWT), generated via MySign: to facilitate the user it is possible to copy the “Virtual OTP Token” from the previously configured and deactivated account in this update, so that you can insert it for the configuration of the new account.
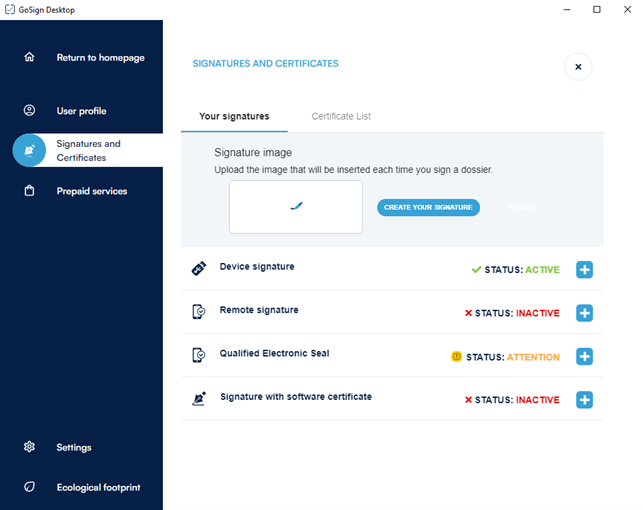
ATTENTION: The pre-existing ESEAL account as mentioned is disabled, therefore it is not visible/not selectable during the signing phase until the user logs in again.
This is the procedure:
Start
ESEAL account already configured disabled at first login:
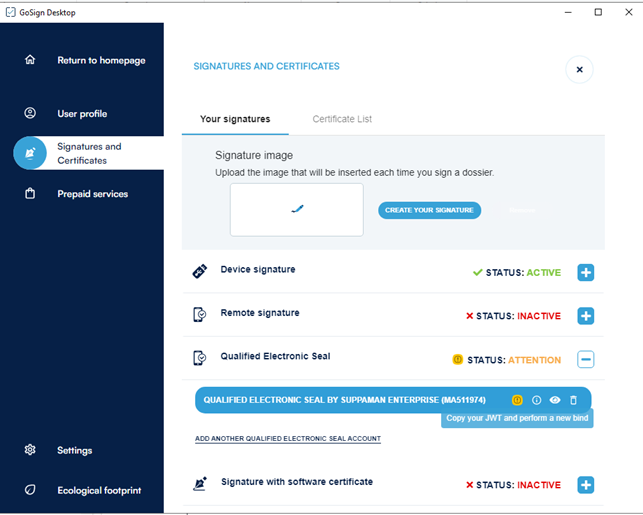
Copy of the virtual OTP token already configured
Click on the yellow icon to copy to the "clipboard": it is recommended to save the copied value in a text file.
There are two possibilities for logging in with an ESEAL account, from the general login interface or via the configuration panel.
This is via General Login/Login from user profile.
1. LOGIN FROM USER PROFILE
Log in by clicking “Login” here:
Login from the homepage
Or from the GS Desktop homepage, by clicking on "Login or register now":
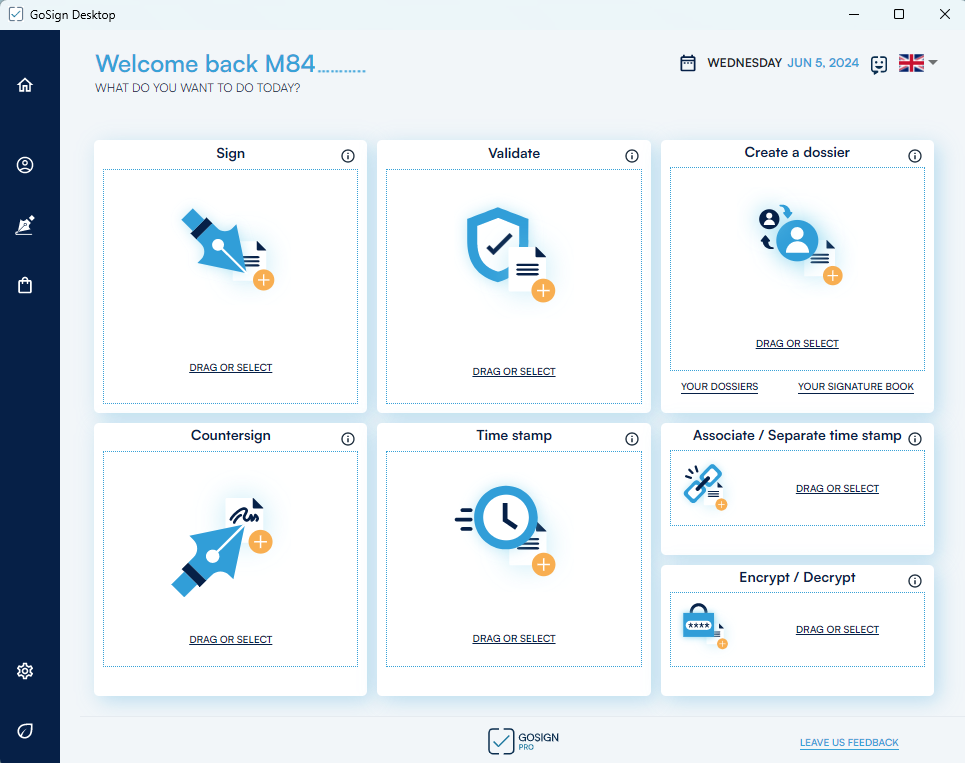
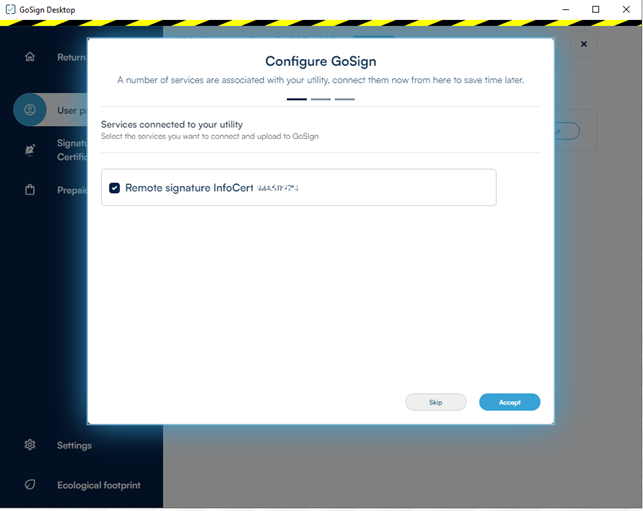
After logging in to your browser, select the remote signature account to configure in GoSign Desktop (it is already pre-selected in any case).
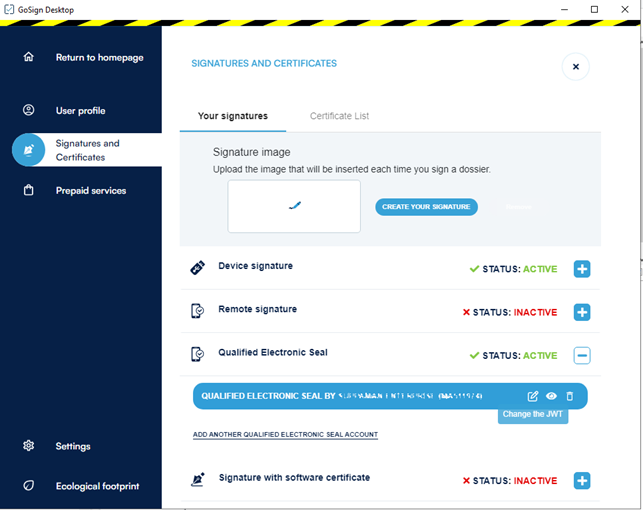
Returning to the ESEAL tab, the new account will have been inserted in place of the previous one: disabled.
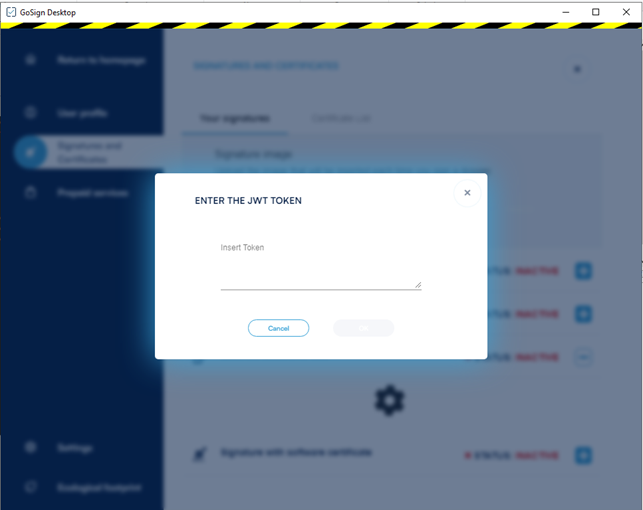
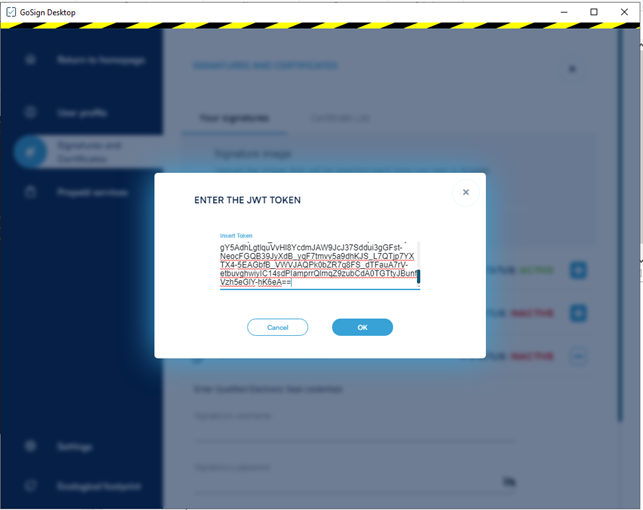
Now click on the "Tools" icon on the line to complete the configuration, inserting the "Virtual OTP Token" copied previously.
Click OK to complete the ESEAL configuration: you can now use it for signing.
2. LOGIN FROM THE CONFIGURATION PANEL
If you wish to access the ESEAL account using the SIGNATURE CONFIGURATION PANEL instead, you must first remove any accounts already configured but currently deactivated.
That is, it will NOT be possible to register the same account again if it is already in a deactivated state.
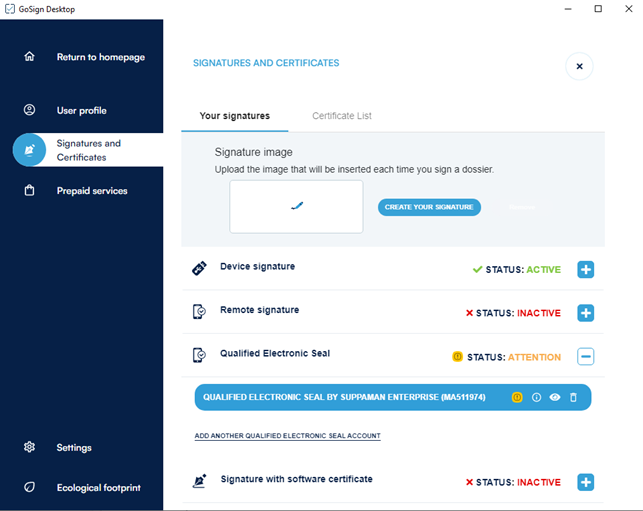
Click on “Add another qualified electronic seal account” and enter the user and password in the boxes below:
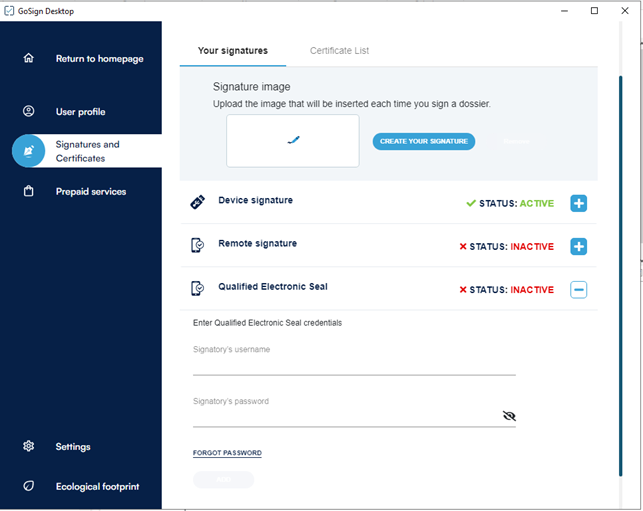
If the login is successful, you will be asked to enter the "Virtual OTP Token" to complete the configuration.
Once this has been entered, click OK to complete the ESEAL configuration: you can now use it for signing.
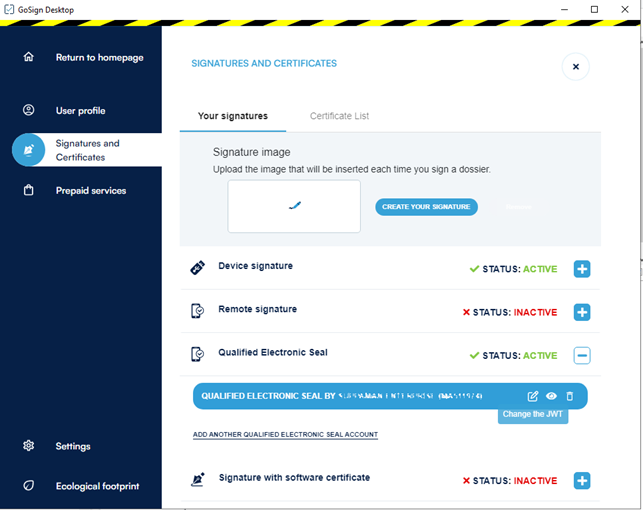
This is the image once the setup is completed successfully:
