 Guide to requesting a QES Certificate with eDoc ID
Within the InfoCert website dedicated to the Electronic Signature, you can find useful information on the service and, at the bottom of the page, the area from which to start the process of activating my Electronic Signature.
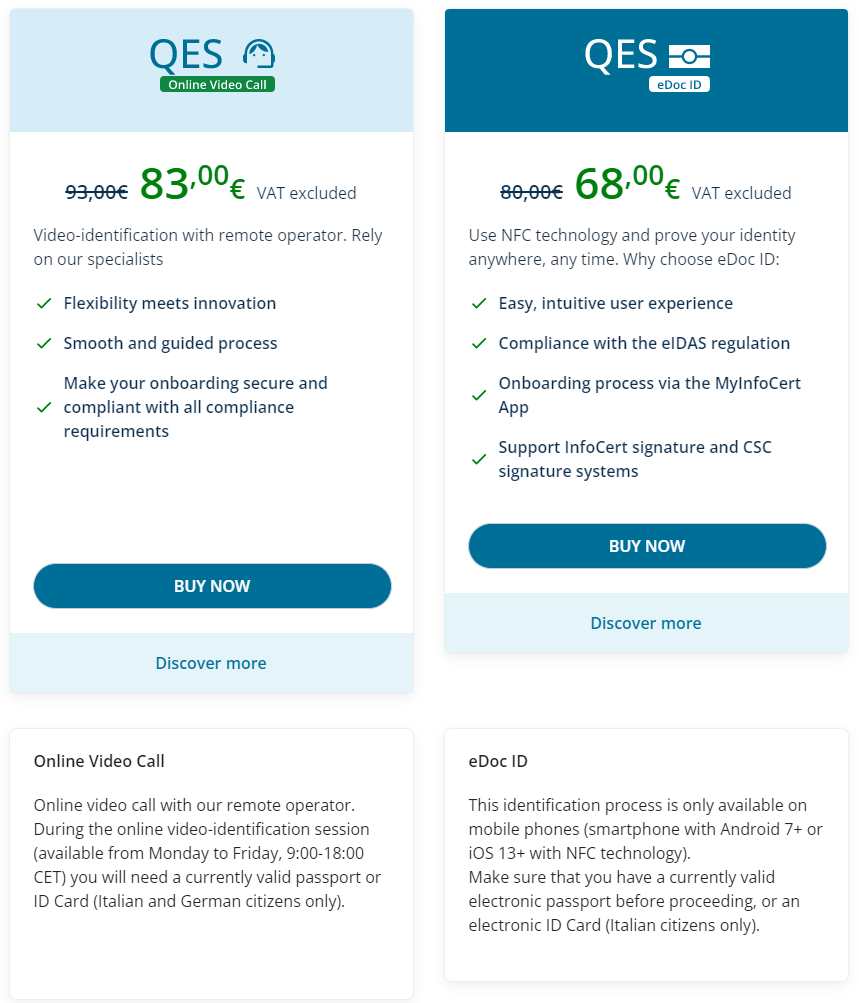
A click on "Buy now" allows you to start the QES eDoc ID purchase procedure.
The choice of the recognition method with eDoc ID will allow you to make the recognition through the MyInfoCert App and your electronic document.
In the screen that will appear, you will have to click on Continue.

First you will have to choose your access data, that is the credentials with which you will purchase your QES.
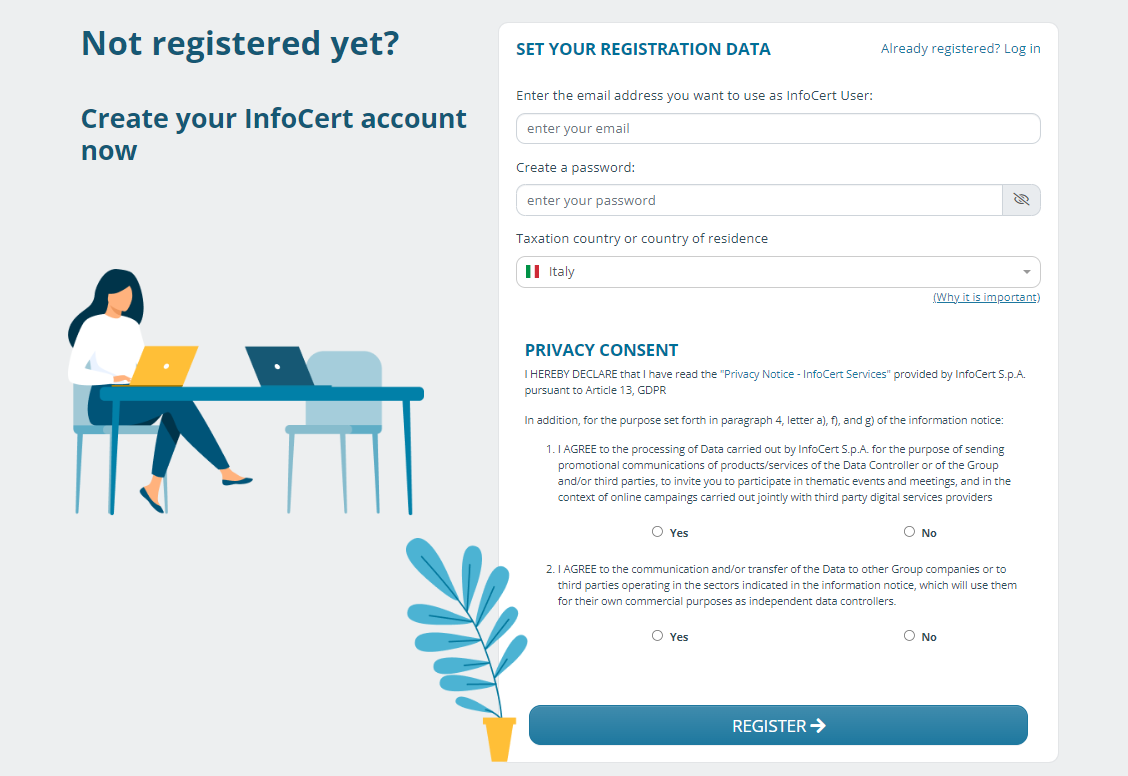
If this is the first time you have requested an InfoCert service, or if you want to use an email address other than the one used to access the Store, you will have to make a new registration.
System ask you to provide an email address and choose a password. Especially:
You will also choose your residence country.
To continue you accept the clauses for the mandatory processing of data and indicate your preferences regarding the further processing of data for marketing purposes. You continue with the reCAPTCHA security verification and confirm your request. A click on the Register button, allows you to proceed.
The portal checks the data entered and at the end of the operation allows you to continue proceeding with the payment.
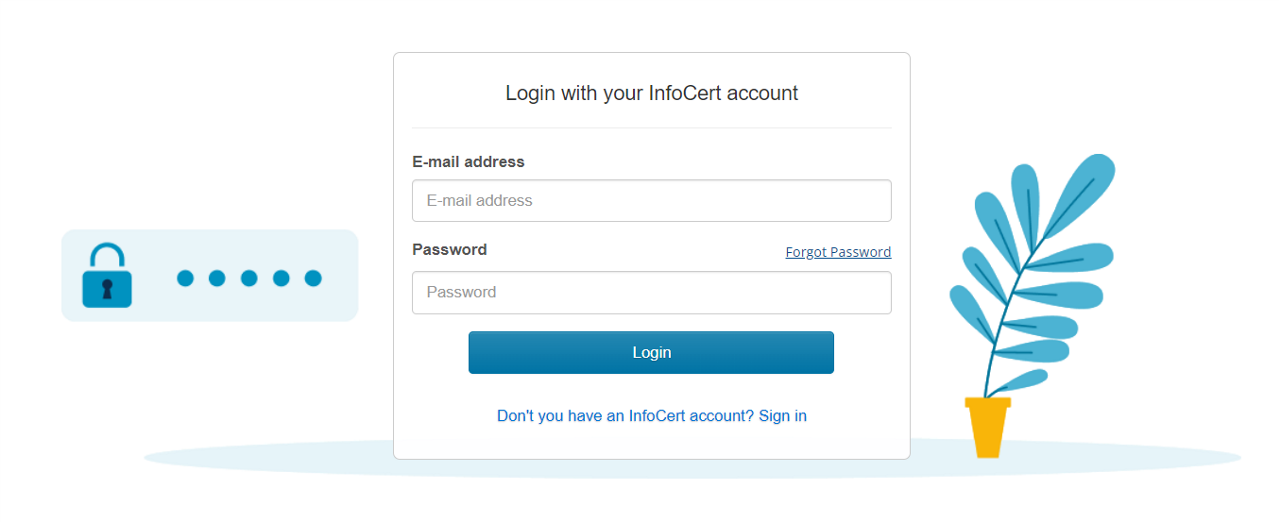
If you have already purchased an InfoCert service in the past, you can use your access data to the InfoCert Store.
By clicking on Already Registered? Login the portal will ask you to enter your credentials: email and password.
A click on the Login button will allow you to continue.
Once the login phase is complete, the system will take you to the InfoCert store.
From here you can check your order and continue with the payment.
The system will allow you to confirm or create the billing master data and choose the payment method you want.
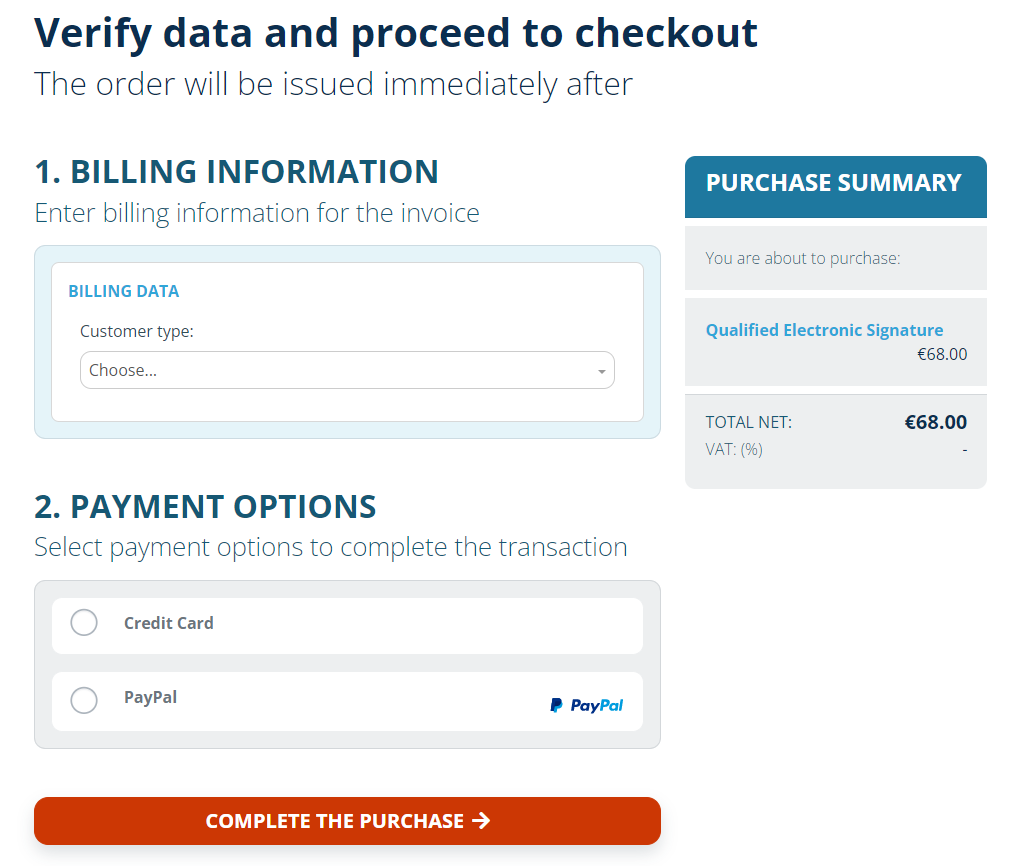
A click on the Complete the purchase button, will allow you to complete the payment with the chosen method.
In the case of payment by PayPal or C / C you will be redirected to the page to complete the operation and, subsequently, you will receive on the screen confirmation of the success of the operation.
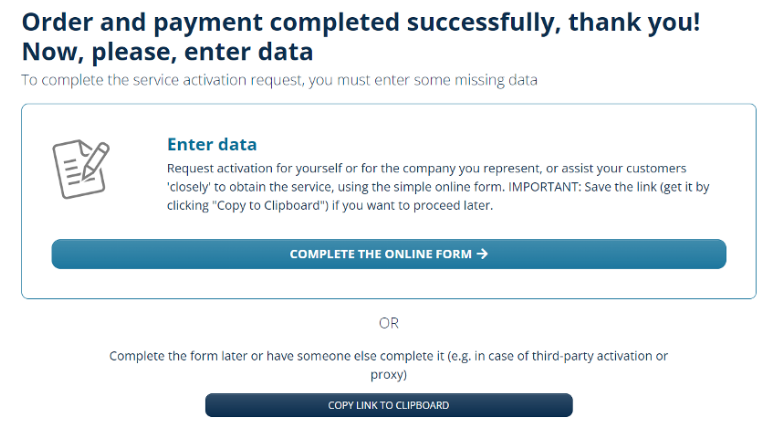
Once you complete the payment, system will ask you to enter some missing data.
You have to click on Complete the online form.
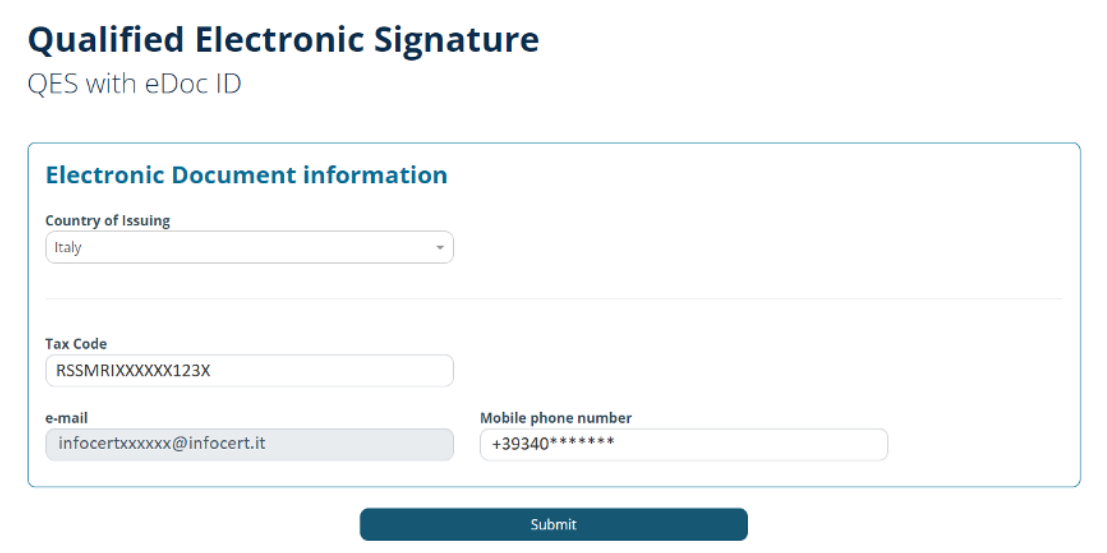
For non-Italian citizens you are asked to enter:
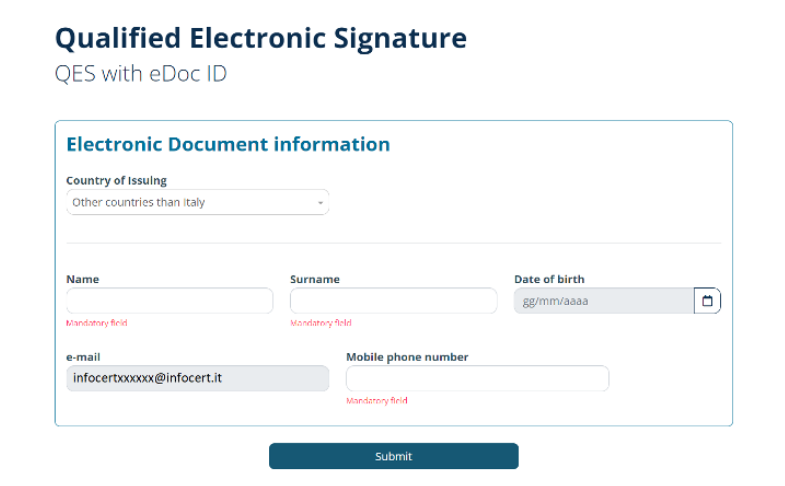
For Italian citizens you are asked to enter:
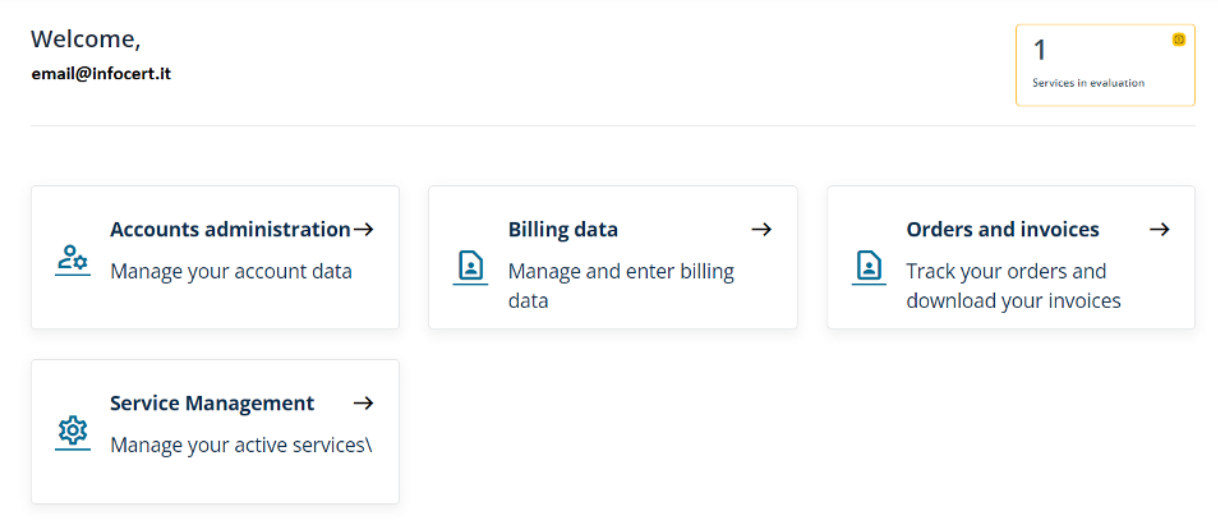
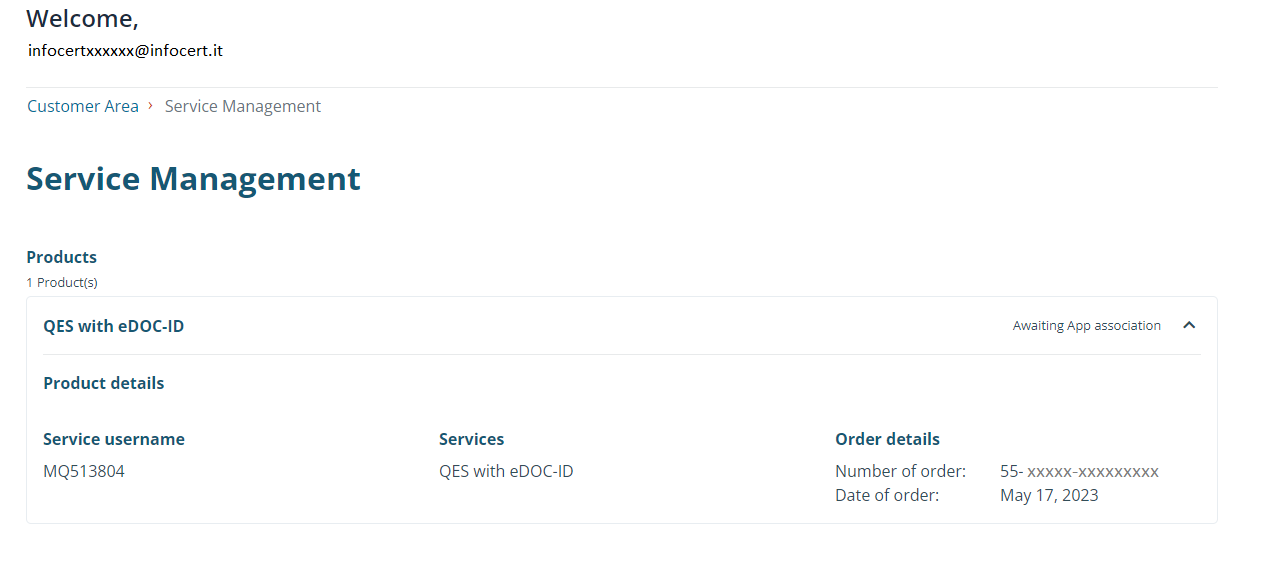
In your personal area, you can find the product that you have bought.
Here you can find the "order number" (eg. 55-XXXXX-XXXXXXXXX) of the purchased service as well as the "UserID" of your QES Certificate.
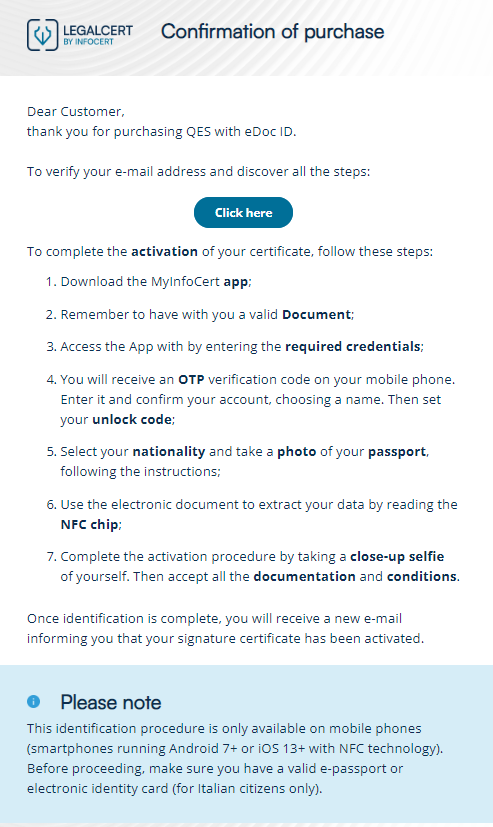
After purchasing the QES, please check your email. You'll find the email with instructions to continue the activation of your QES Signature by clicking on the Keep On button.
Alternatively, you can copy the link contained in the email and insert it in the navigation bar of the browser.
If you copy/paste to a browser other than the one on which you started the request process, the system will ask you for the login credentials or the email address and password you have just chosen for your QES Signature.
By clicking on the link, the email will be verified and you can continue with the QES request by downloading or starting the MyInfoCert App.
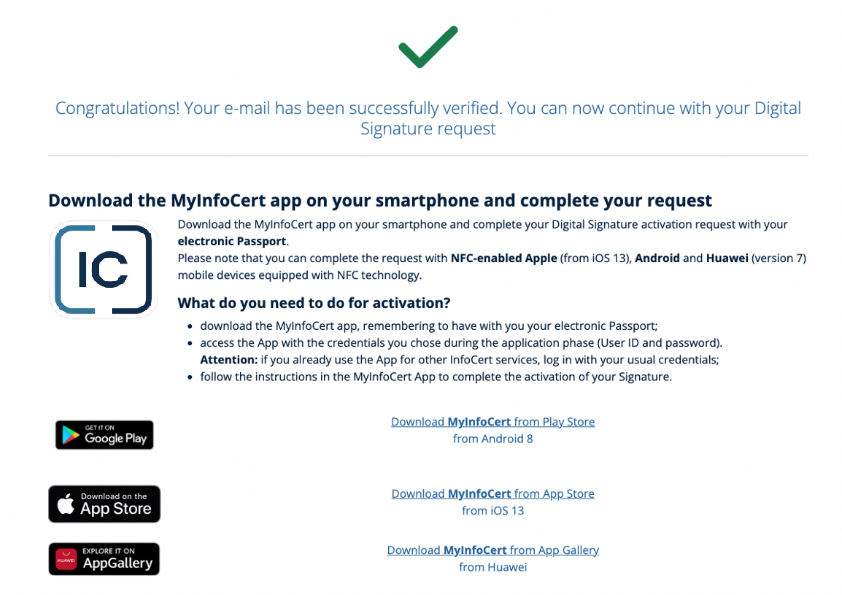
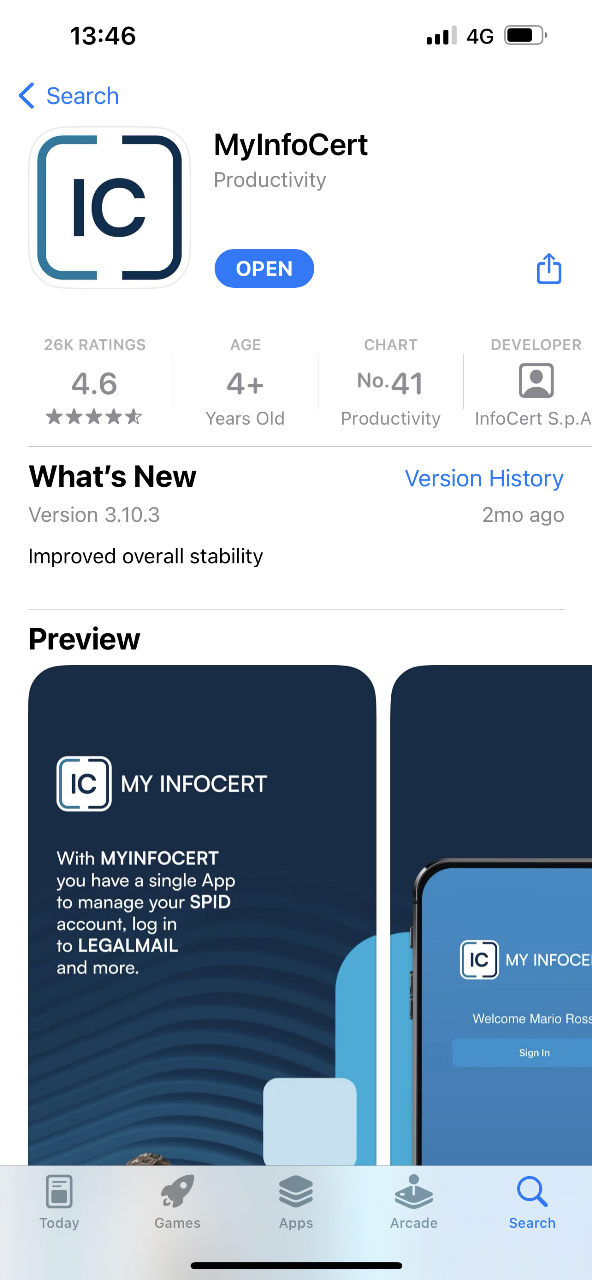
If you have not installed the App on your smartphone, you will have to download it.
Once you launch "Google Play", "Apple Store" or "App Gallery", you enter "MyInfoCert" as the search item. A click on the Install or Get button (depending on the system of your mobile) allows you to continue and install the App.
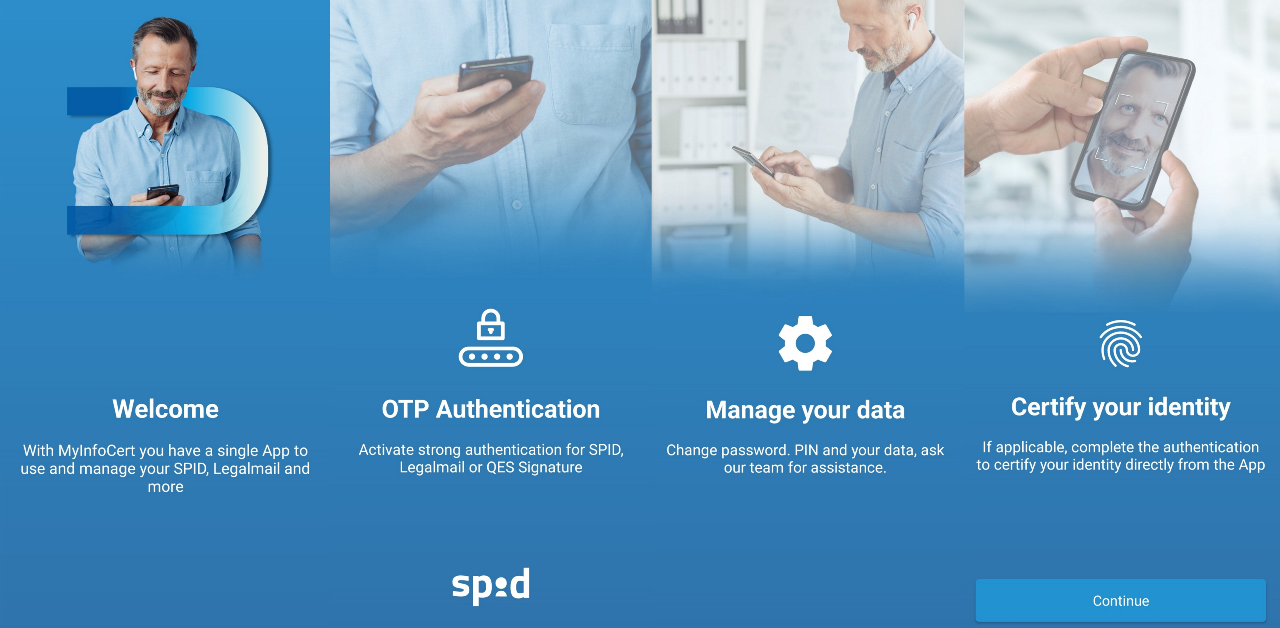
When you start MyInfoCert app for the first time, a short tutorial is shown.
Once the App has been downloaded or started, at the time of the first access, you enter the credentials of your QES Signature with which you made the purchase in the "Email or Username" and "Password" fields and validate them by pressing the Sign In button.
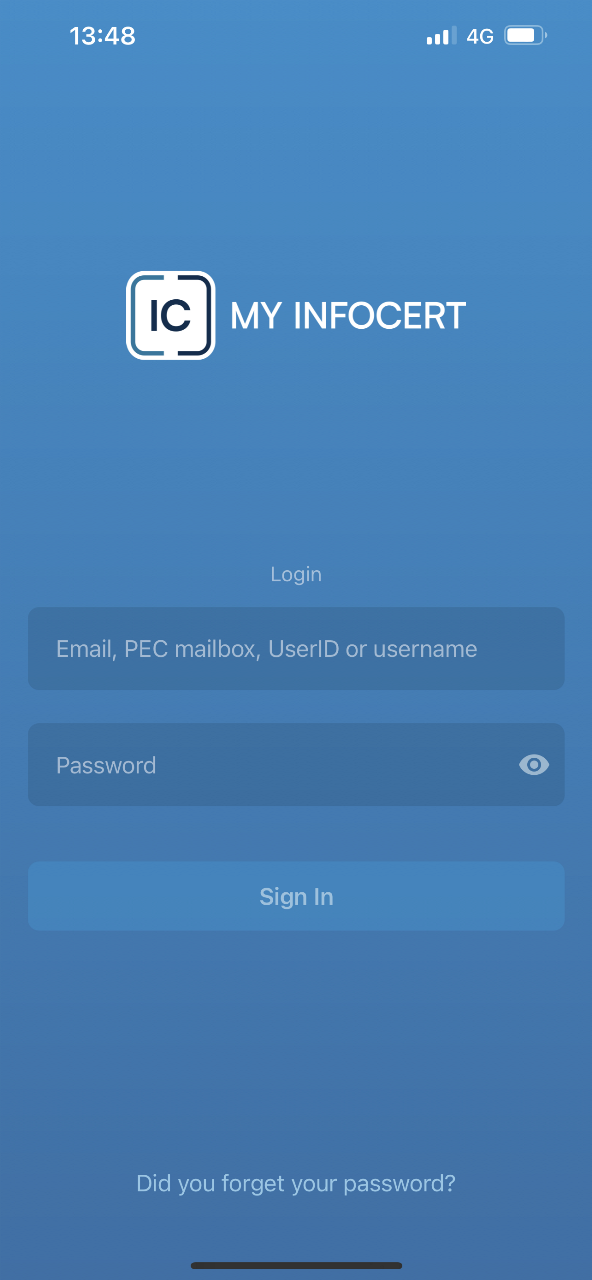
If you already have the MyInfoCert app, log in with your new "mail" (UserID) and "Password" credentials chosen at the initial stage of the request - you will not have to repeat the configuration procedure.
After entering the credentials, InfoCert sends via SMS an OTP code on the phone that you declared at the time of registration and that you will have to enter in the appropriate spaces.
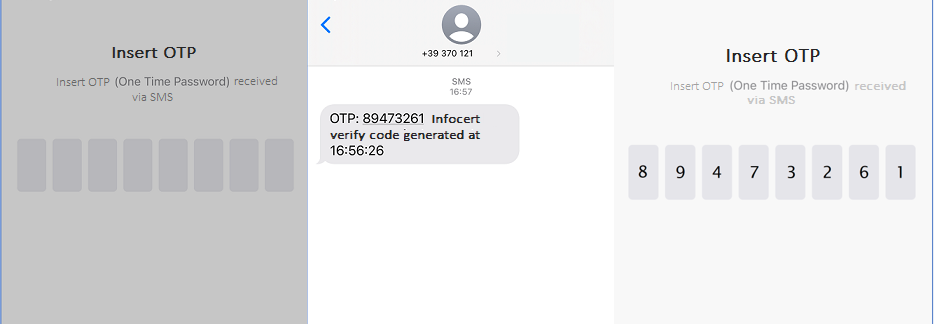
To continue you have to click on the Continue button.
In the following step system asks you to activate the Push Notification.
Then, the system will ask you to choose the name to be assigned to the Account you are requesting, which will allow you to identify it more easily.
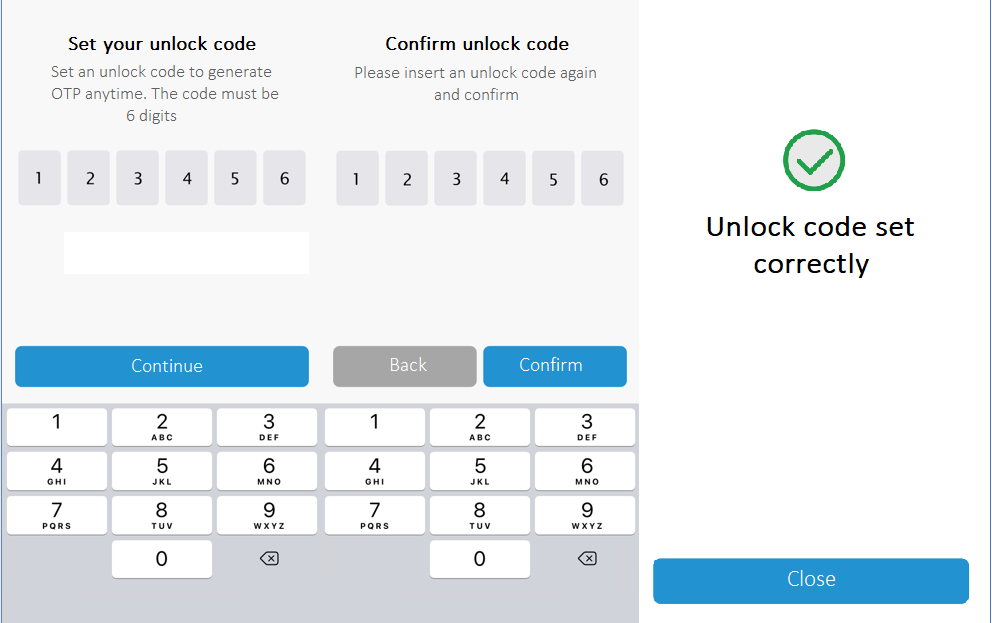
At this point, the process will ask you to choose an Unlock Code that will be used to confirm your OTP code requests.
To proceed you choose the Close button
If you lose or forget the Unlock Code we recommend you to uninstall and reinstall the App.
In any case, the Unlock Code IS NOT RECOVERABLE through the **Password Recovery **procedure.
If your mobile allows it, as an alternative to the Unlock Code you can set the Touch ID, so as to request the OTPs by providing your fingerprint or Face ID.
If you do not intend to set it, you can choose the Later option.
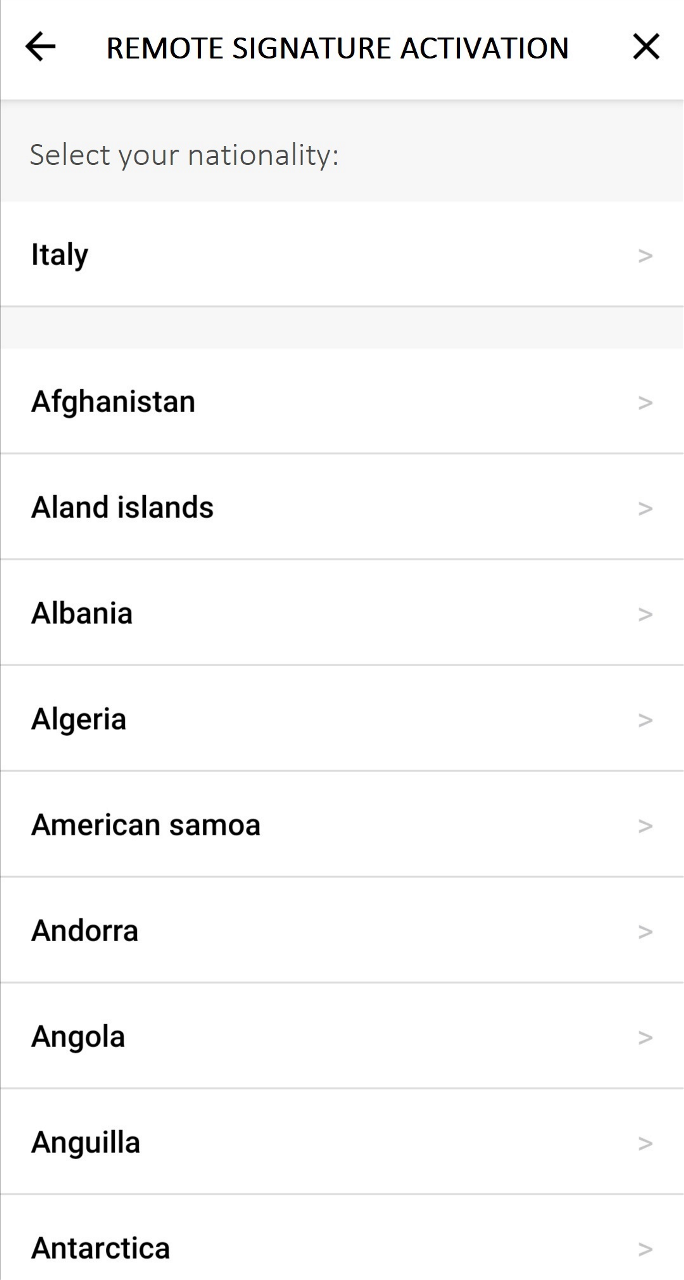
Once the setup phase is complete, you can continue to complete the remote signature activation process.
The first step is to select your nationality.
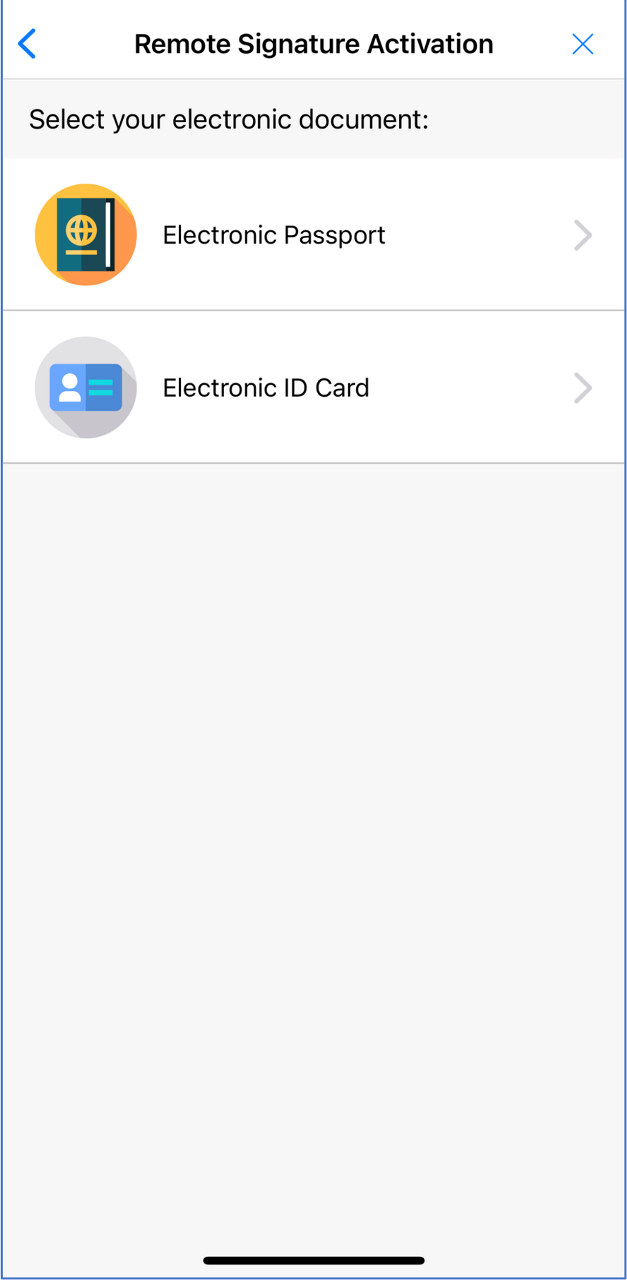
The system will now ask you to choose the type of electronic document that you will use for the request of your QES:
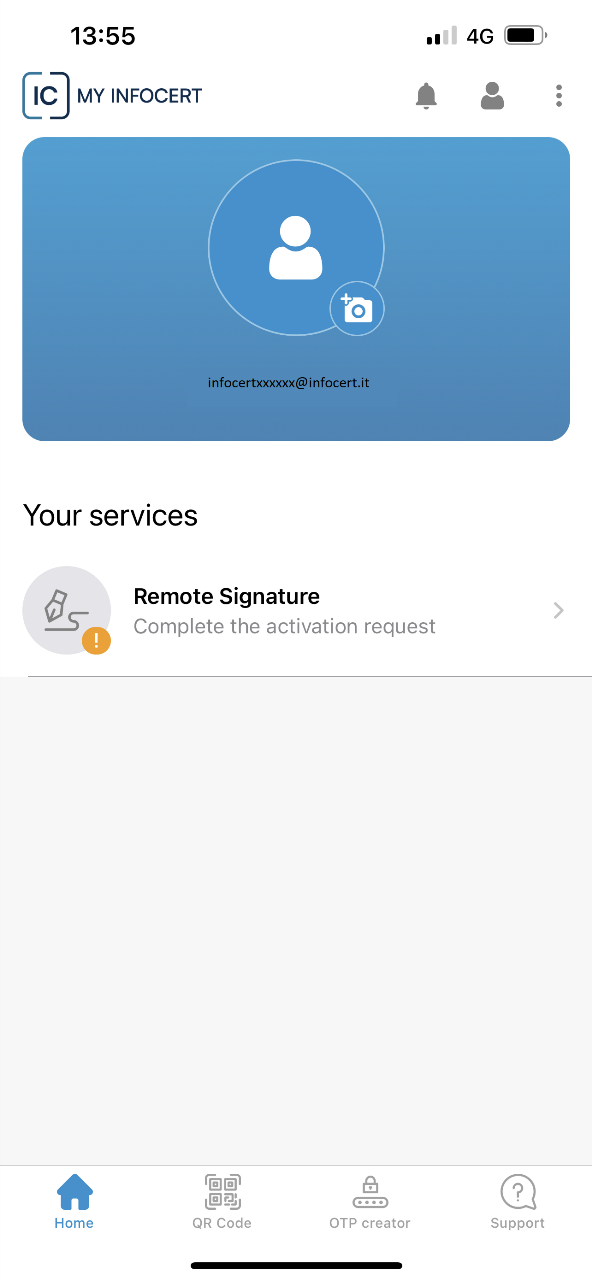
In case you do not have the documents available, you can resume the procedure later, by accessing the App.
In the Your Services section, present on the Homepage of the MyInfoCert App, by swiping downward, you will be able to update the QES requests in progress and you will be able to continue the request by clicking on the QES displayed.
If you choose the electronic ID card, the system will offer you a brief summary of the operations you will have to perform, with an indication of the number of steps and the time needed to complete the entire request.
You can then begin the process by choosing the Start option.

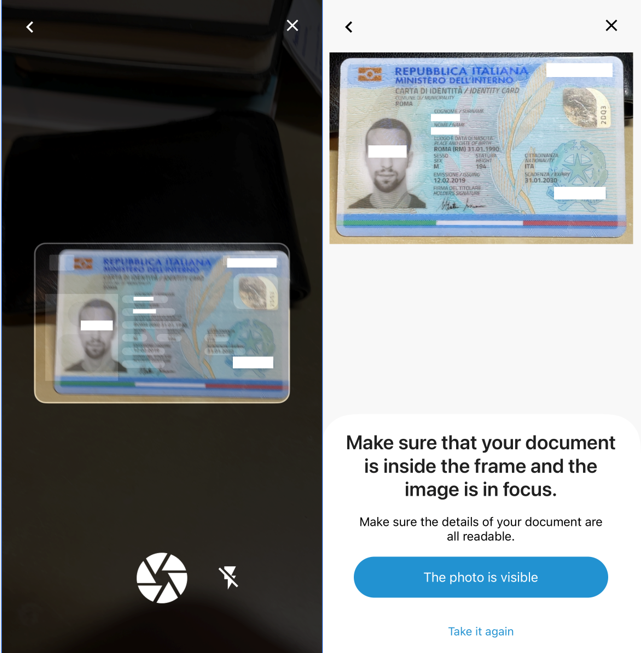
The first step is to take a picture of the FRONT of your document.
You proceed by selecting the Take Picture option.
You will have to allow the App access to the camera in advance to take photos and record videos.

You can then proceed by photographing the FRONT of your document.
Once the photo is taken, you will have the opportunity to verify it.
In case it did not come out well, you will have the opportunity to take a new one.
The next step is the photograph of the BACK of the document.
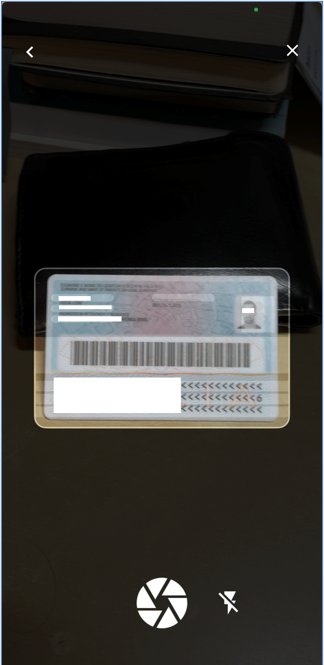
Once the photo is taken, you will have the opportunity to verify it.
In case it did not come out well, you will have the opportunity to take it again.
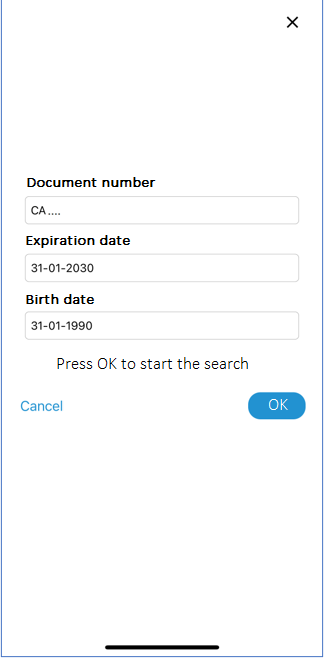
The next step concerns the verification and confirmation of the information collected by the system.
The next step is characterized by the exchange of data with NFC mode between your smartphone and your document.
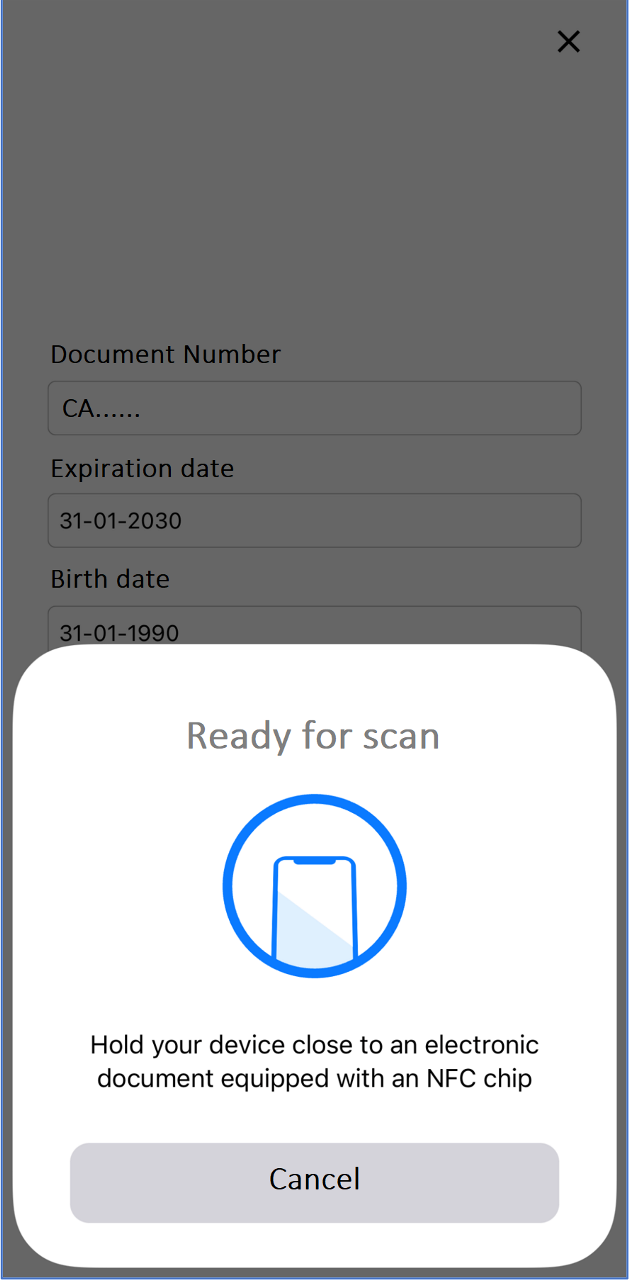
WARNING: When requested, place the Identity Document on the back of the smartphone, at the top of your phone.
After having previously allowed the App to send and receive data via NFC, you will have to bring the smartphone closer to the chip of the document.
The device will indicate to you on the screen that it is acquiring the data and will confirm the success of the operation.
To continue, you will need to press on Continue.
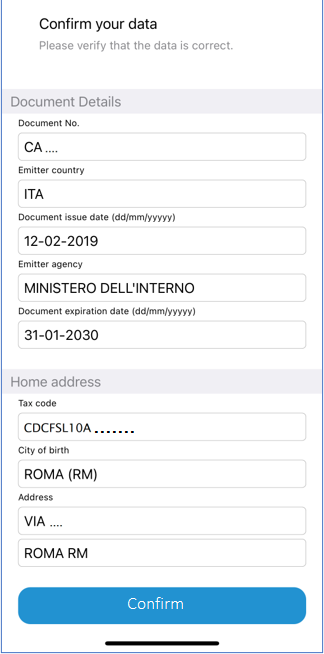
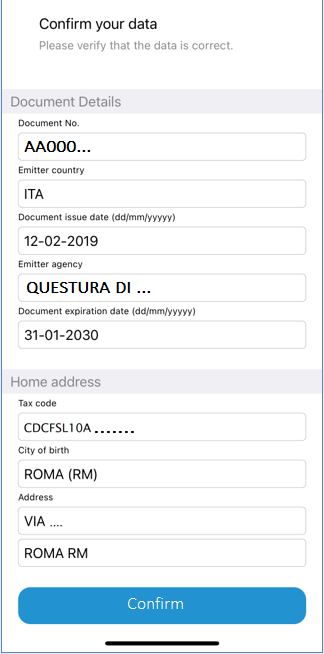
The next step is represented by the confirmation of your data and the possible insertion of the missing ones.
To continue, you will need to press on Confirm.
After confirmation, the data reading has been successfully and you have to click to continue.
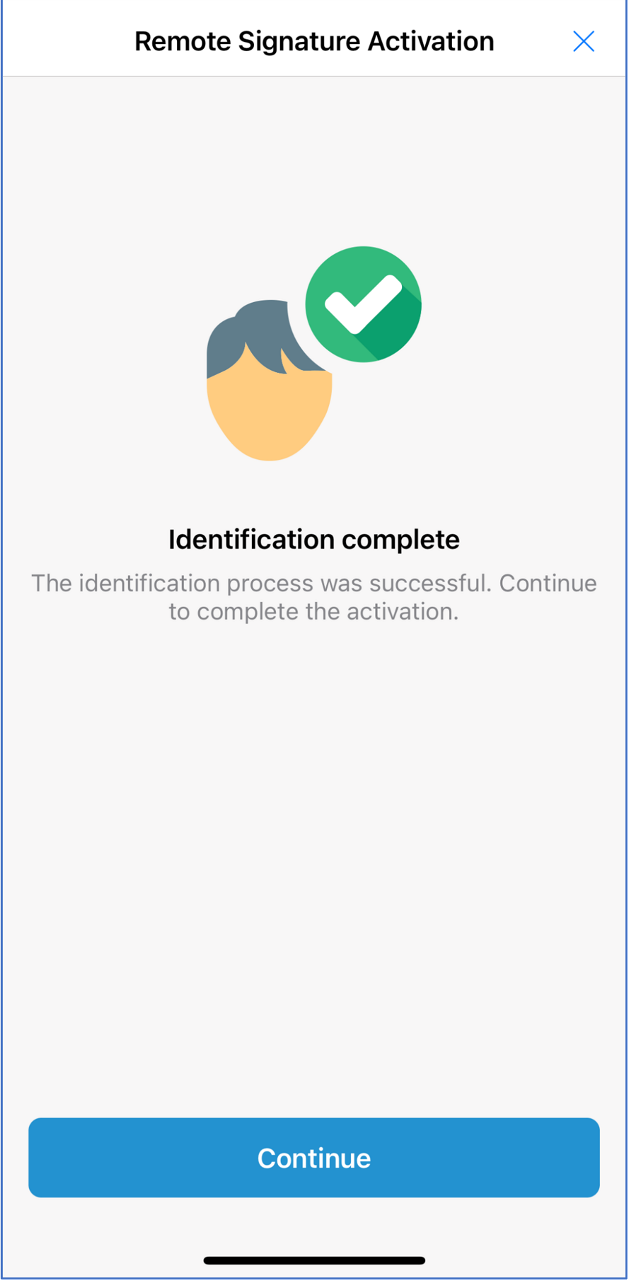
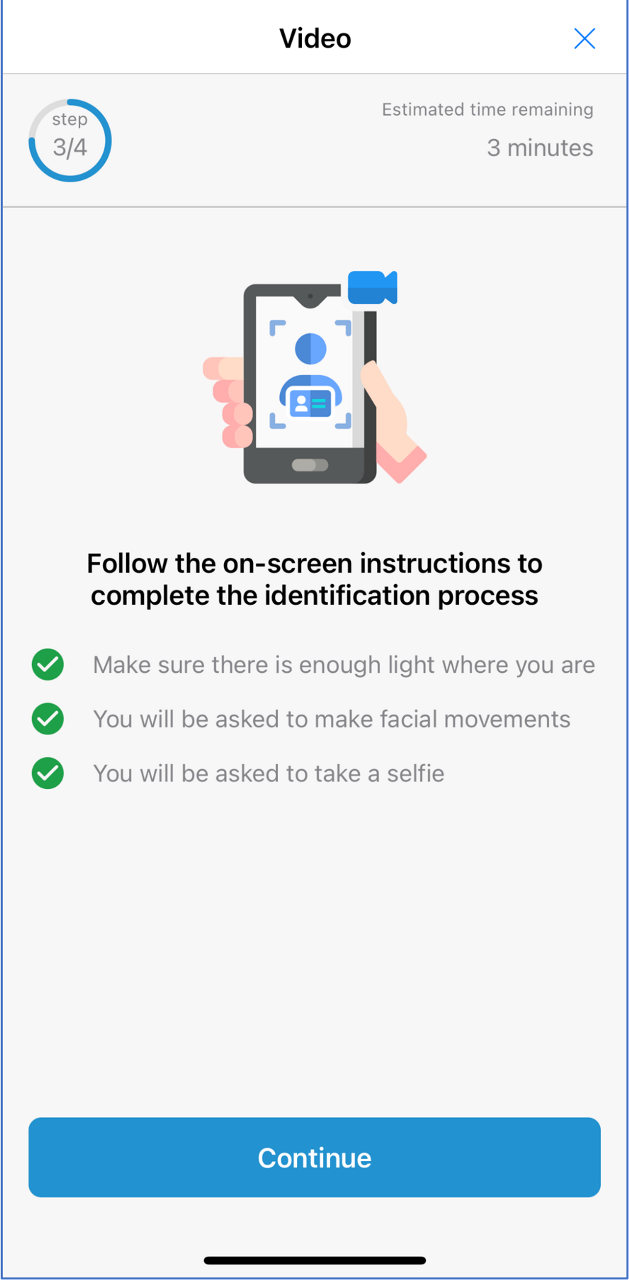
In the following step you will need to make a selfie video where you will be asked to perform some facial movements

Once this step is complete, the system will confirm the success of the procedure.
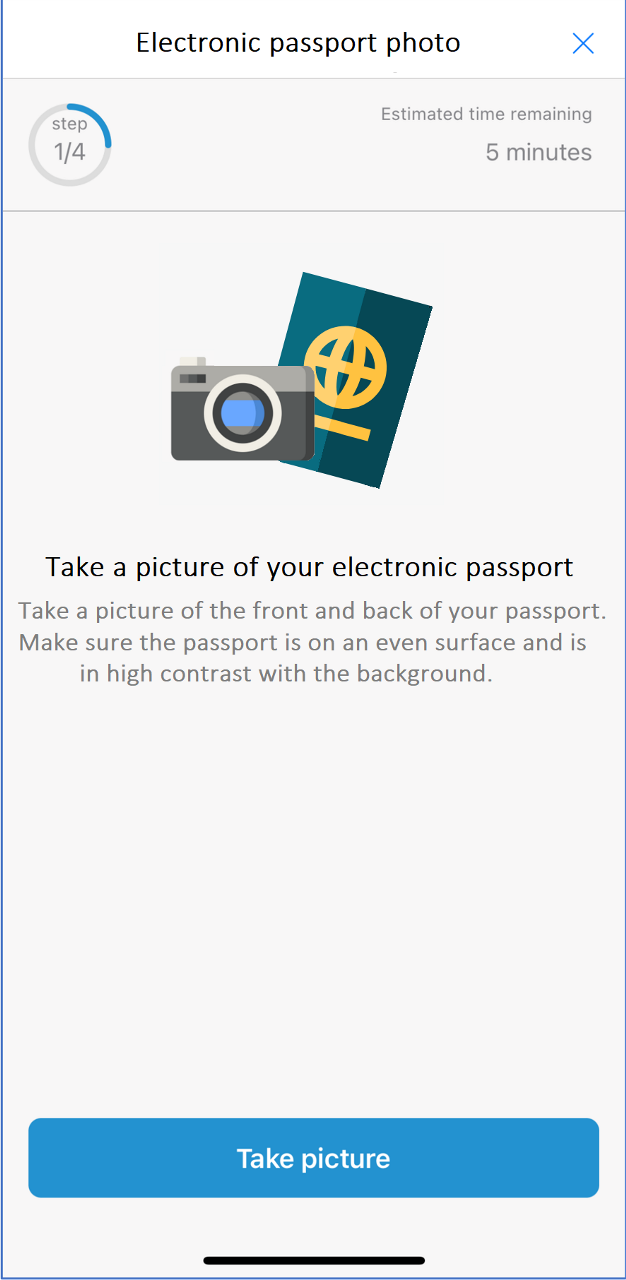
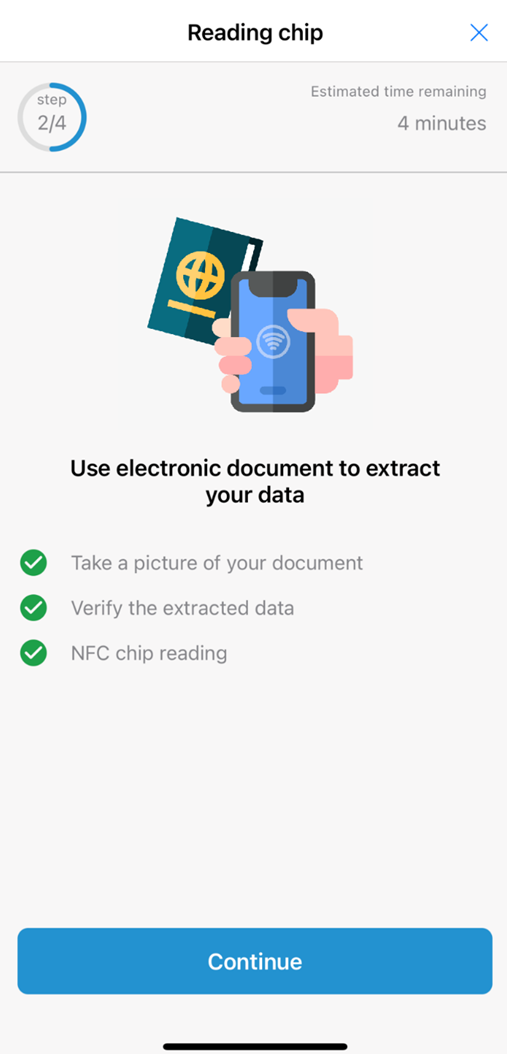
If you choose the electronic passport, the system will offer you a brief summary of the operations you will have to perform, with an indication of the number of steps and the time needed to complete the entire request.
You can then begin the process by choosing the Start option.
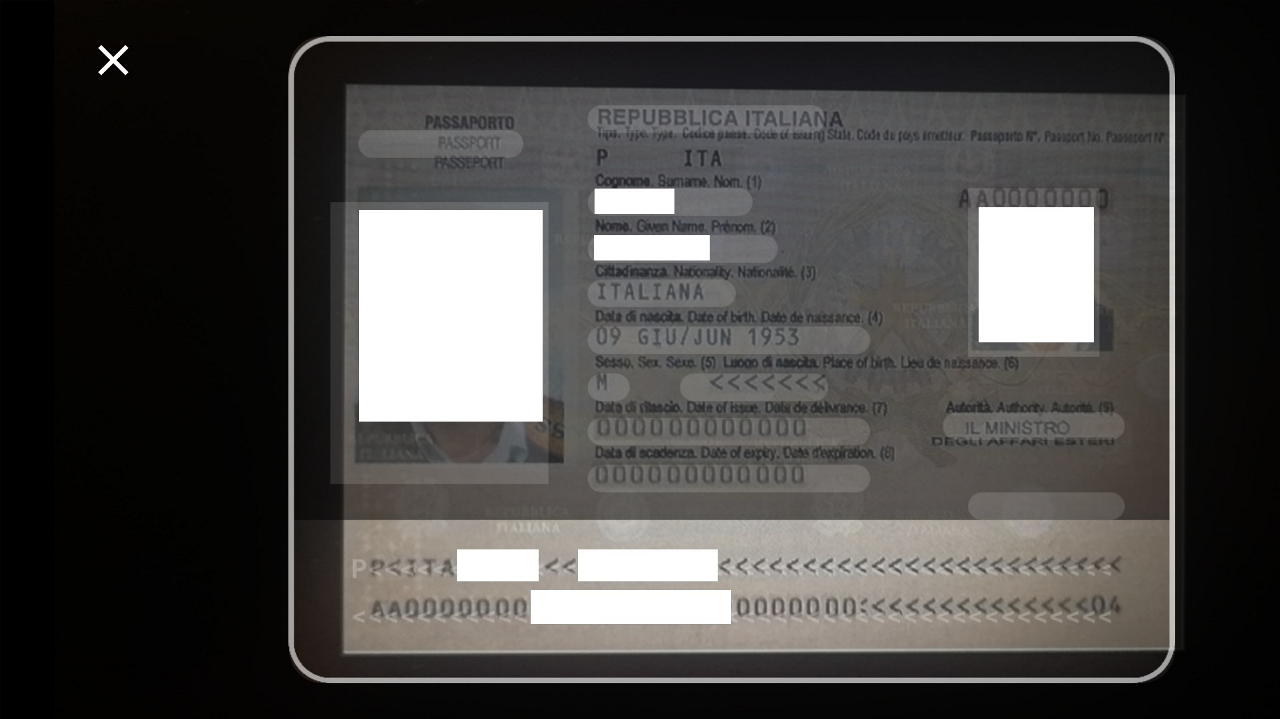
The first step is to take a picture of the FRONT of your document.
You proceed by selecting the Take Picture option.
You will have to allow the App access to the camera in advance to take photos and record videos.
You can then proceed by photographing the FRONT of your document.
Once the photo is taken, you will have the opportunity to verify it.
In case it did not come out well, you will have the opportunity to take a new one.
Then you have the opportunity to use your electronic document to extract your data.
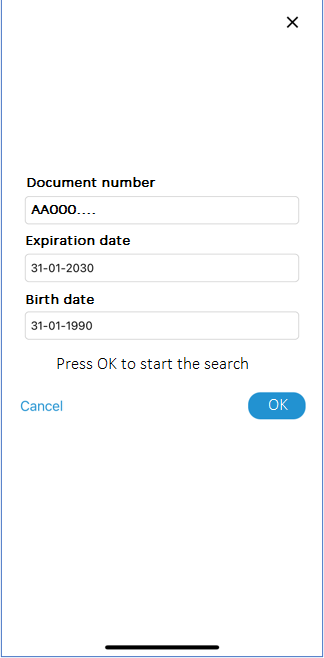
The next step is the verification and confirmation of the information collected by the system.
The next step is characterized by the exchange of data with NFC mode between your smartphone and your document.
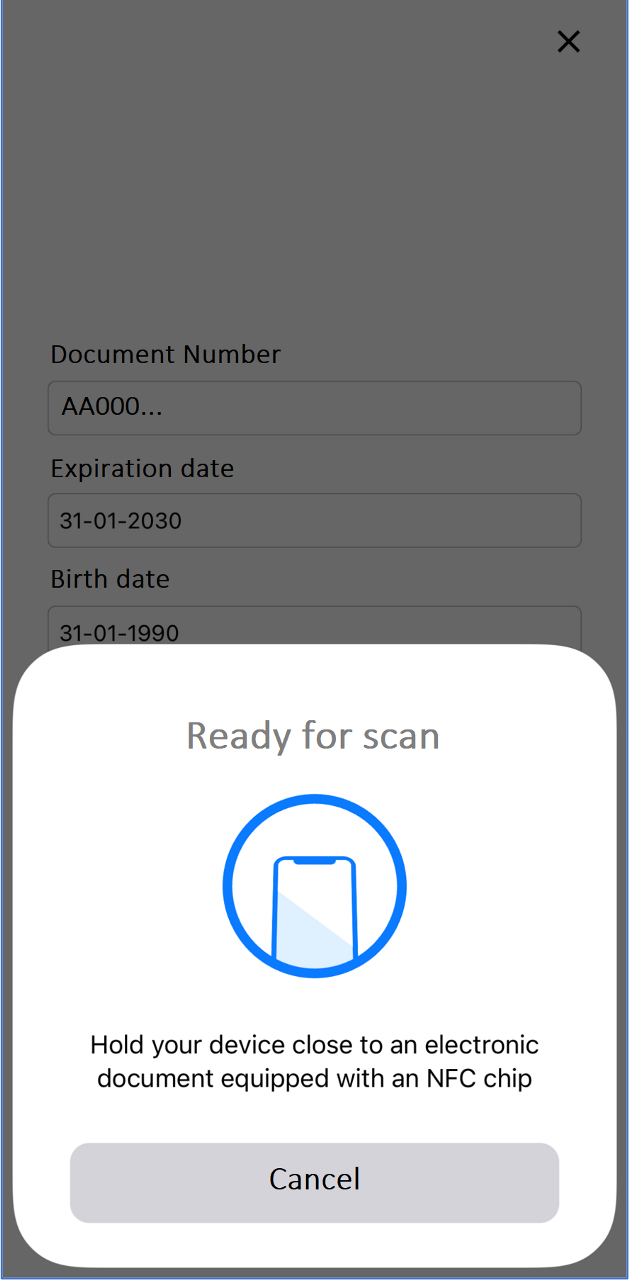
After having previously allowed the App to send and receive data via NFC, you will have to bring the smartphone closer to the chip of the document.
The device will indicate to you on the screen that it is acquiring the data and will confirm the success of the operation.
To continue, you will need to press on Continue.
The next step is represented by the confirmation of your data and the possible insertion of the missing ones.
To continue, you will need to press on Confirm.
After confirmation, the data reading has been successfully and you have to click to continue.
In the following step you will need to make a selfie video where you will be asked to perform some facial movements.
Once this step is complete, the system will confirm the success of the procedure.

In the last step, you will have to read the contractual documentation.
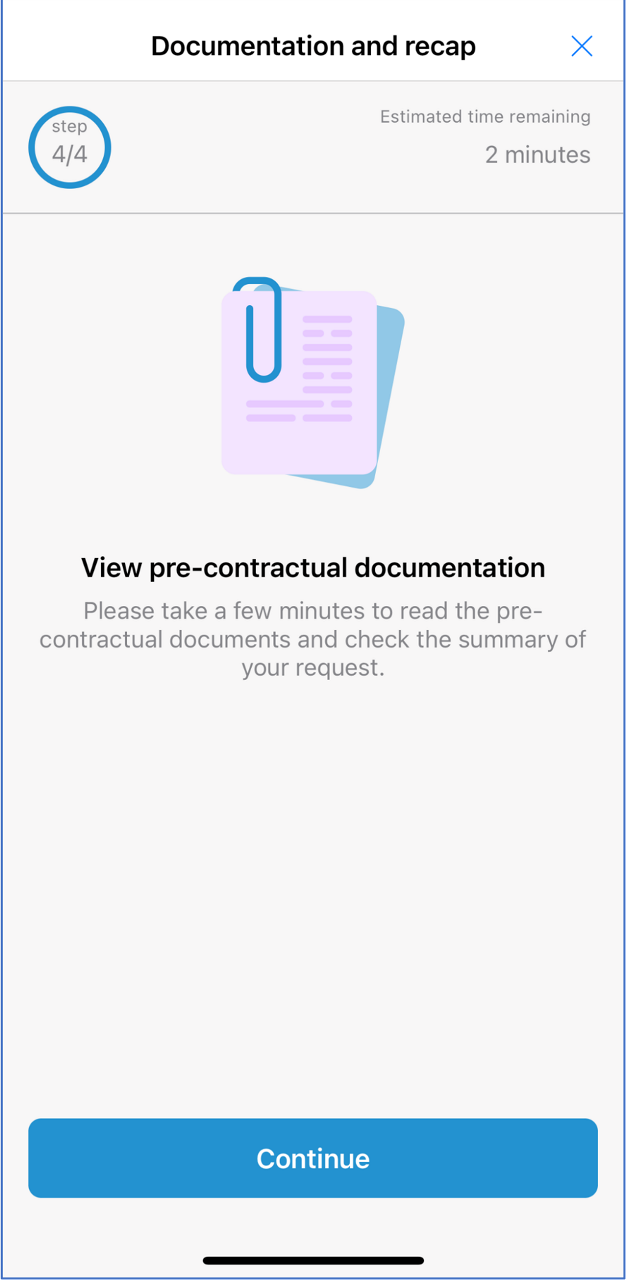
To proceed you have to affix the two necessary flags. By clicking on the Request the certificate button, you will be able to complete the process of requesting my QES Signature.

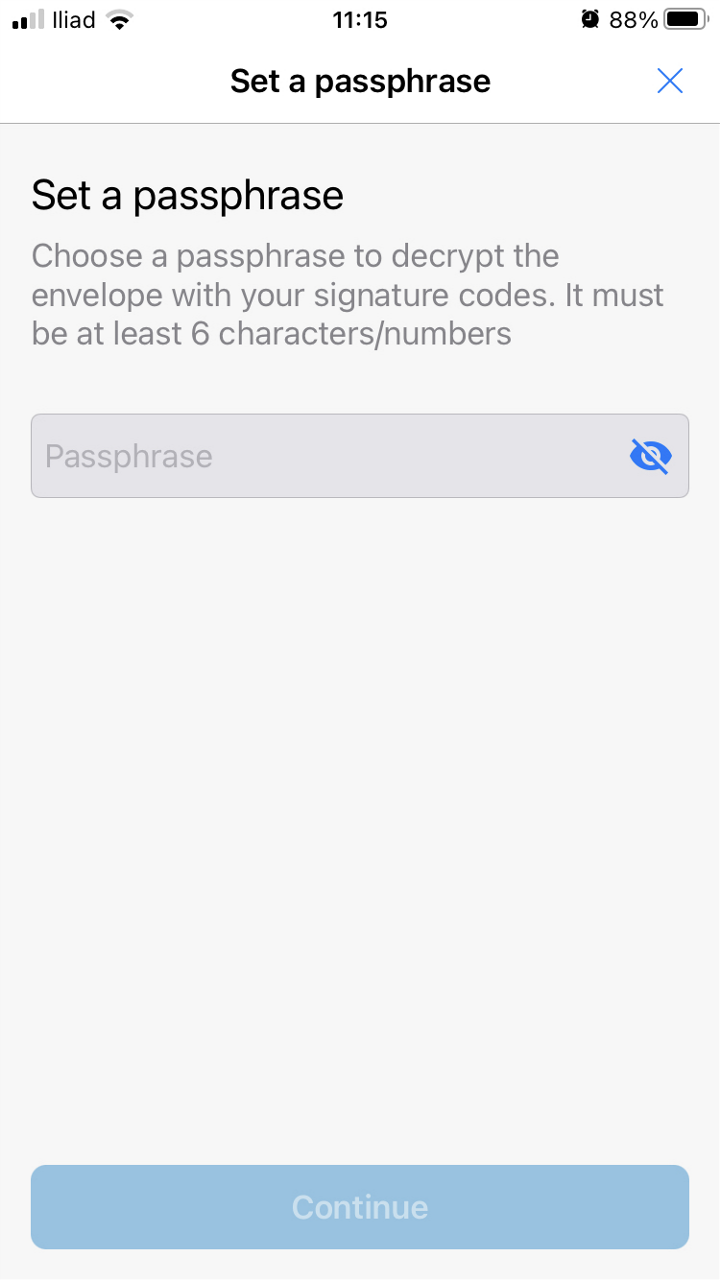
If you see this screen, it means that you need to set a "passphrase" to decrypt the envelope, attached to the email you will receive, containing your QES Signature codes (PIN and PUK).
The Passphrase must be at least 6 characters / numbers.
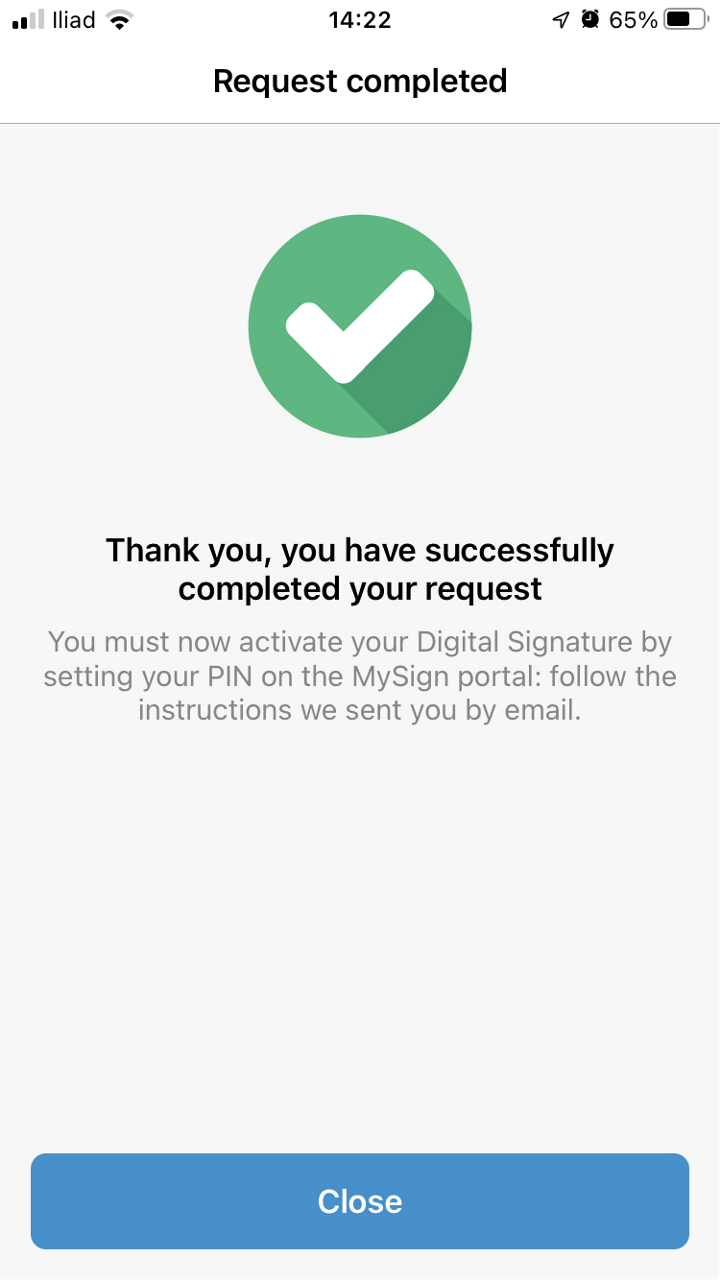
The system will confirm the completion of the request phase with a message on the screen.
You will be able to close the interface by choosing the Close option.
Once the recognition operations are finished, an email with the confirmation of activation of the signature and the contractual documentation will arrive to your email address.
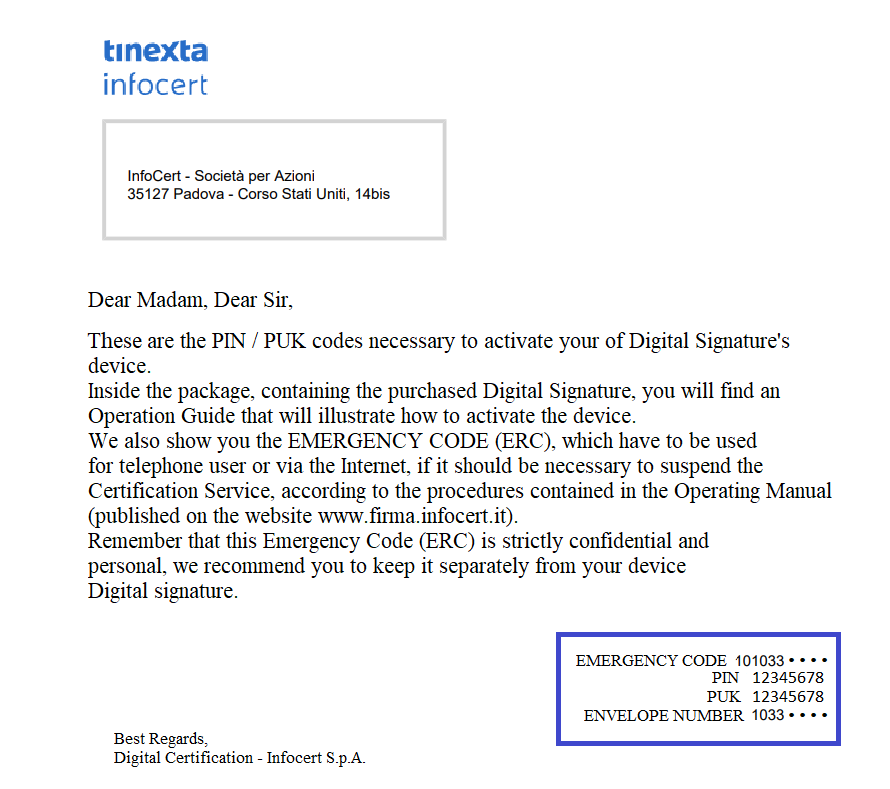
Then another email will arrive, containing the encrypted envelope with the codes (PIN e PUK) to using your QES Signature. To open it you will need to enter your Fiscal Code (only if you are an Italian citizen) or the Passphrase, in case you are a non-Italian user.
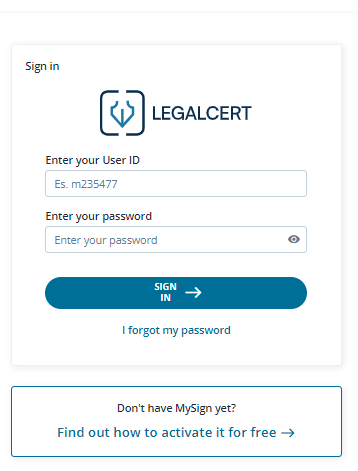
In the same email there is a link to access MySign, the portal needed to activate your signature. You have to enter with your "mail" (or UserID) and "password" set by you during the initial purchase process.
Set a new password, after entering the PIN and PUK that you find in the encrypted envelope.
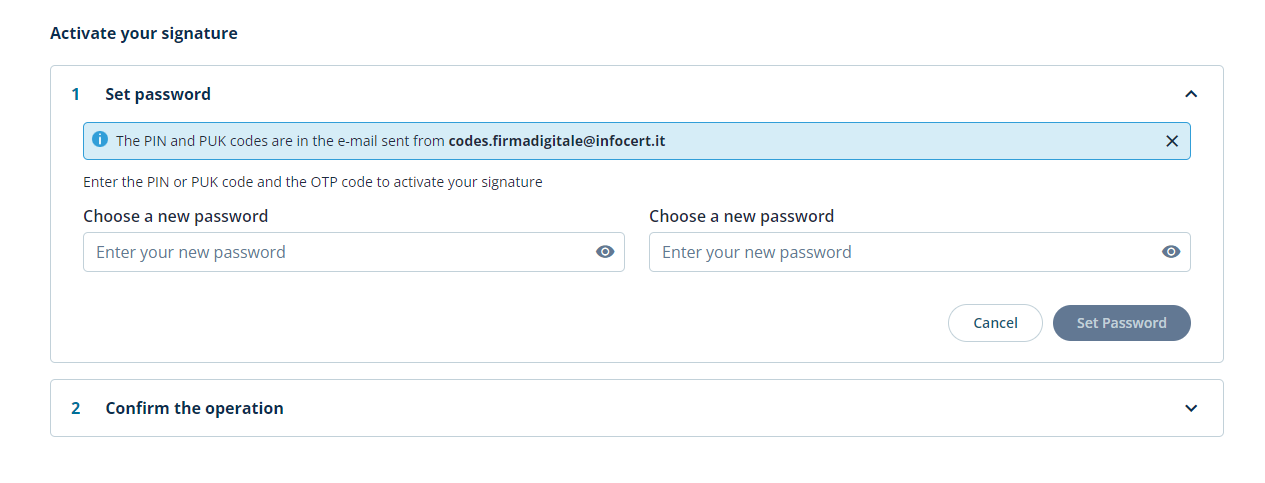
To end the operation and to activate your QES Certificate, you need to put the OPT received.
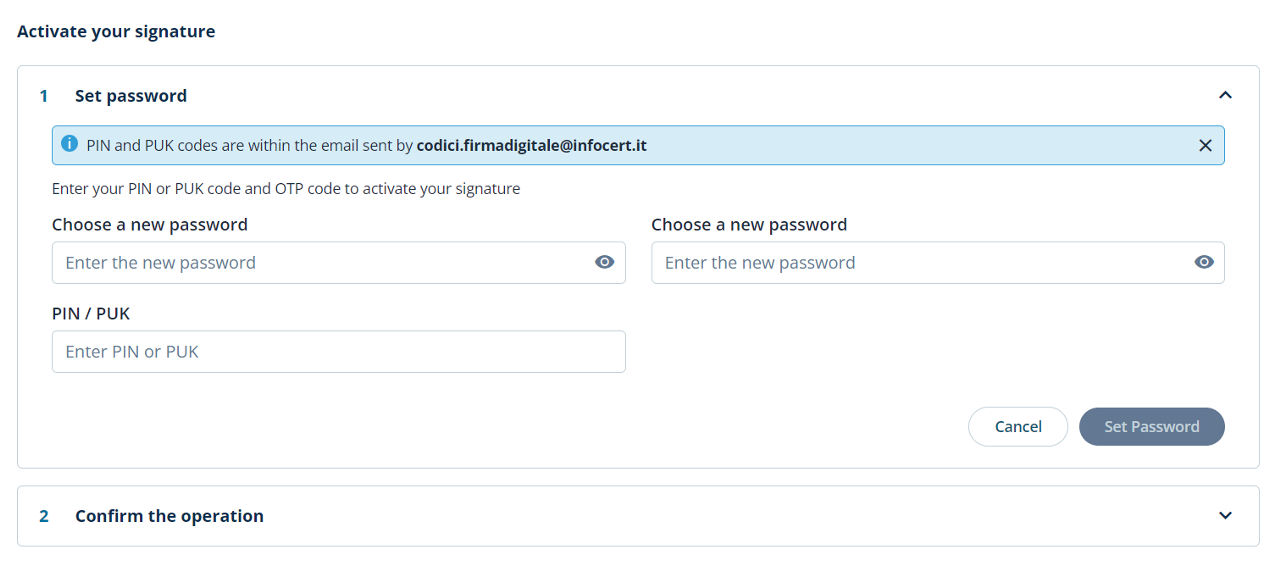
A message will inform you that your qualified electronic signature is now active and ready to use.
In MySign you have many options about your signature. In the Home section you can see the expiration of your signature and the certificate details.
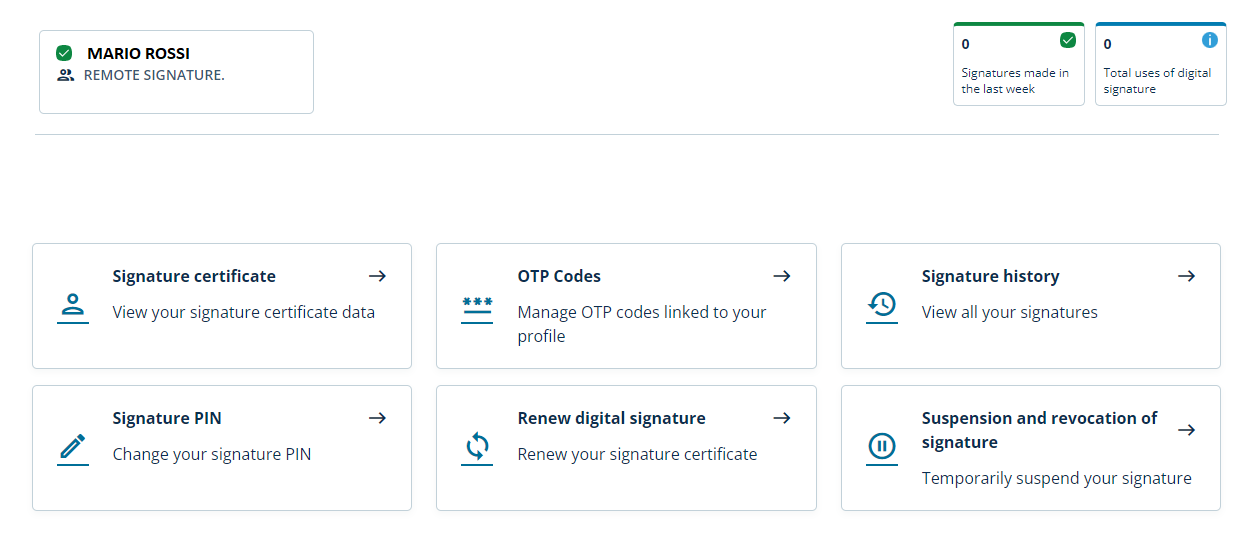
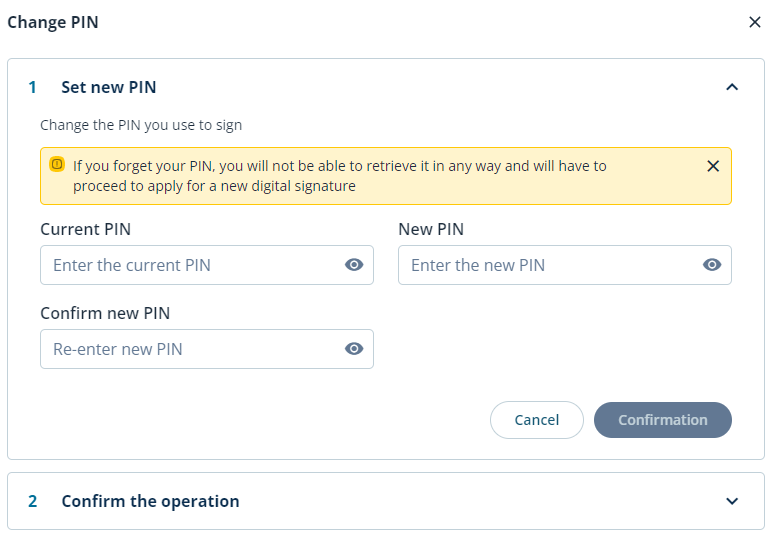
In the Change PIN section you can change your PIN, after entering the current one.
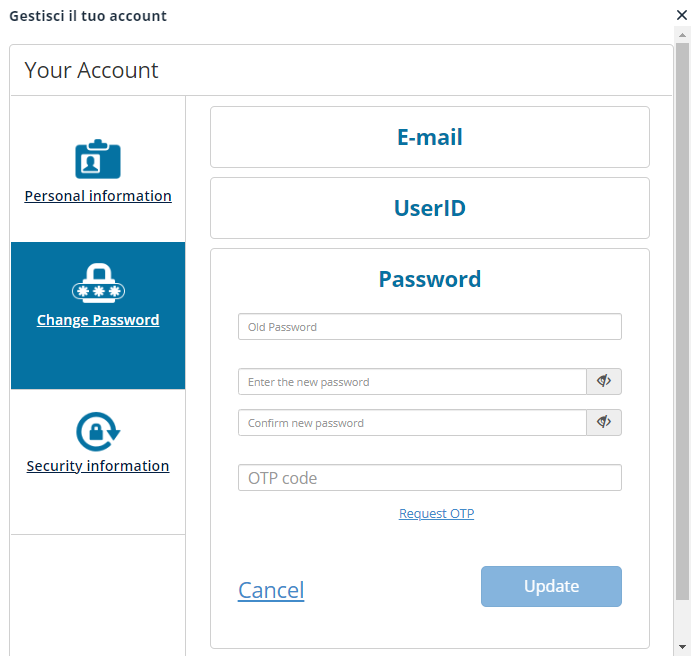
In the Change Password section you can change your password, after entering the current one.
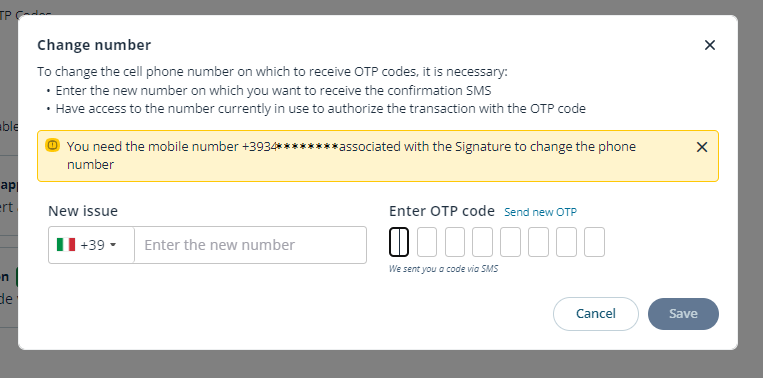
In the last section, Change number, you can test the OTP reception, sending one to the application whenever you want.