 Guide to requesting a QES Certificate
The actions required to activate your QES certificate are:
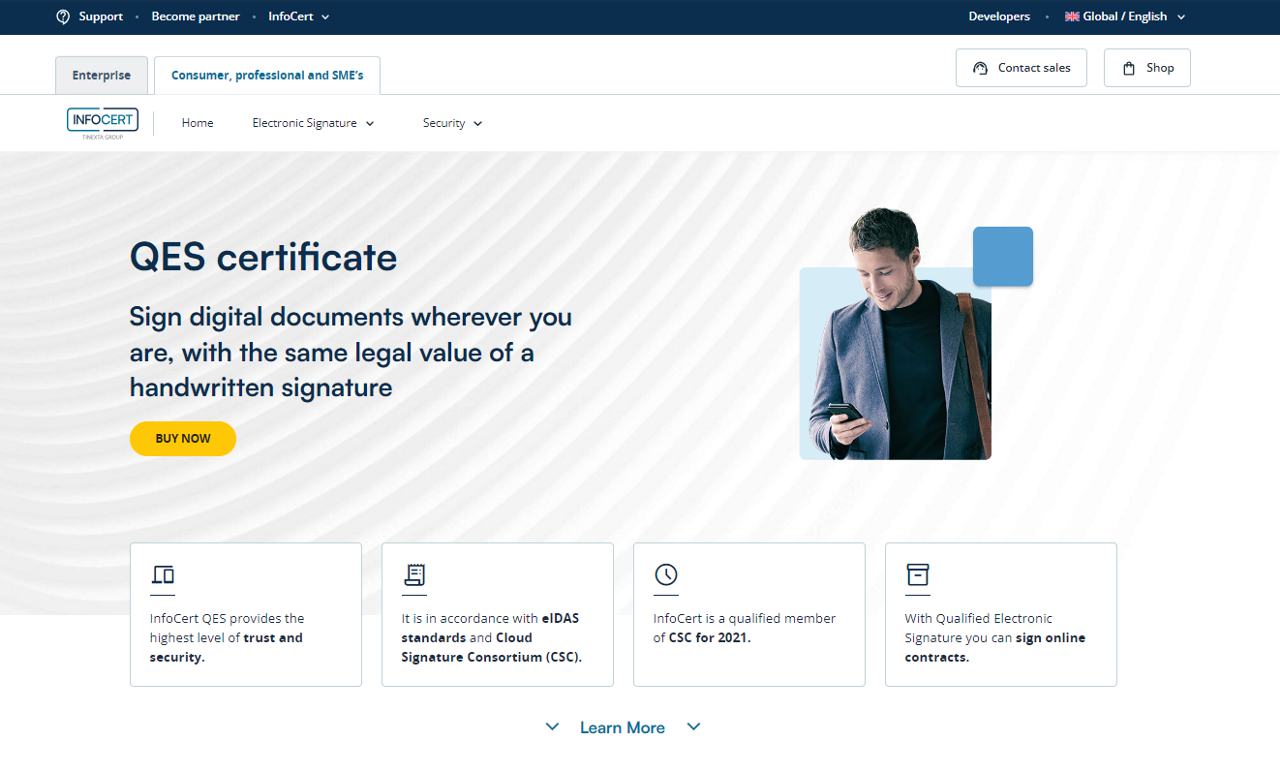
To request your QES certificate, you have to access this PAGE and click the button Buy Now on the “QES” card.
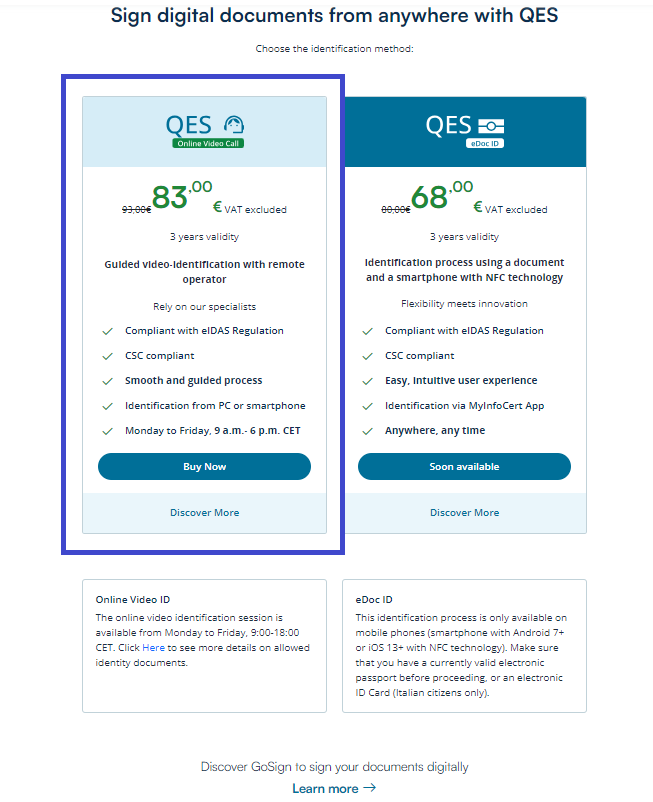
Select the type of recognition then to confirm your choise click on the Add to Cart button.
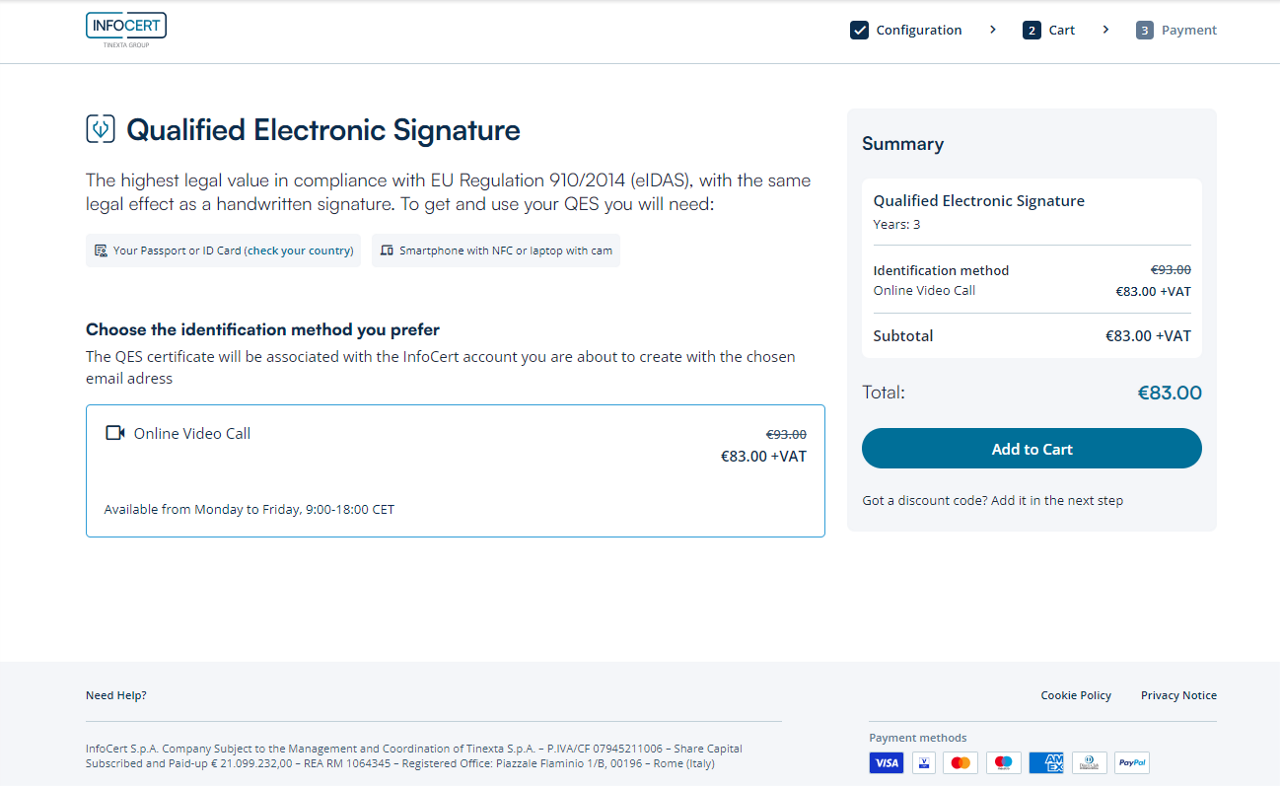
Once on this page, if you have a coupon, click on Got a discount code? Button to apply the coupon and click on Sign in & Check Out.
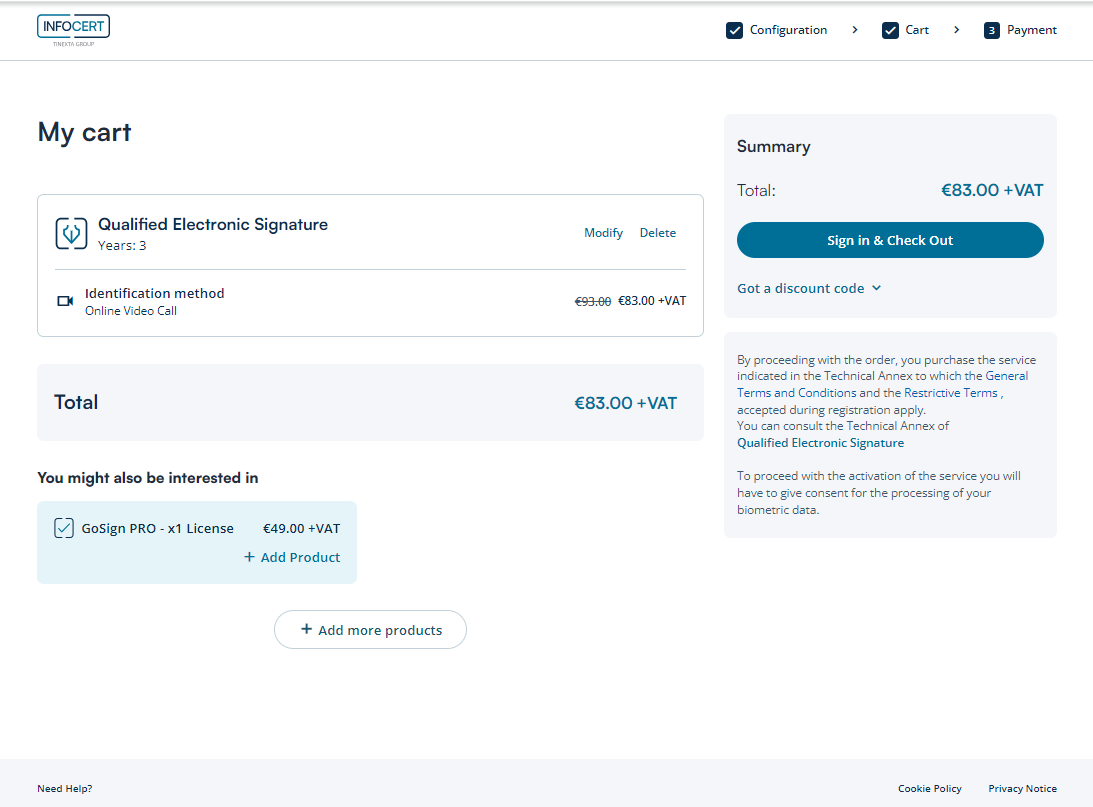
If you already have an account insert your credentials (e-mail address or UserID, password).
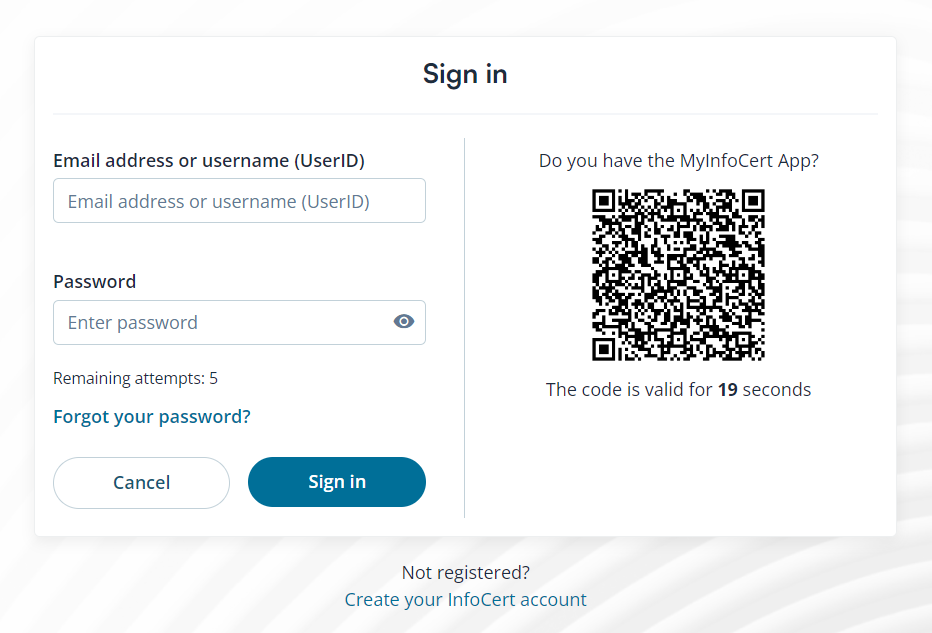
Otherwise, you have to sign up and create a new InfoCert account by clicking on Create your InfoCert account.
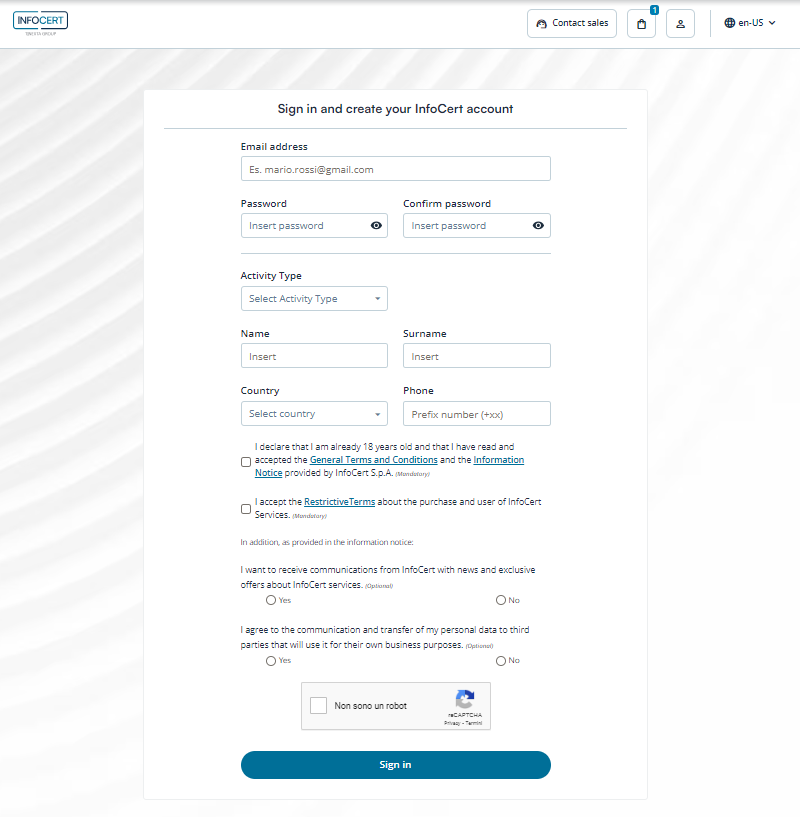
When choosing a password, the requirements needed for it to be valid are shown on the screen.
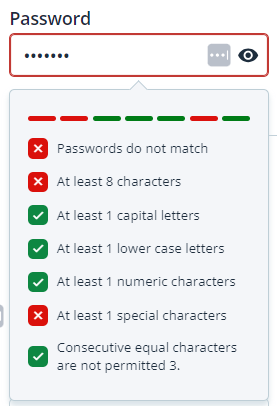
Finally, click on Sign in button to go on.
If you don’t have a discount code, the second step required is to proceed with the acquirement of your QES certificate.
Buy the QES certificate
If required, you need to insert your billing data and choose your payment method (Credit card, PayPal). Once done, click on Complete Checkout.
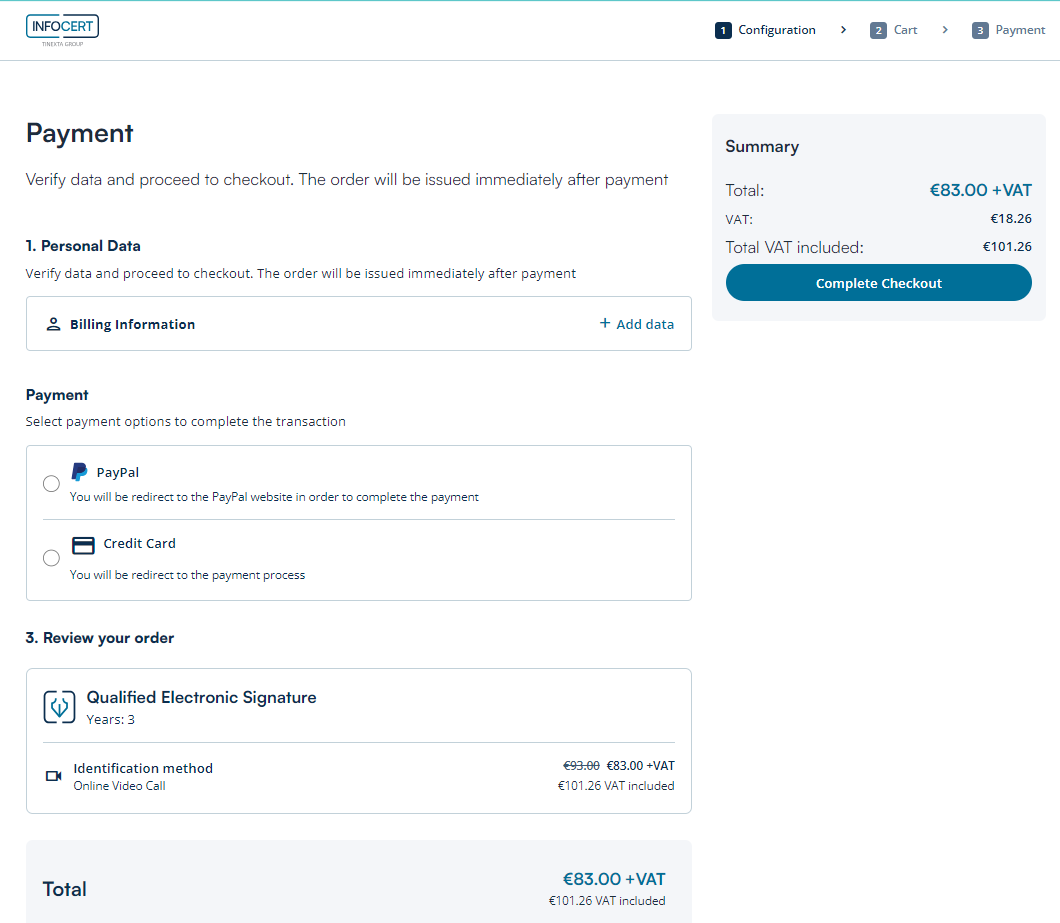
Next step is to enter your payment details, proceed from the Billing Information section by clicking on + Add data.
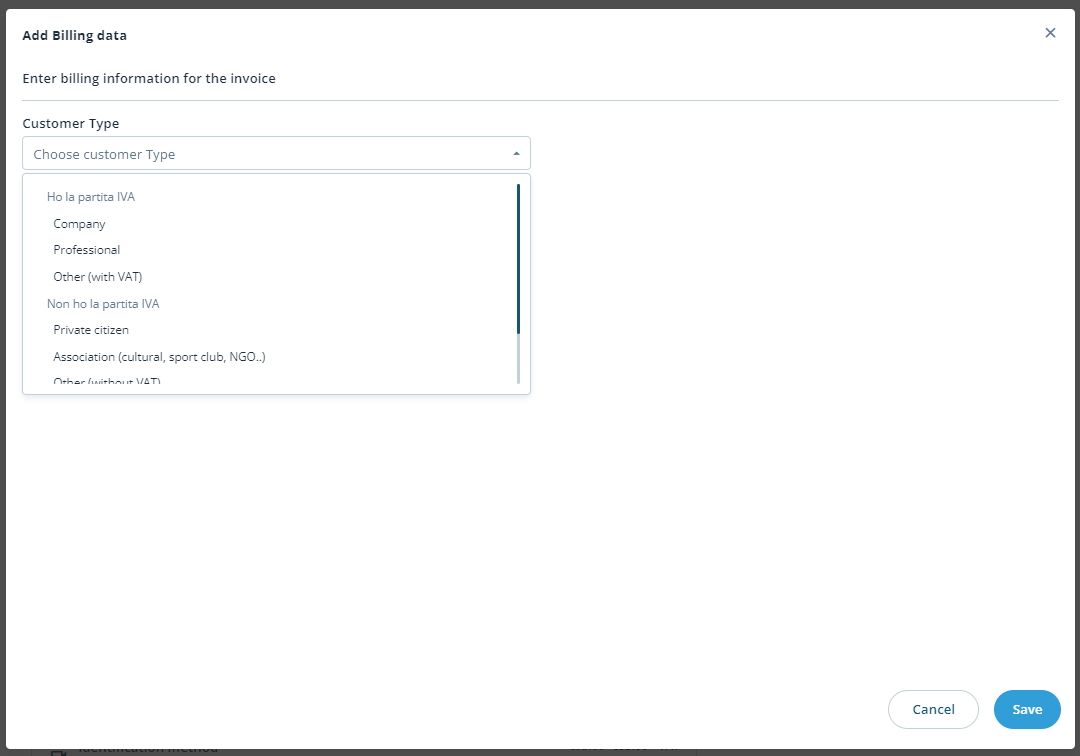
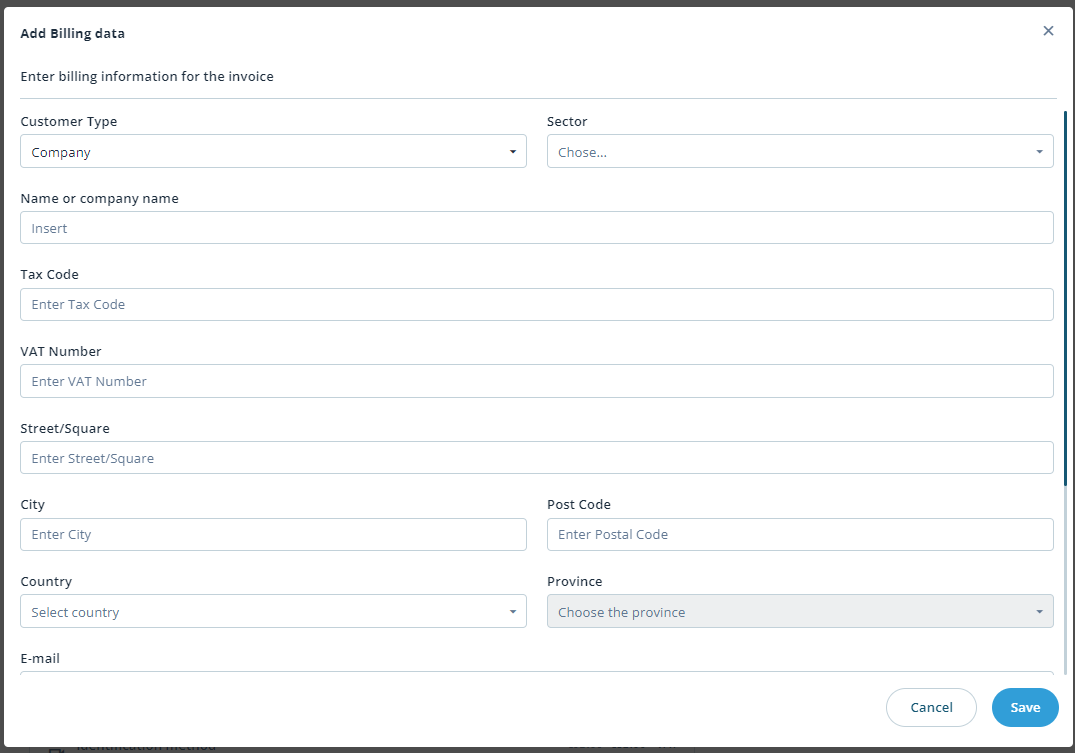
After saving the data, choose the payment method and confirm from Complete Checkout.

Click on the Go to Activation button, in the meantime, you will receive an e-mail with instructions on how to proceed with activation.
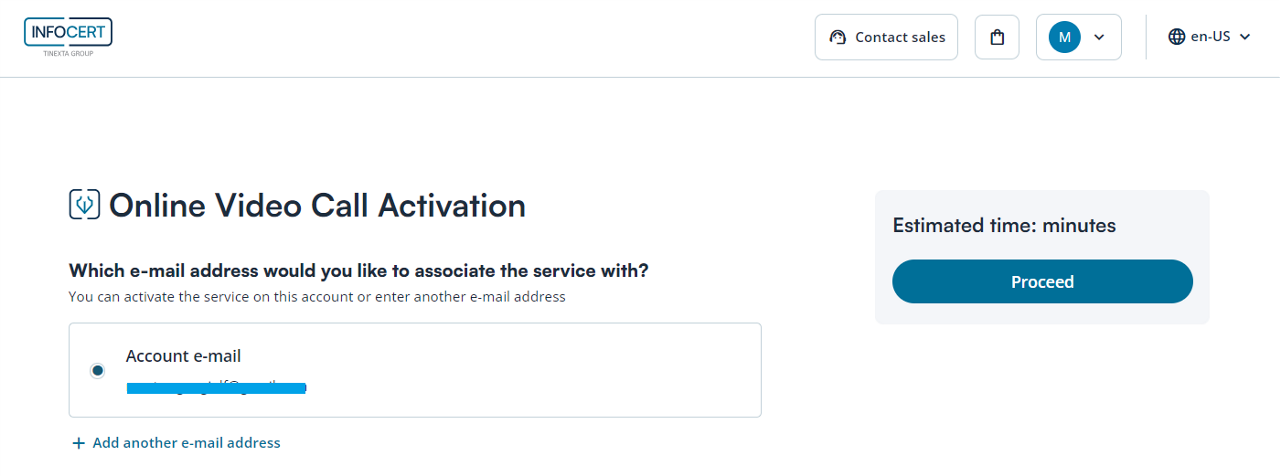
After choosing the email address to which you want to associate the digital signature, click on the "Proceed" button.
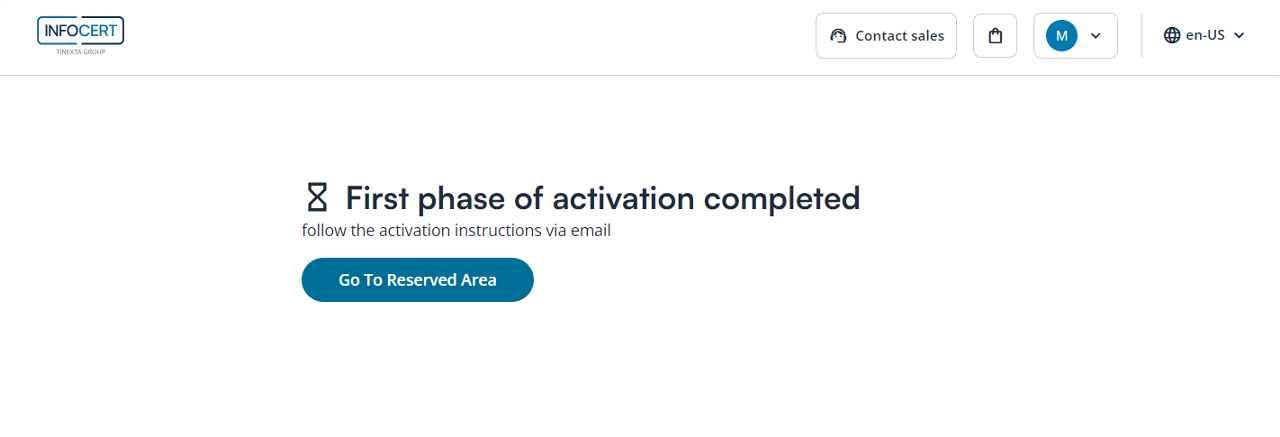
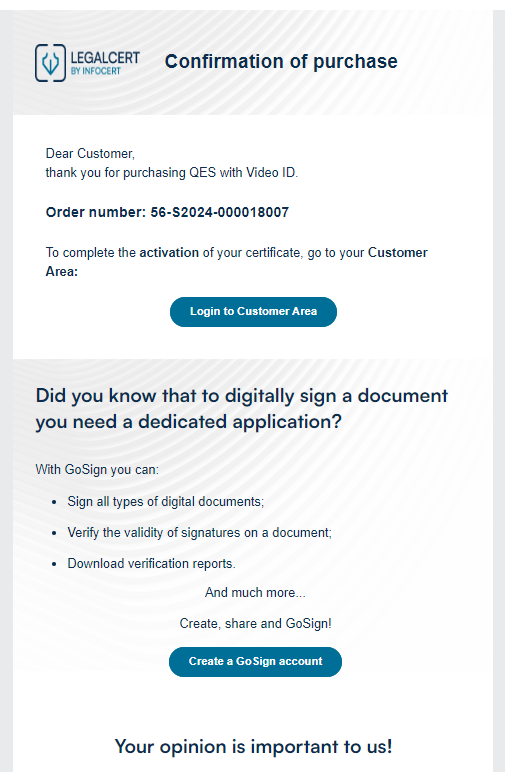
• Check the E-mail
After purchasing the QES, you can check the e-mail, where you can find the Login to Customer Area to carry out the la Video Call.
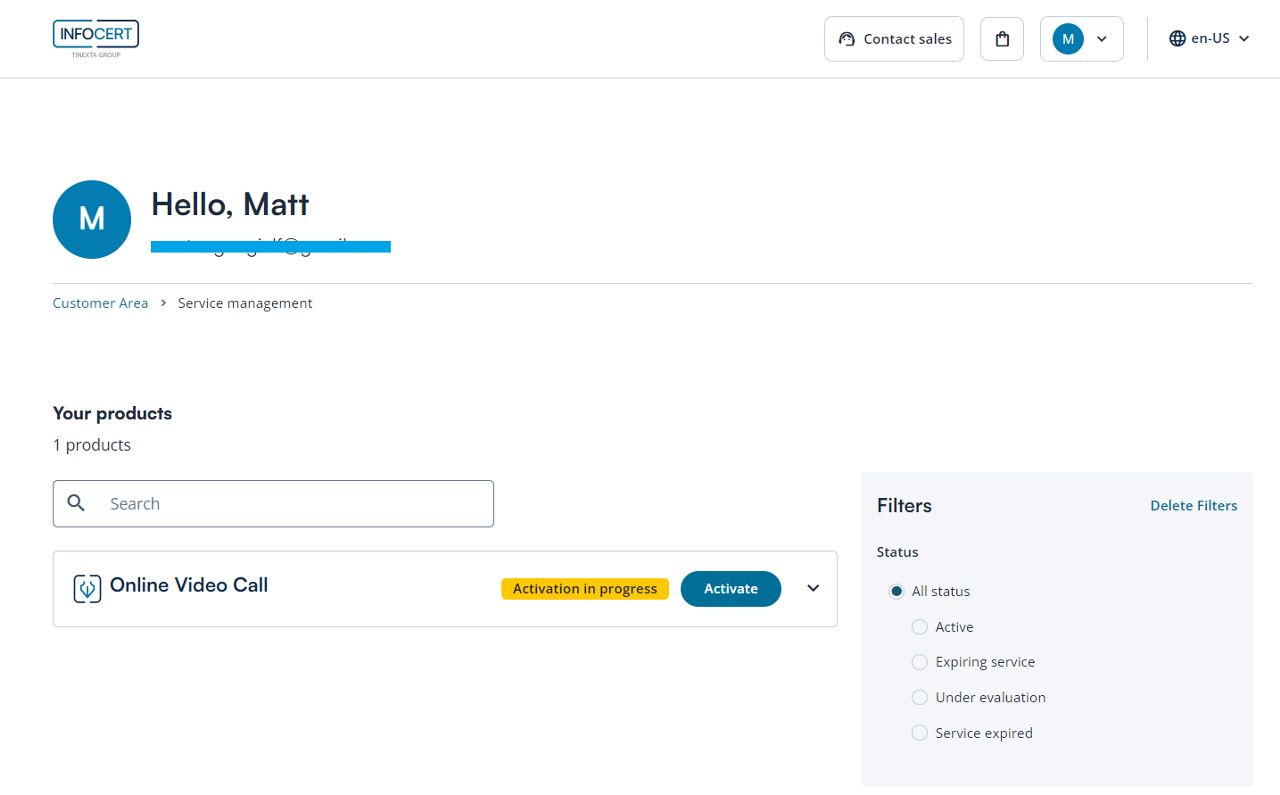
After log in, you can proceed to the recognition by pressing the Activate button.
Step 1, Welcome
The Welcome page shows you the list of activities to be completed in order to obtain your QES certificate.
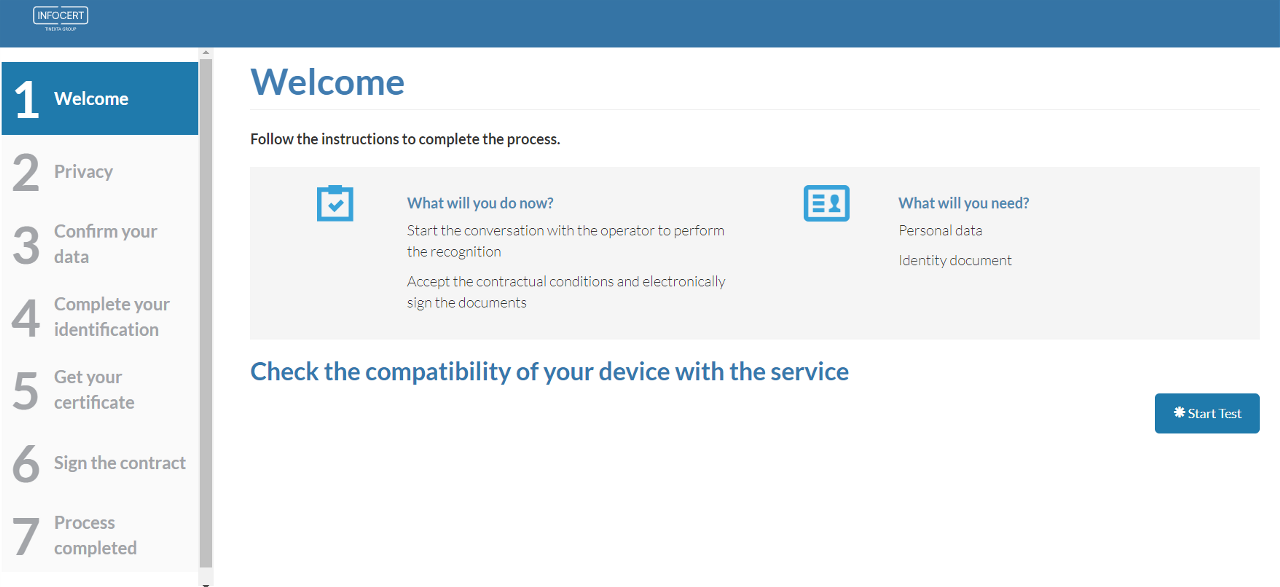
Before finalizing the insertion of your data, you are asked to:
verify that your computer (or device) is compatible with InfoCert’s live web session system. To begin the verification you need to press Start test button;
check the Privacy Information box, which consent to record of the webcam session the InfoCert Operator.

** Step 2, Privacy**
After performing the device compatibility test, you need to Confirm Terms and Conditions of service.
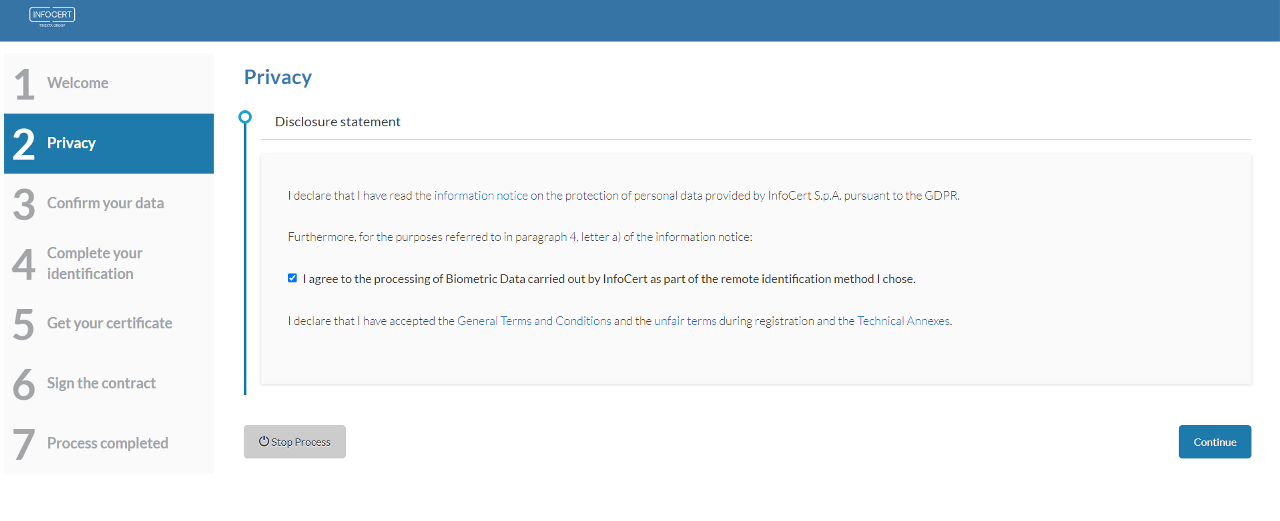
Step 3, Confirm your data
After which, you begin to insert your personal information.
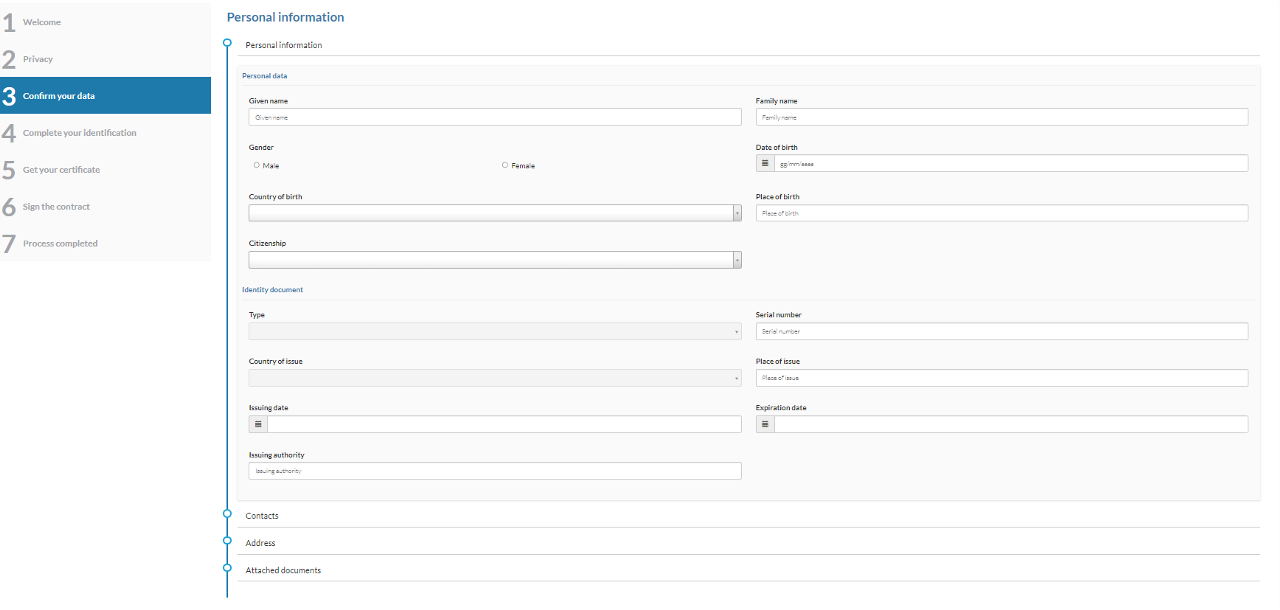
Then you must enter your personal information.
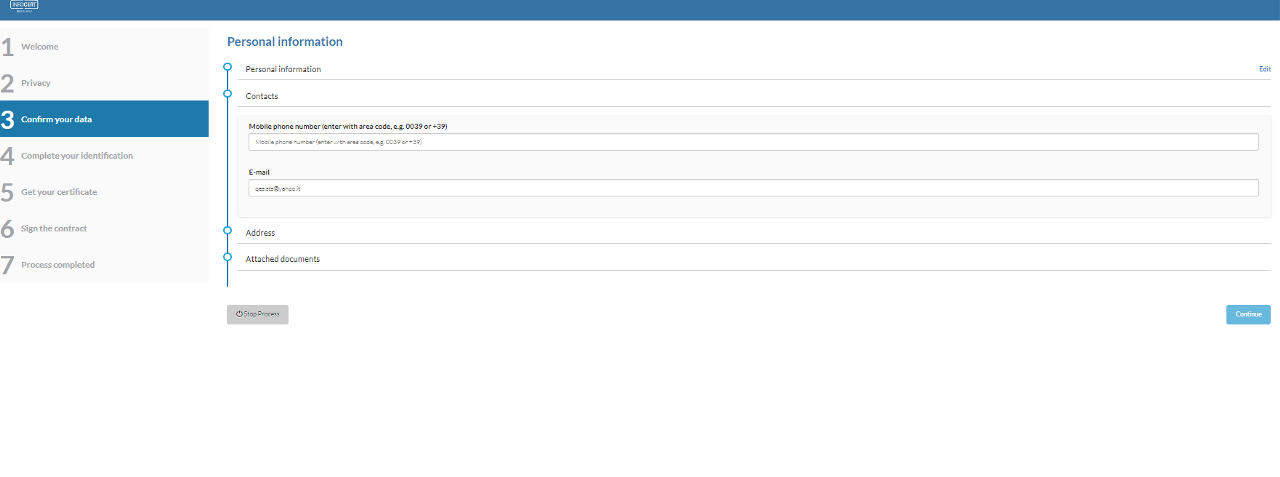
And finalize your activity by entering your contact details.

In the following step, you need to upload the chosen ID, alternatively you can take a photo directly with the device in use.

Step 4, Complete your identification
In order to obtain a digital signature certificate, you are requires to be recognized.
The live web session aim is to ensure the conformity between the data stated during the registration, the information present on the the recognition document and your person.
If there are no free operators, you can choose to wait or try again later.
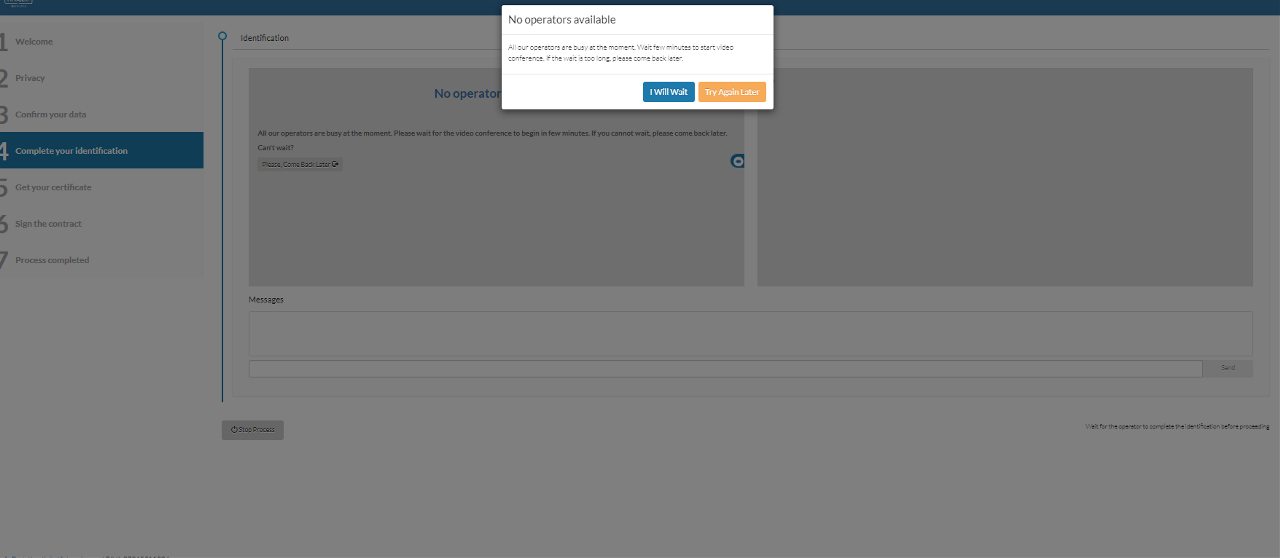
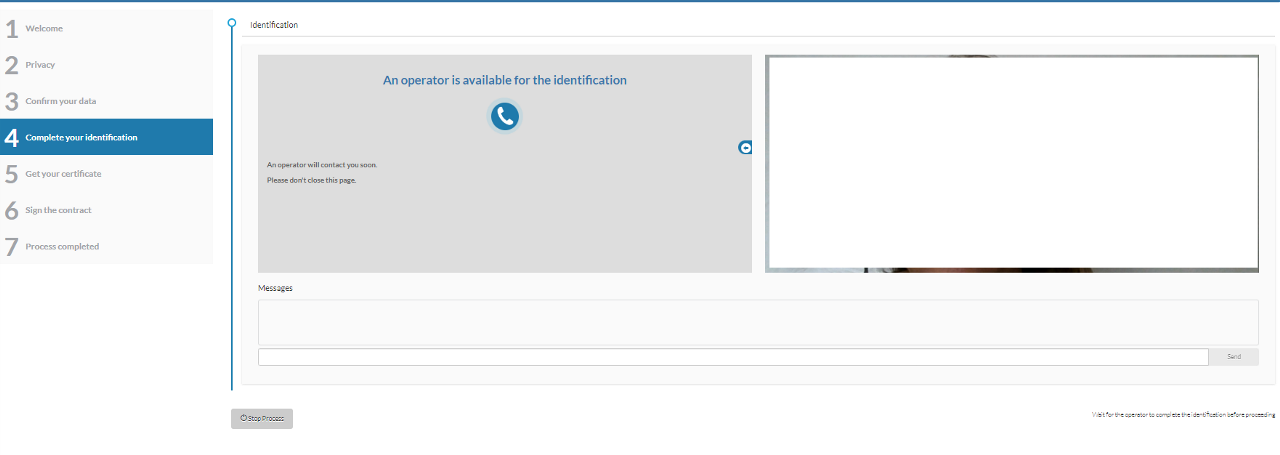
The "Identification page" allows you to connect with the first available InfoCert Operator.
During the live web session, you are required to follow the indications given to you by the InfoCert Operator:
At the end of the identification session, the InfoCert Operator closes the dialog box and allows you to continue the QES certificate request activity.
Step 5, Get your certificate
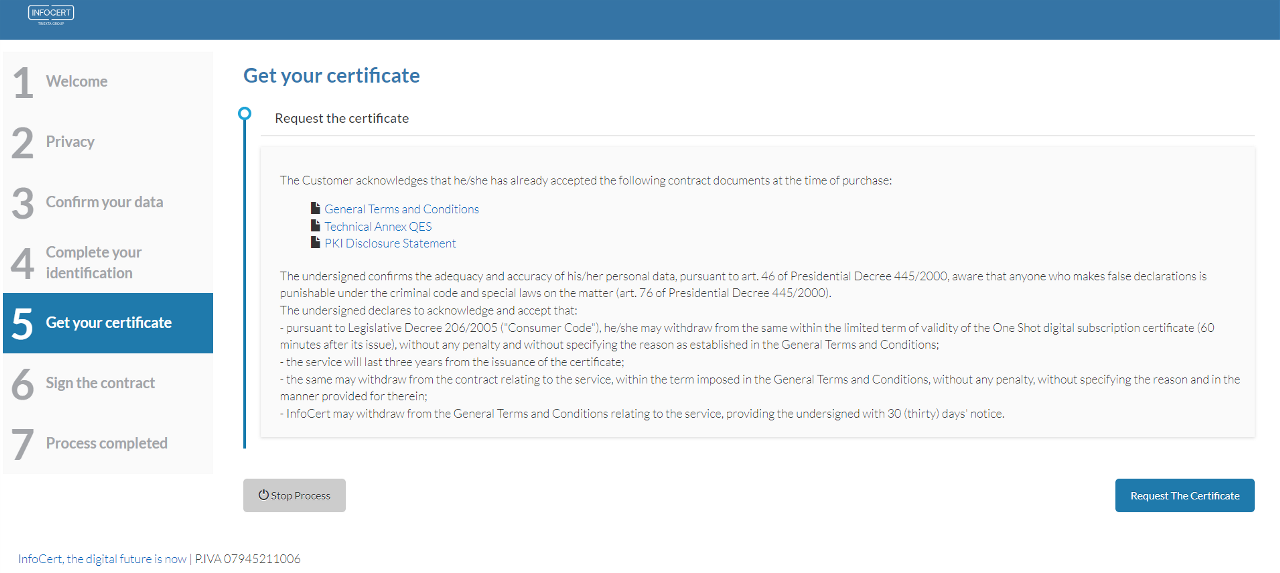
The next page shows the contractual documentation.
You are supposed to read the Terms and Conditions and the Certificate Practice Statement (CPS) documents, to accept the shown statements and confirm the data processing clauses. To proceed, put flags and click the Request The Certificate button.
Step 6, Sign the contract
A final verification of all data inserted and acceptance of General and Specific Terms and Conditions statements, can be found through the Registration and Certification Request page.
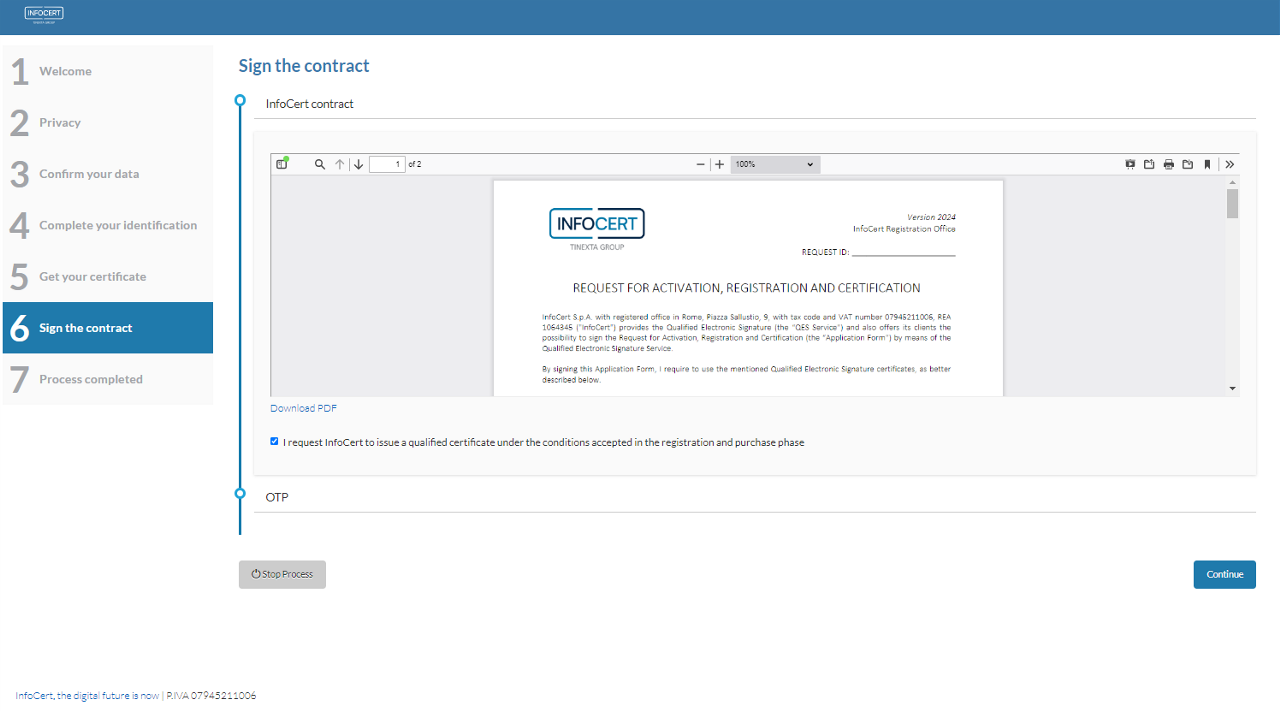
After clicking on "Continue" you access the part for setting the PIN code for the QES digital signature.
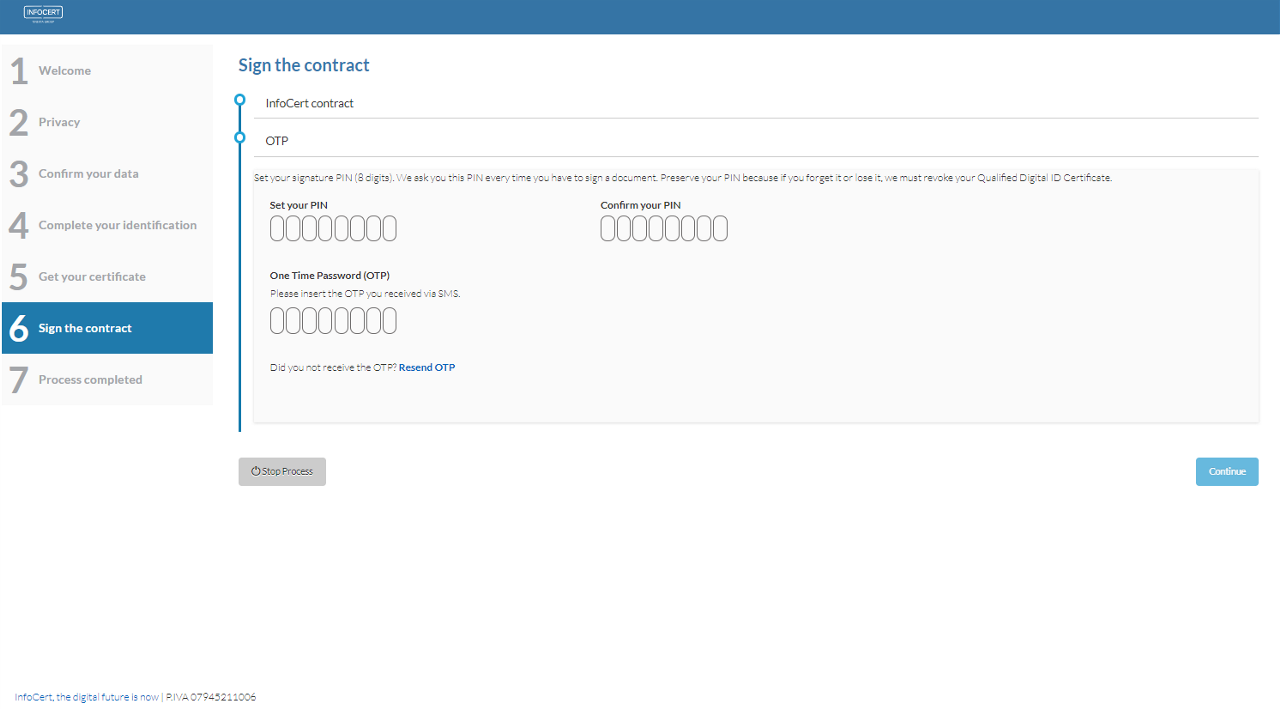
Enter the OTP code received on the mobile number previously entered and click on "Continue".
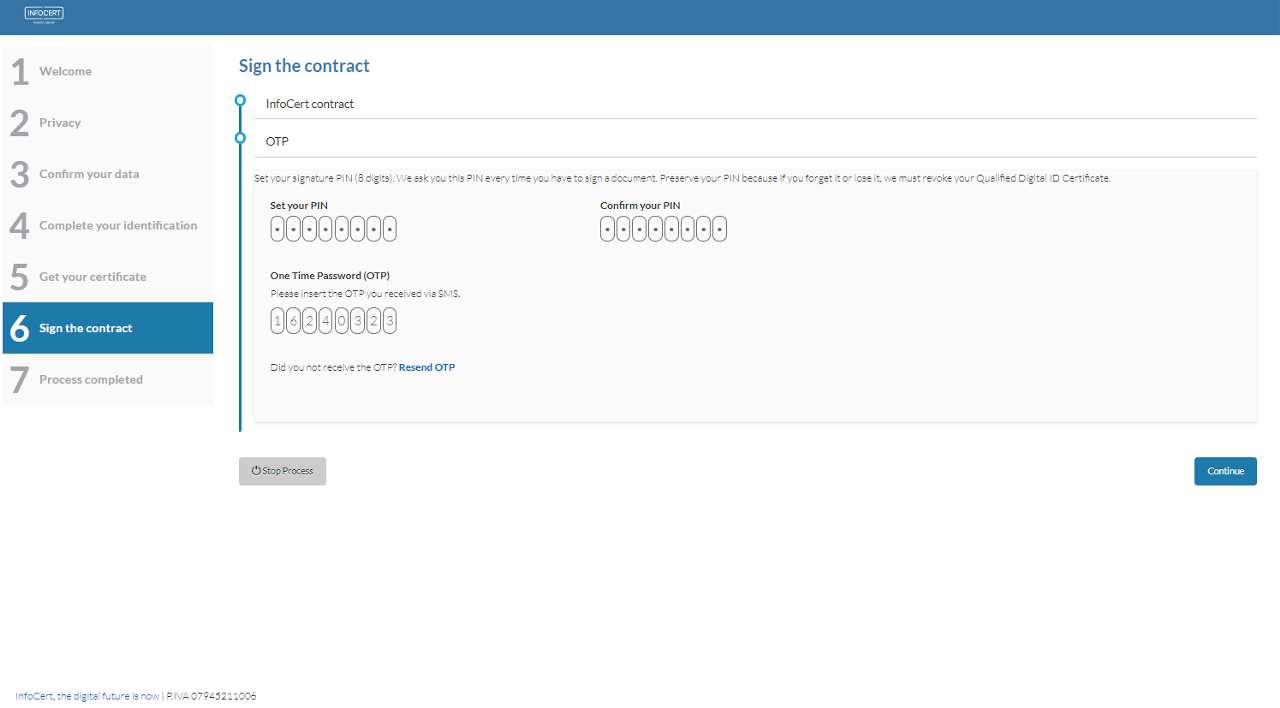
Step 7, Process completed
The QES request process is ended. You are supposed to save the signed contractual documents and click on Finish button.

An on-screen message will tell you that the identification process is complete.
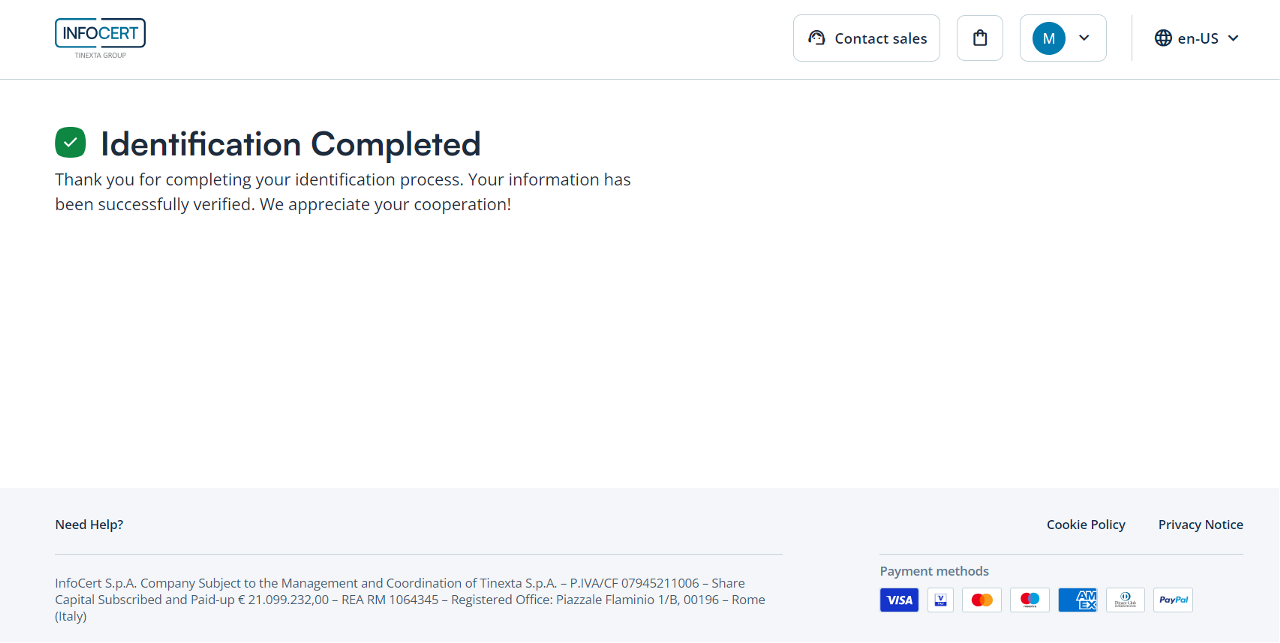
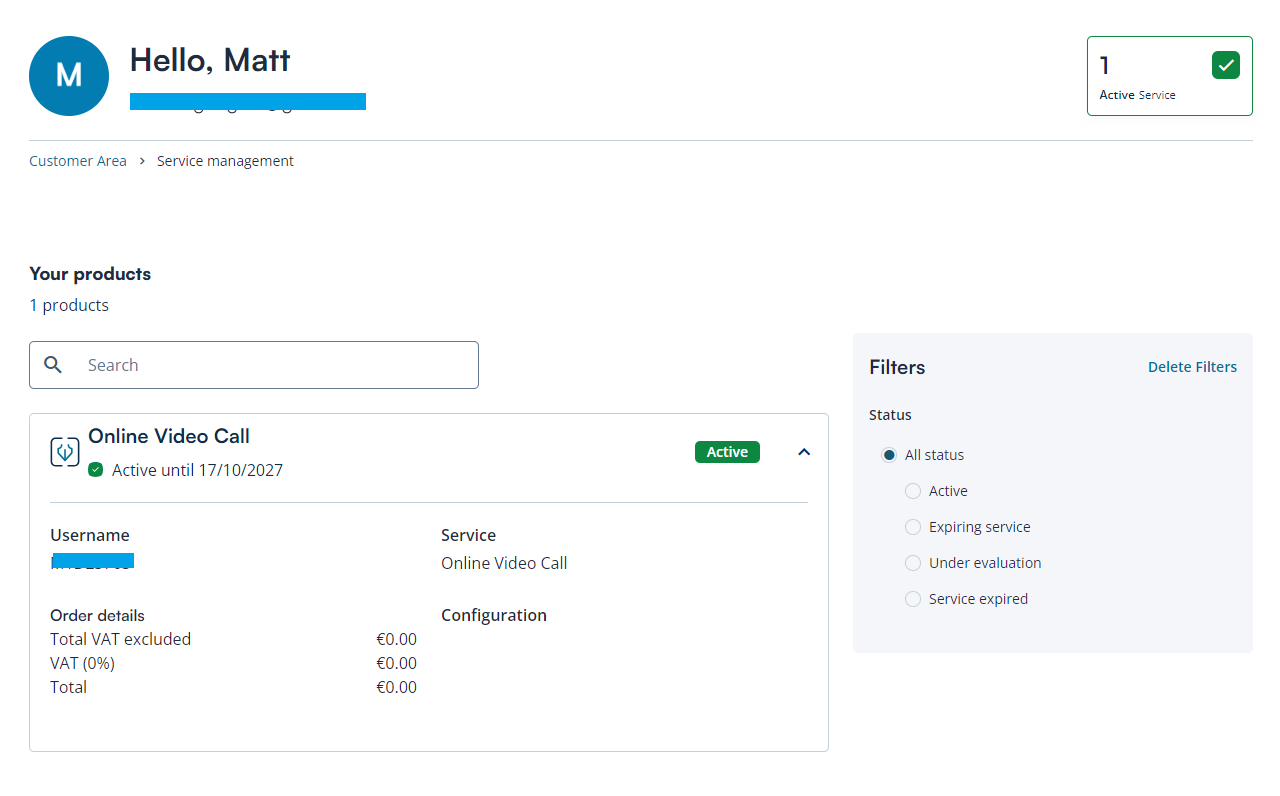
Customer Area > Your Products
At this point, go back to your "Customer Area" and by clicking on the "My Services" box you will finally find that the video recognition procedure is finished and therefore your QES signature certificate is finally active and working.
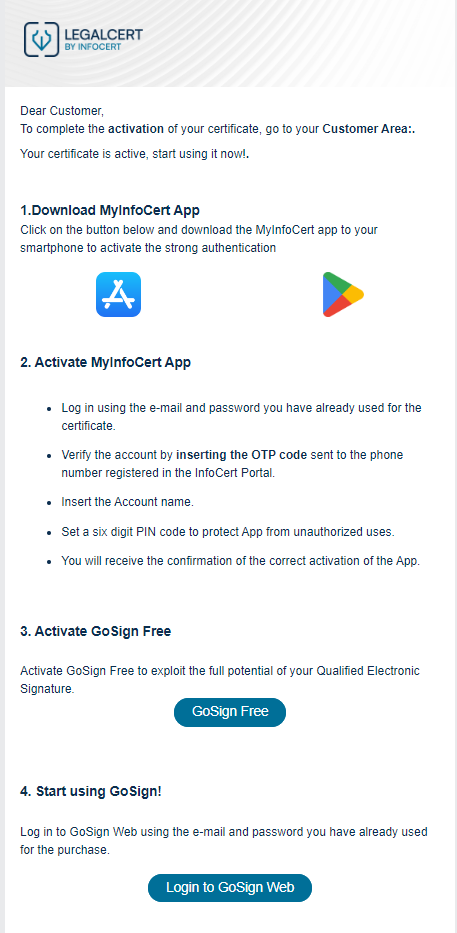
Check your email, you will find a message confirming the activation of the QES service and indicating the next steps to use the QES signature:
download the MyInfoCert App to generate free OTP codes
download the GoSign software and configure your QES signature to start signing documents.
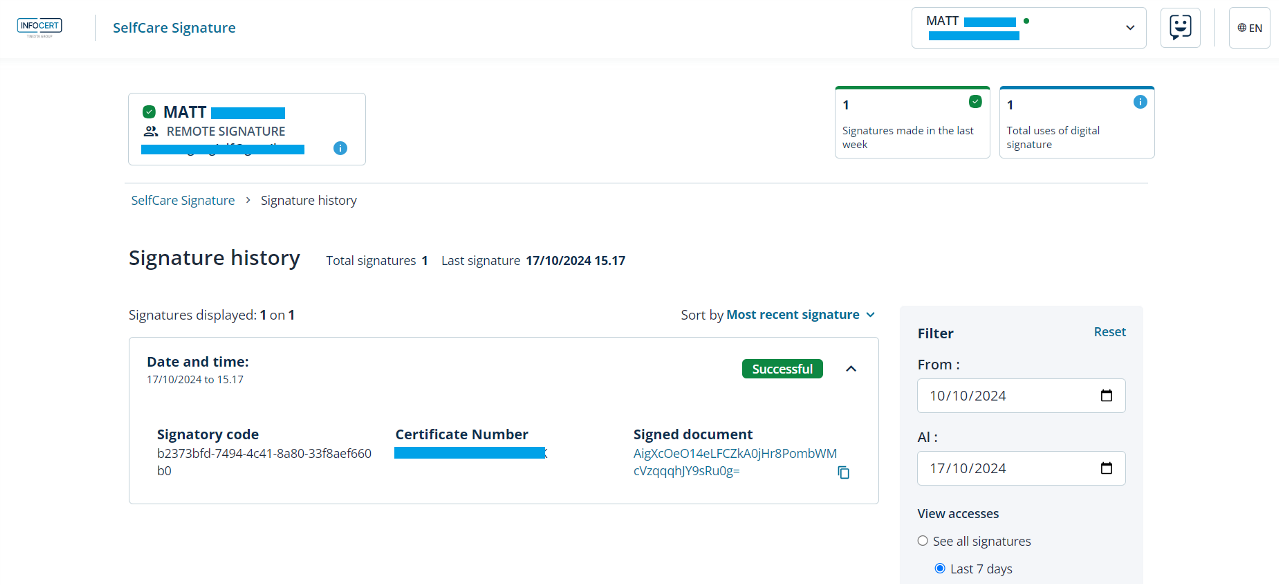
To view your QES remote signature usage history, log in to the MySign signature portal with your signature credentials.
