- What you need
- Start activity
- Document Signature
- Document Verification
- Time Stamping a document
- End Activity
 Guide to Signing Documents with Infocert Sign (Mobile)
What you need
- A valid sign certificate;
- PIN number to finalize your signature;
- Infocert Sign mobile app installed in your Smartphone or tablet;
- The phone number you entered in the registration process to receive SMS with OTP number;
- A file to sign;
- An internet connection.
Start activity
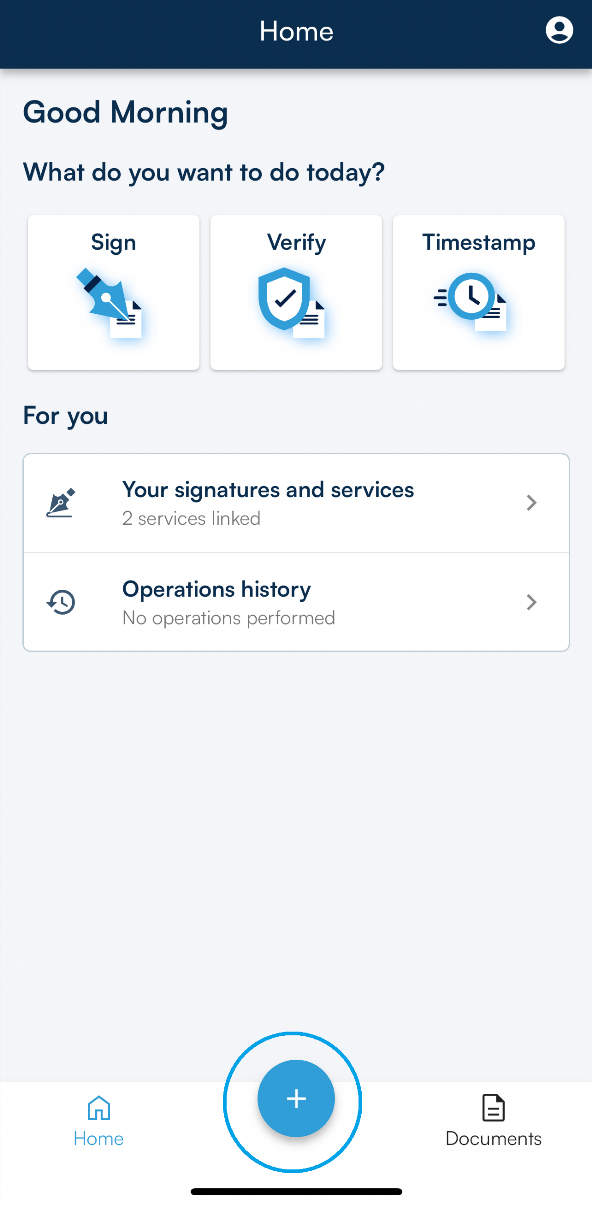
Click on Infocert Sign Mobile Icon to open the app.
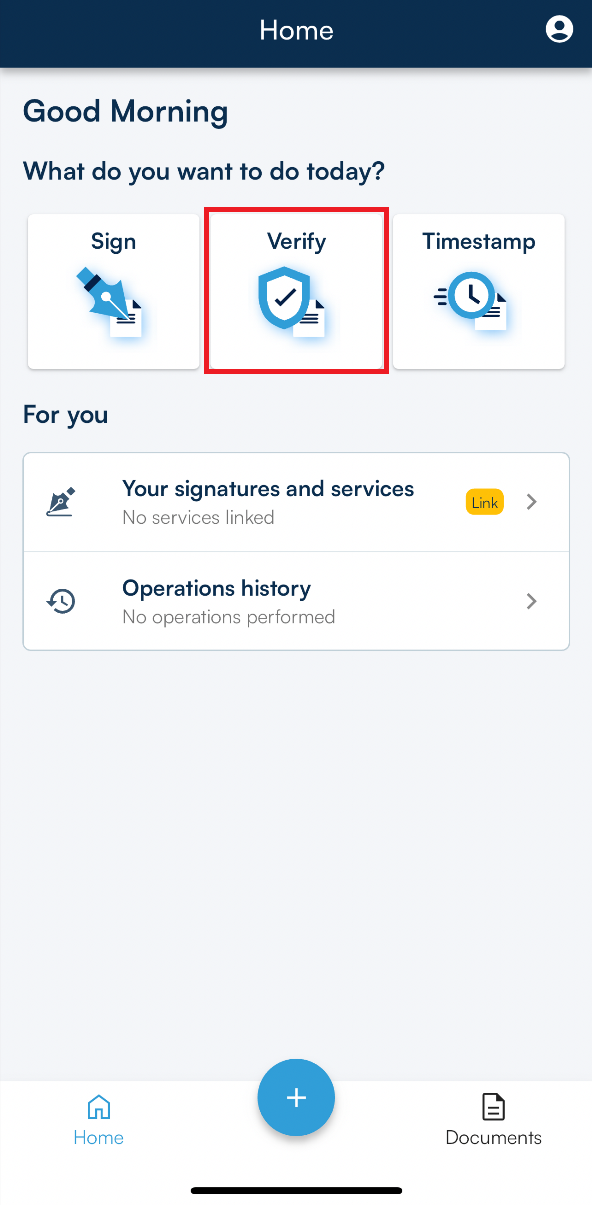
In the home page you can choose different options:
- Sign a Document;
- Insert a time stamp on your document;
- Verify validity of a signed document.

Document Signature
You can select the document you want to sign in two ways:
- by clicking on the Sign section on the App's Homepage
- by clicking on the + icon at the bottom of the main page.
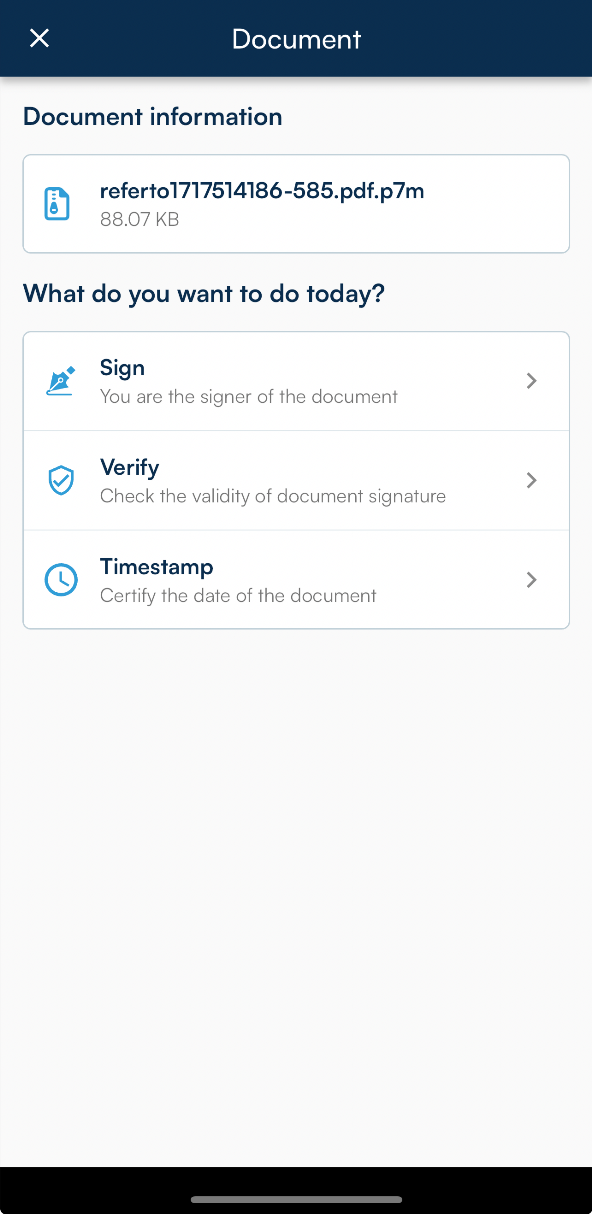
Once you have selected the file, you will be presented with the choice of possible options.

Choosing the signature format
Once you have identified the path to get to the folder where your documents are saved, you will have to select the one you want to submit to the chosen operation.
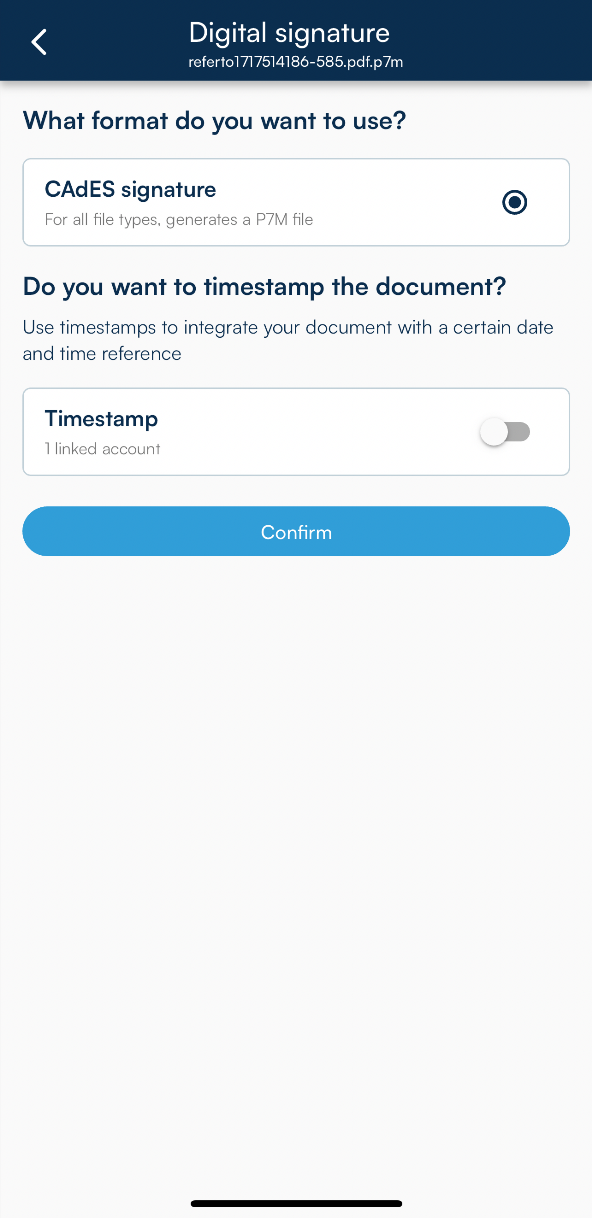
The next step is to indicate the signature format to be affixed to the document.
Infocert Sign Mobile allows you to choose between two types of signatures: CAdES, which returns documents signed in .p7m format and allows you to sign any type of document, and PAdES and can be chosen if it is a document in .pdf format and returns a document signed in .pdf format.
In addition, if you have connected Infocert Sign Mobile to the timestamp service, you will be able to add a timestamp at the time of signing by selecting the Timestamp option.
Then proceed by clicking on the blue Confirm icon.
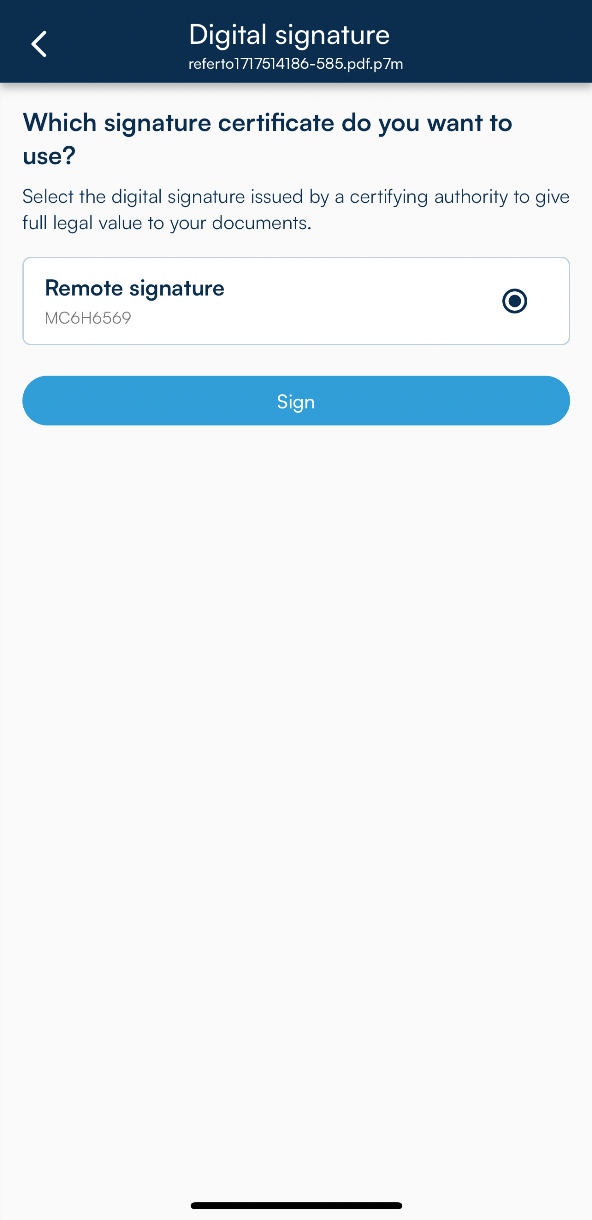
The next step is to select the remote signing certificate with which to digitally sign the document.
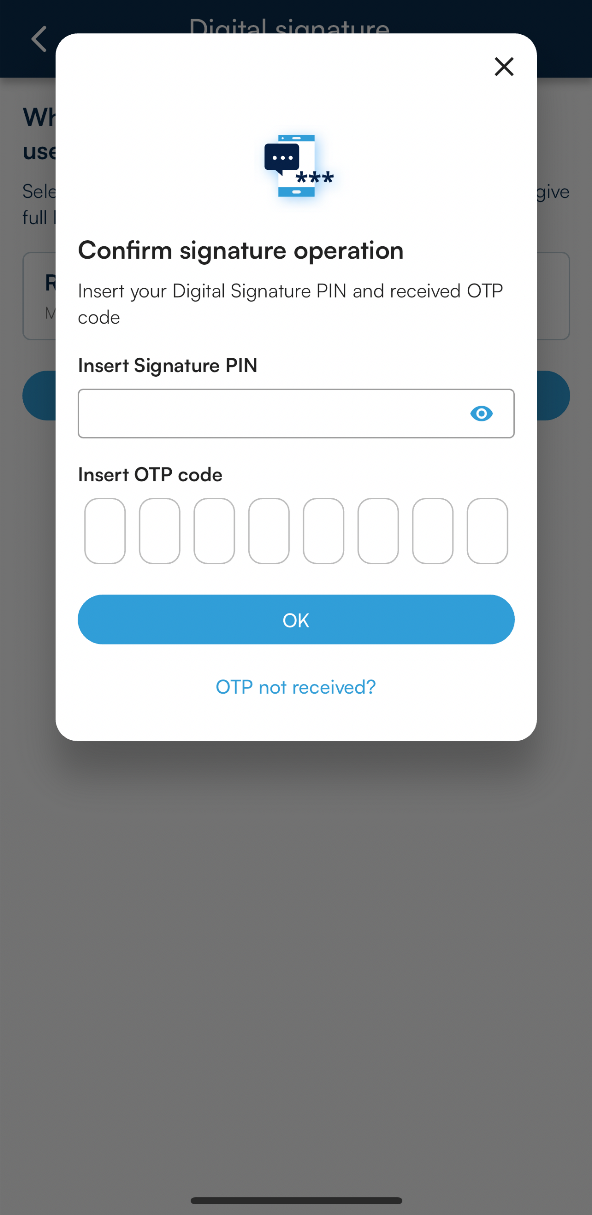
At this point, you will need to enter the security PIN of your certificate in the Insert signature PIN section and OTP code received by SMS field and continue by clicking on the Ok button.
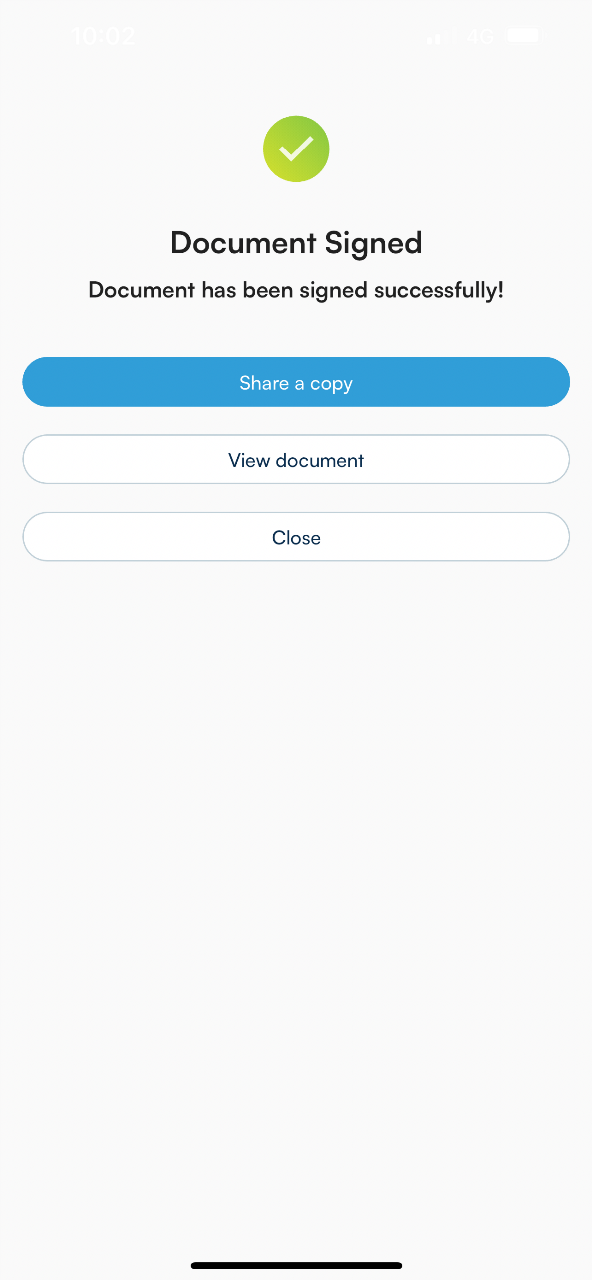
A confirmation message will appear when the signing operation is complete.
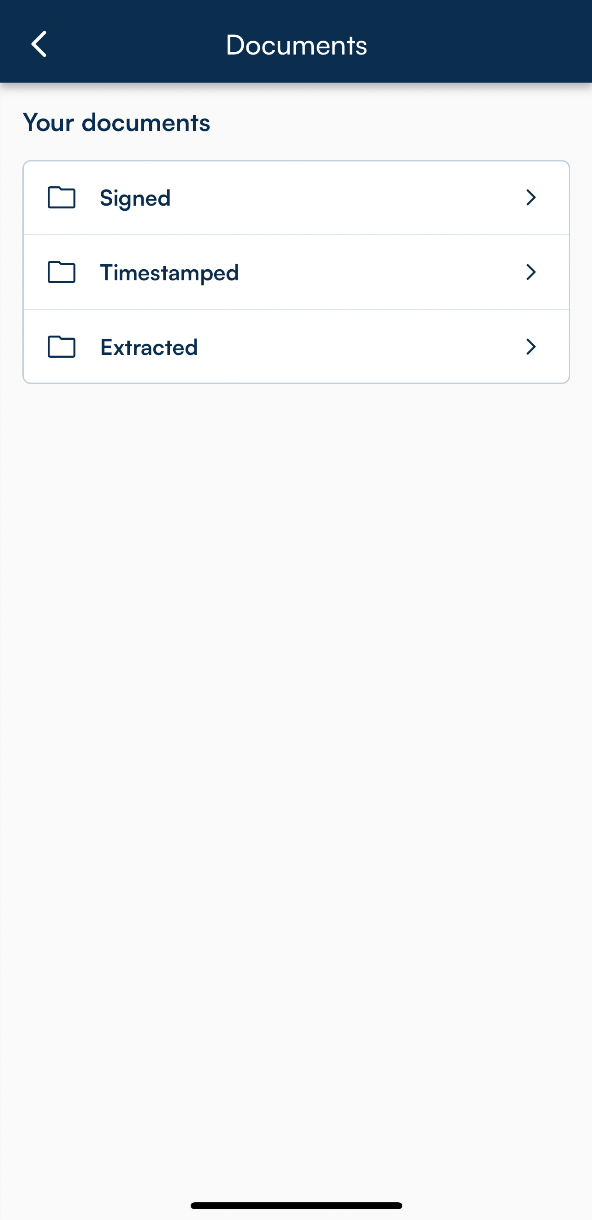
Digitally signed documents are saved in the Signed folder in the Documents area of the Infocert Sign App.
Sharing signed documents
On the screen showing the outcome of the signature operation, you can share the document by clicking on SHARE A COPY: the list of possible sharing options will open and you will be able to choose one of them.
Document Verification
Verifying a digitally signed and/or stamped document is just as important as signing and timestamping.
Infocert Sign Mobile provides the Verify feature on the App's Homepage. By clicking on the icon and you can select the signed and/or marked document to be verified.
- Outcome of the audit
Once you have chosen the document to be verified, Infocert Sign Mobile's response is direct and consist of presenting the signature and signer information.
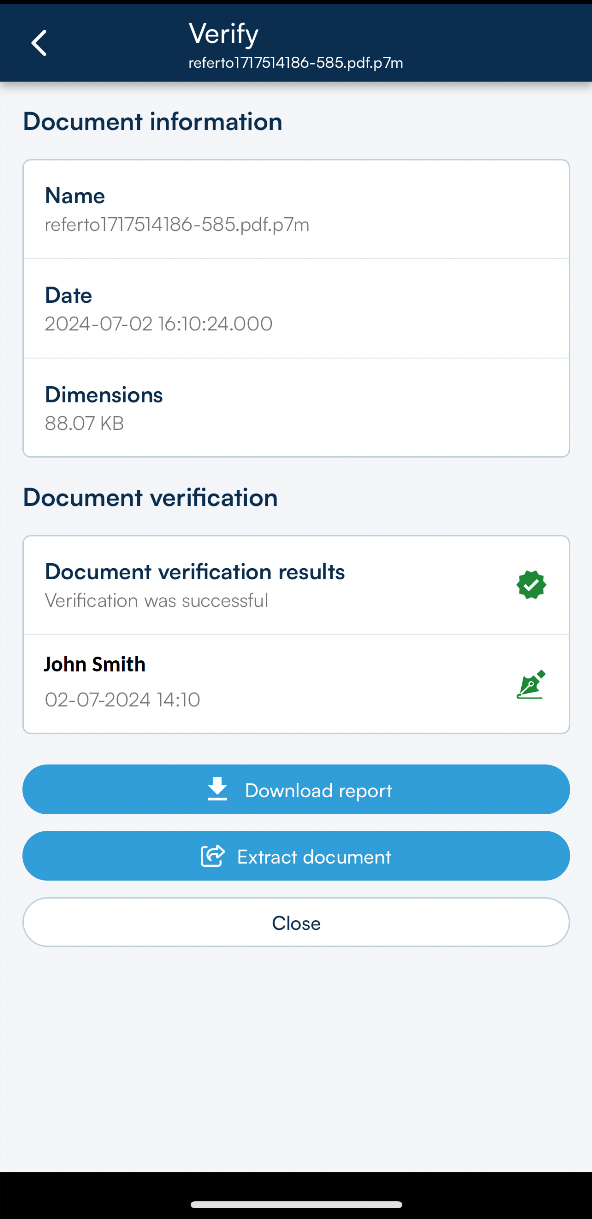
By clicking on Download report, it will be possible to download the result of the digital signature verification with detailed information on the certificate used to sign.
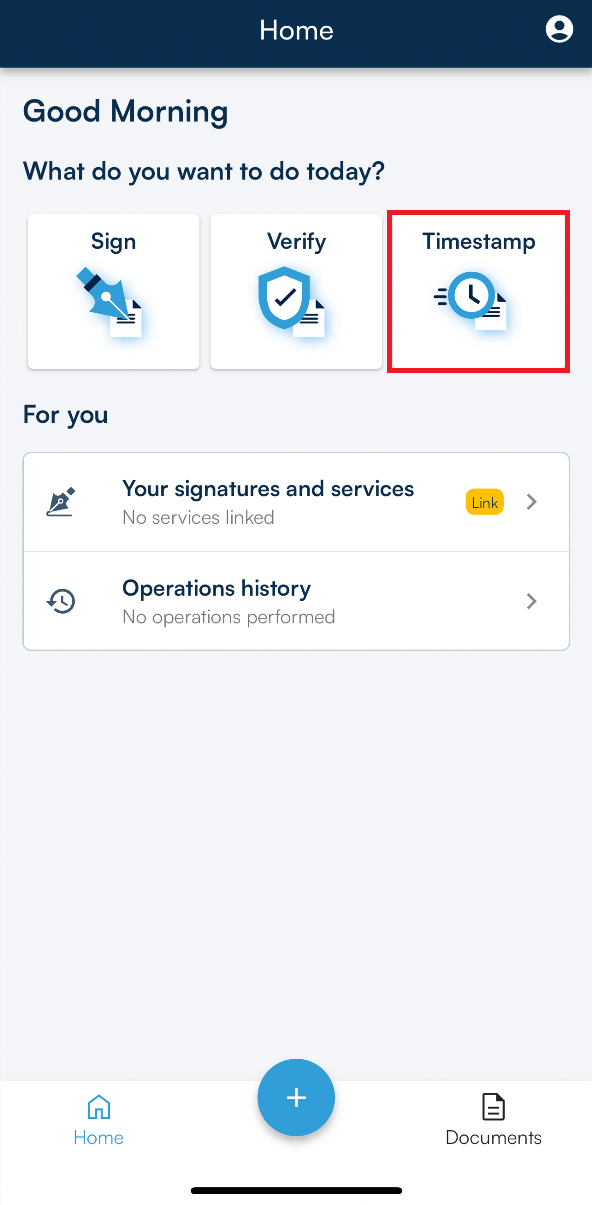
Time Stamping a document
If it is necessary to prove – or validate – the existence of a document on a certain date, it can be done by using timestamping.
It is possible to access the documents to be marked from the Timestamp section or by clicking on the + icon, options on the homepage of the Infocert Sign App.
The timestamp can be affixed to both already signed and unsigned documents.
Infocert Sign Mobile allows you to get:
- documents that enclose, together, the document with its timestamp (they are presented with the .tsd extension);
- documents whose timestamp is affixed in detached mode, i.e. document and timestamp are separated (timestamps are presented with the .tsr extension);
- documents that contain the electronic document and its timestamp (they have a .m7m extension).
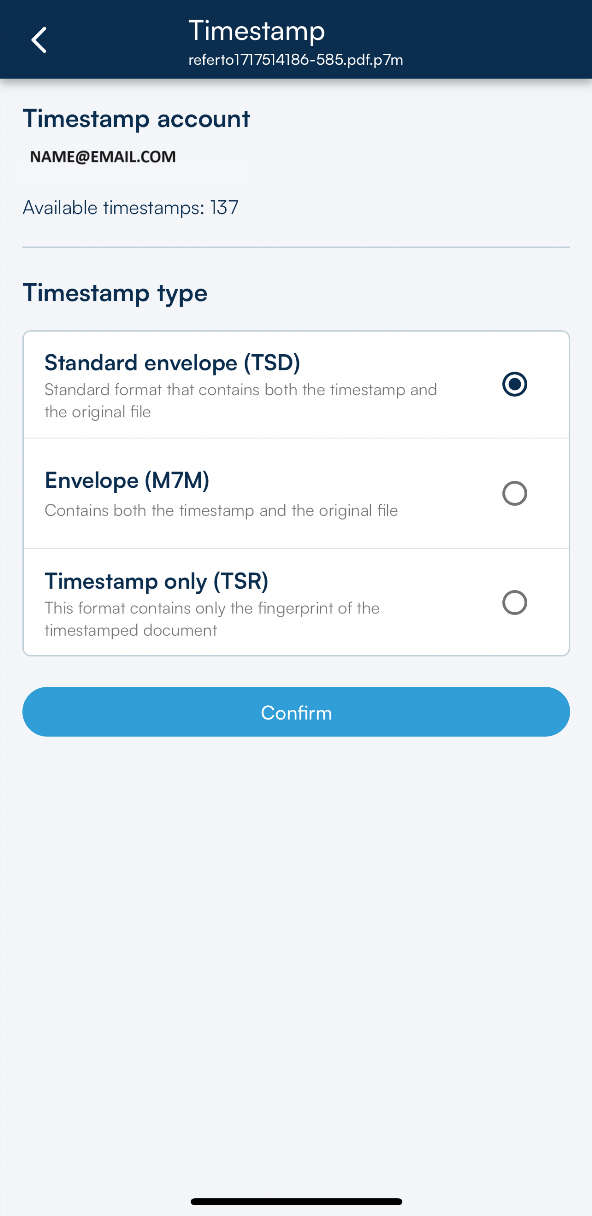
Once you have identified the type of timestamp you want to affix to the document, all you have to do is select the corresponding option and continue by clicking on the Confirm button.
At the end of the operation, Infocert Sign Mobile will confirm the success of the operation.
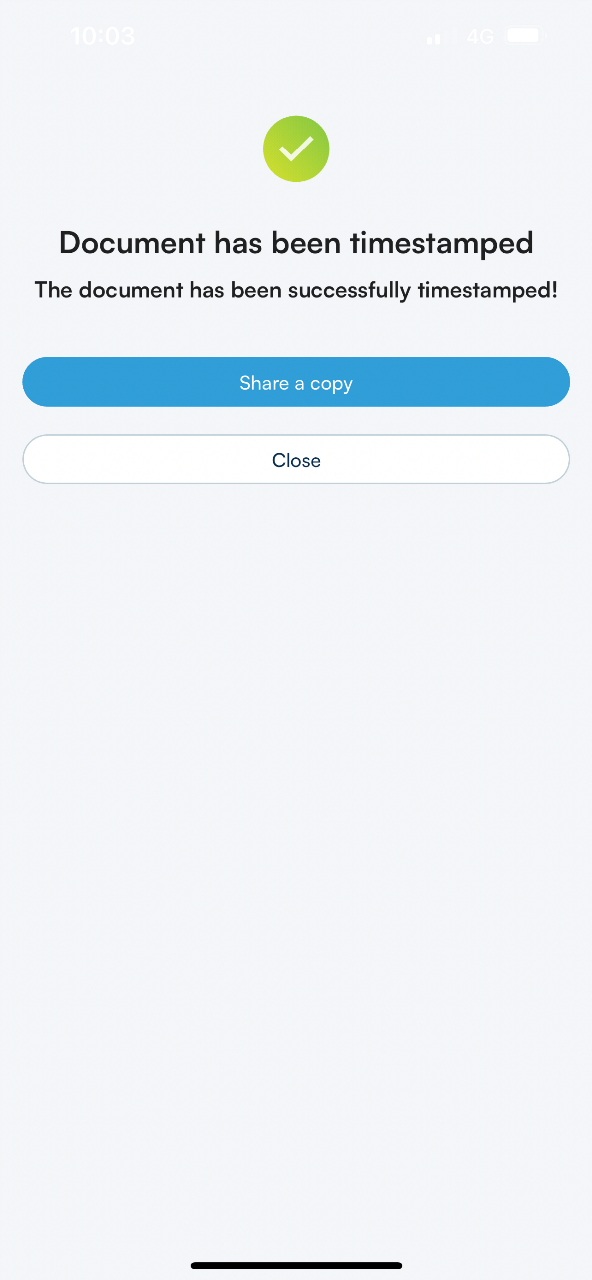
Time-stamped documents are saved in the Timestamped folder in the Documents area of the Infocert Sign App.
On the screen in which the result of the marking operation is shown, it is possible to share the marked document by clicking on SHARE A COPY: the list of possible sharing options will open and you just have to choose one of them.
End activity
At the end of the signature/timestamping of a document activity, or verifying the validity of a signature/timestamp activity, you can close Infocert Sign Mobile.
