 Guide to using Qualified Verification with GoSign Desktop
With GoSign Desktop's new "Qualified Verification" feature, compliant with the eIDAS regulation, you can certify electronic signatures, seals and timestamps with a verification report sealed by InfoCert.
The following are the main reasons for using Qualified Verification:
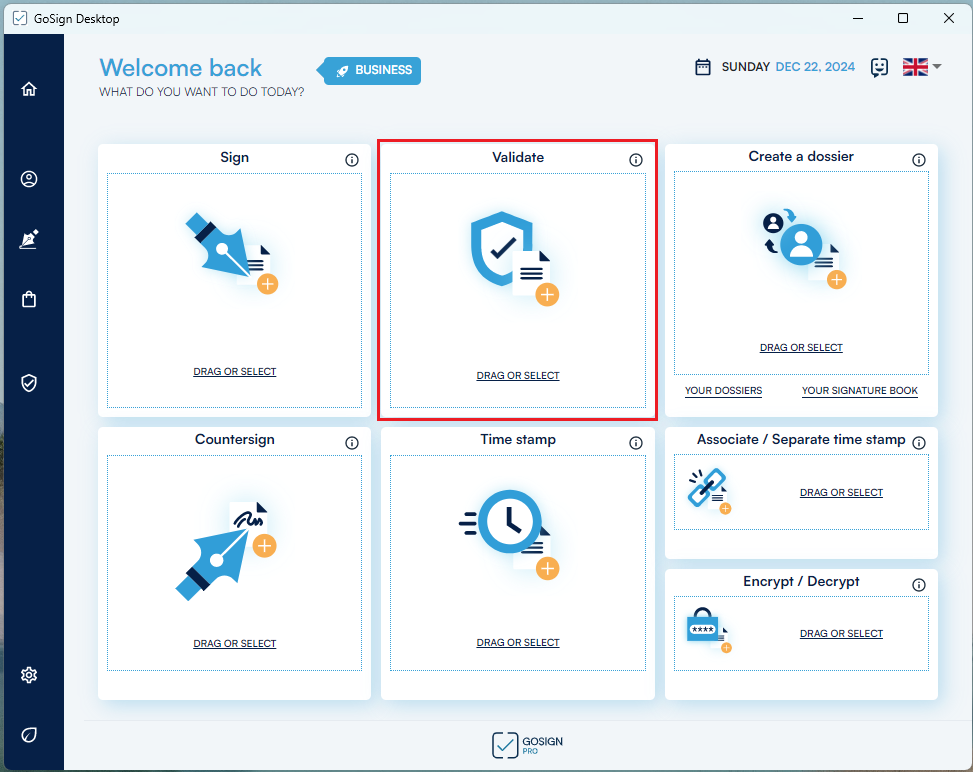
When GoSign Desktop starts, click on the "Validate" box to select, from your PC directory, the file of interest on which you want to verify the presence (or absence) of digital signatures.
You can also drag the same file onto the box so that the Validate function is selected.
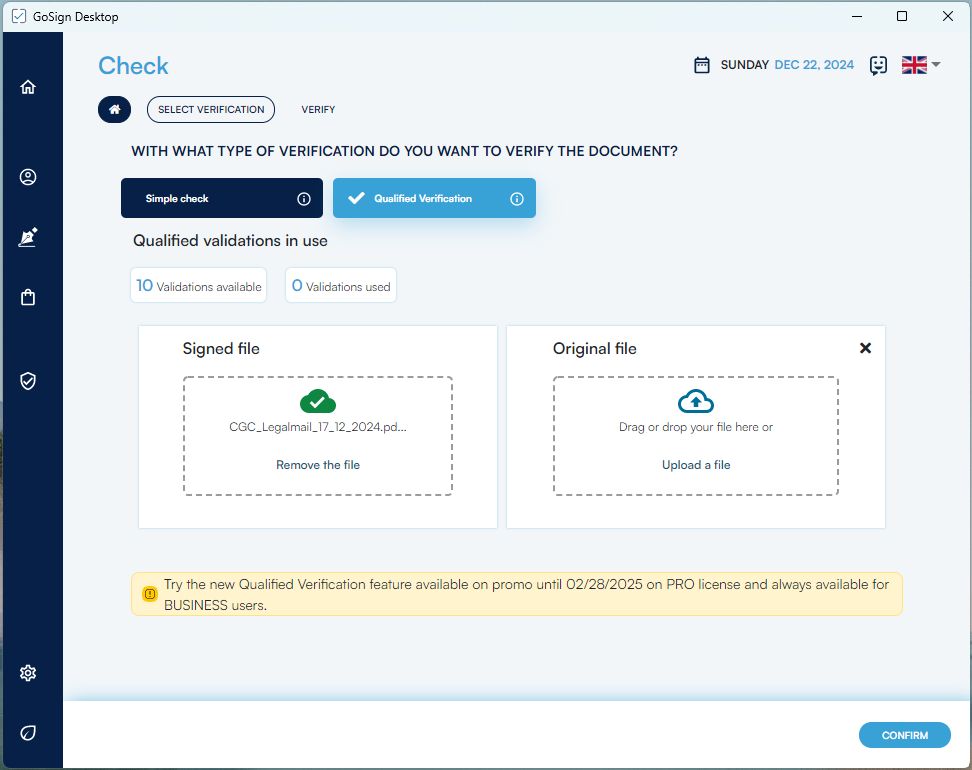
Select the "Qualified Verification" option.

At the top, a counter is visible with a total of 10 daily qualified checks available to the user (*).
In the center of the page, in the "Signed file" field, you can see the document that was previously selected on which you want to perform the check.
Click CONFIRM to start the check.

(*) NB: when the available checks are completely exhausted, they are reloaded the following day, returning to 10 again.
Where you have a Detached Signature (*) by clicking on the wording "Also upload an original file (detached signatures only)" we are given the option to also upload the "Original file".
Click on CONFIRM to continue.
(*) NB: A detached digital signature is a type of digital signature that is kept separate from the signed data, unlike a full digital signature that is embedded in the file itself.
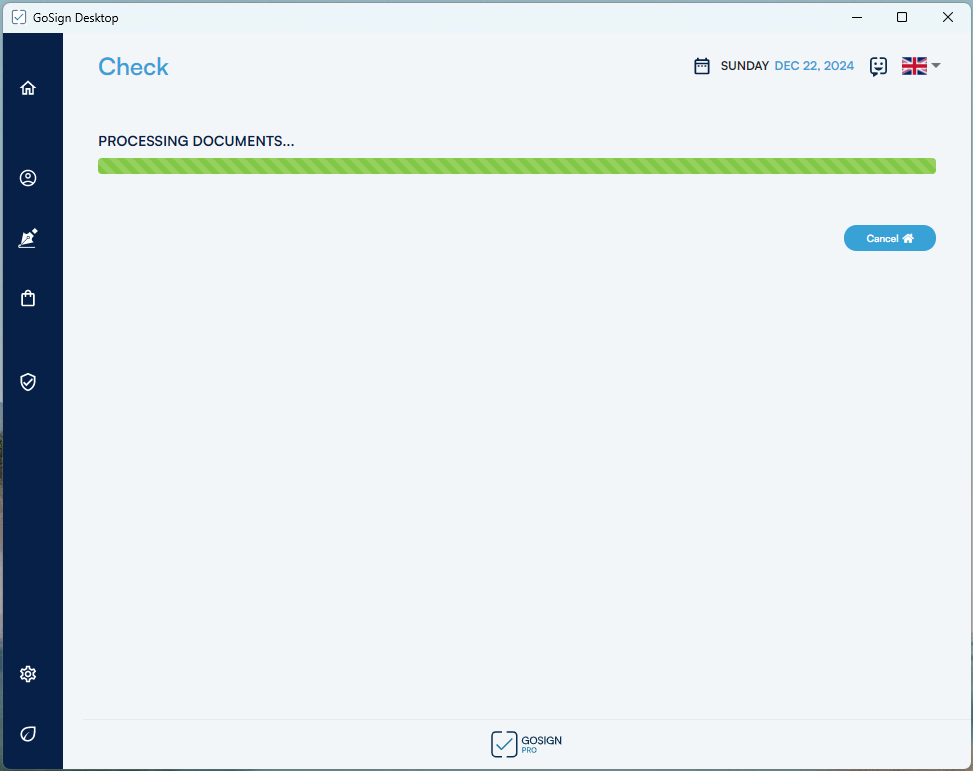
The system checks whether there are signatures on the selected file.
Once the verification phase is completed, the system returns the result of the operation and allows the user 3 ways to view the returned reports:
At the bottom, the counter of available qualified checks updated to the last operation performed is visible in the yellow box.
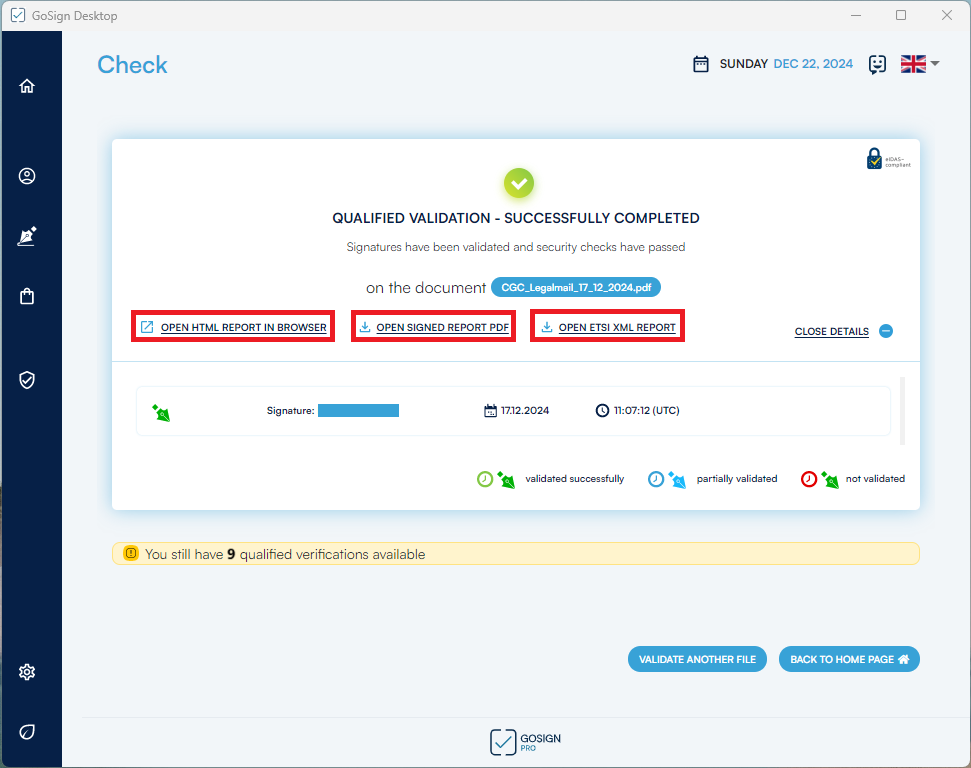
By selecting this option, the system opens a web page and displays the report with all the details about the signature placed in the document.
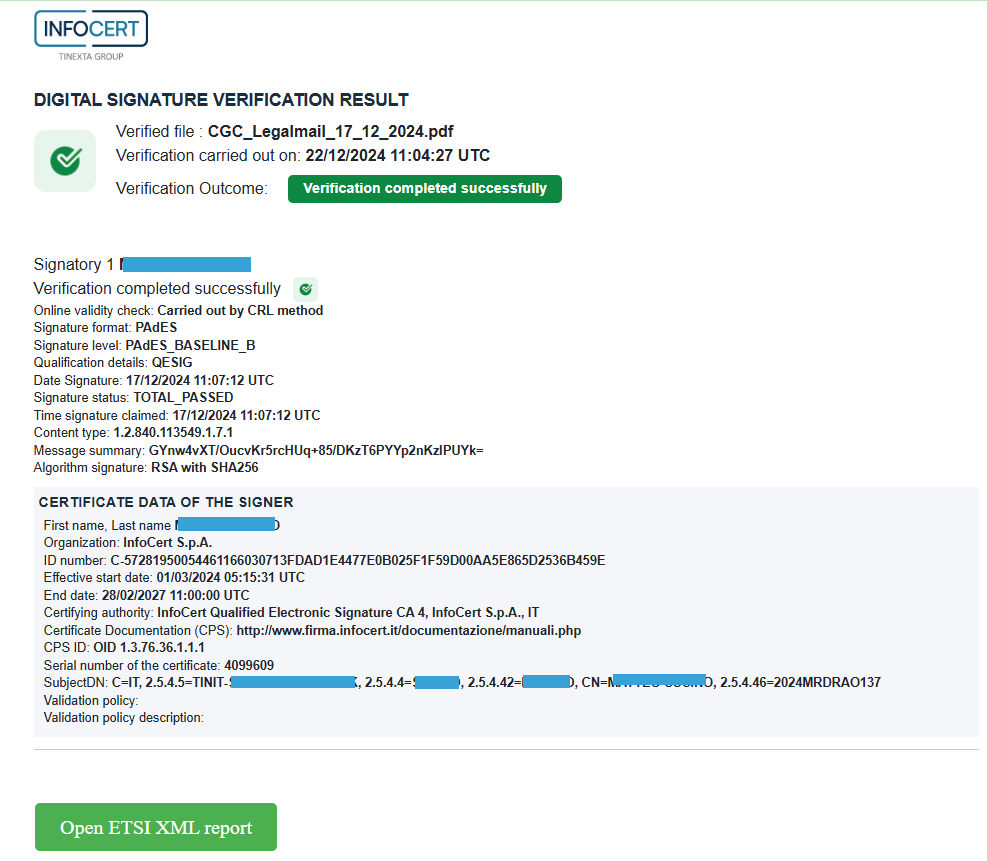
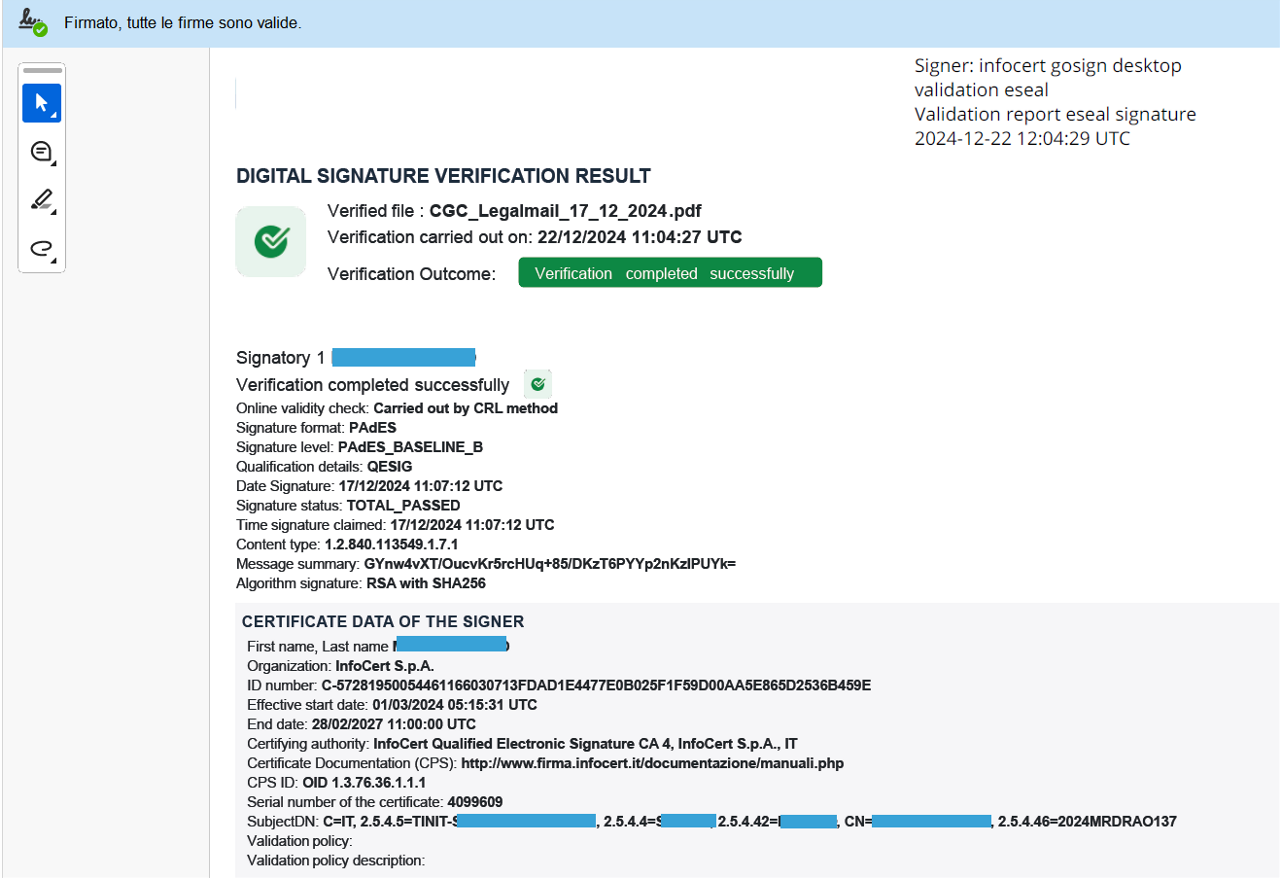
In this mode, the qualified verification report is opened with the PDF reading program installed on your PC (e.g. Adobe Reader).
The Qualified Verification report is a certification issued by a QTSP (Qualified Trust Service Providers) such as InfoCert that officially guarantees the result of the verification. Furthermore, it has full legal validity and offers irrefutable proof of the verification performed, ensuring maximum security and reliability for your business processes.
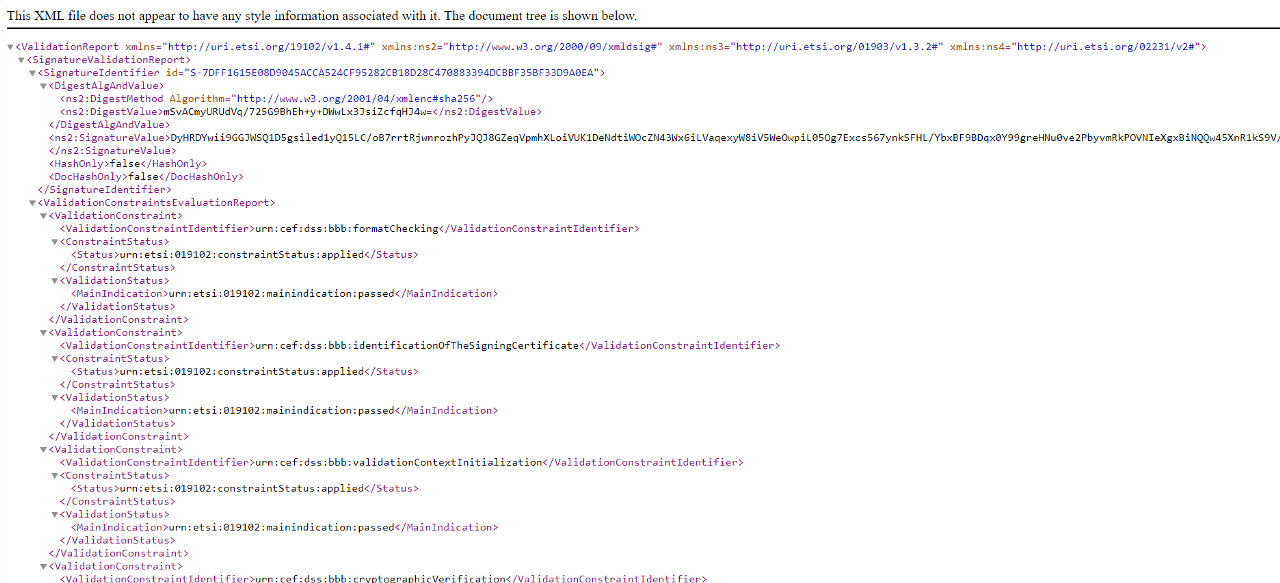
Con la modalità XML (Extensible Markup Language) il documento viene mostrato come di seguito:
From the left side menu, under "Qualified validation archive" you will find the list of qualified checks performed.

