 How can I import and receive invoices in Legalinvoice Germany?
Your suppliers can send their digital invoice from their software to yours through the Peppol network. They only need the unique identifier with which your business is registered on the Peppol network.
You can see which suppliers are connected to the Peppol network in your Supplier List.
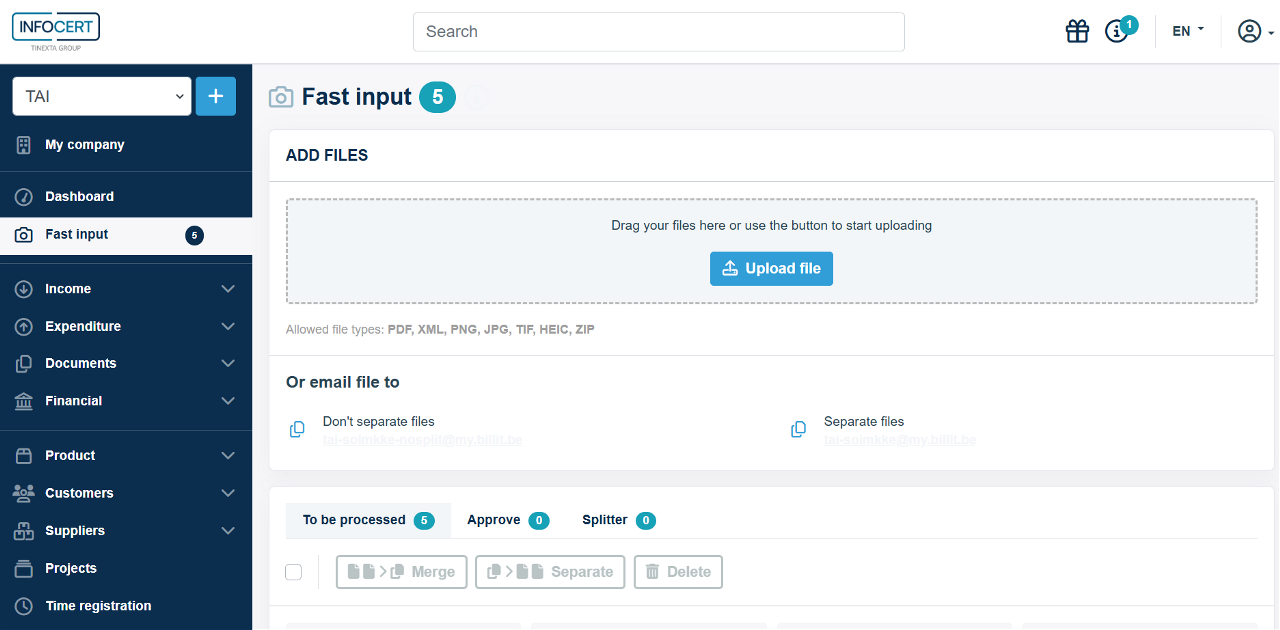
You can upload a document by dragging it into the gray-blue box or by clicking the 'Upload File' button and selecting a document from your computer.
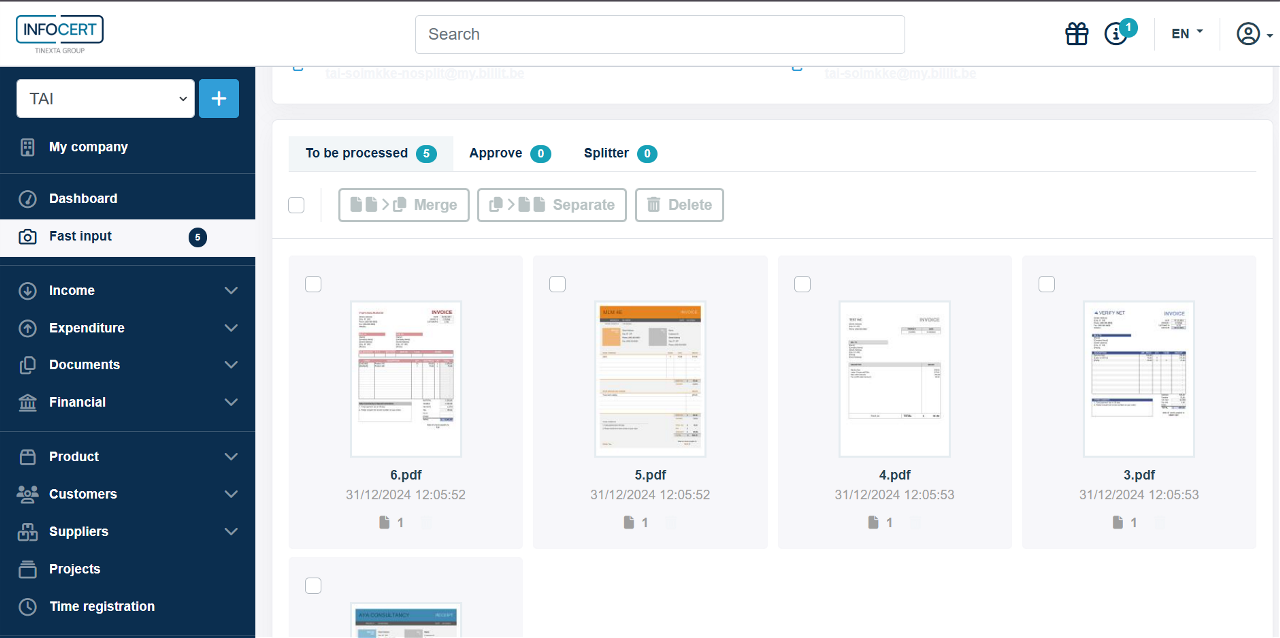
The file will automatically end up in the tab you have opened at the bottom ('To process', 'Approve', or 'Splitter').
Discover the full process here.

You can also send or have your files sent to one of the unique e-mail addresses for quick entry. This way, all your purchase invoices automatically end up in your quick entry.
These e-mail addresses are unique to your company and consist of complex letter combinations to prevent unwanted e-mails from entering your quick entry. You can also create a new address with an easier name for your suppliers (e.g., billing@yourcompany.com) and from there manually or automatically forward your invoices to the quick entry e-mail address.
How you automatically forward e-mails depends on the e-mail service you use.
Files with more than three pages that you split are initially forwarded to the 'Splitter' tab.
You can also merge pages into one file later by indicating which pages belong together with the checkbox and clicking the 'Merge' button during processing in the 'To process' tab.

(*) NOTE: Files with more than 99 pages are ALWAYS sent to the 'Splitter' tab, even if sent via the 'Do not split files' e-mail address.
If you use your e-mail address to send invoices, you can also have your inbox scanned for e-mails containing invoices.
When this option is activated, the system scans your inbox or a specified folder for e-mails every 60 minutes, where the subject or body contains the words 'Invoice' or 'Credit Note'. The attachments of those e-mails are automatically placed in your Quick Entry for processing. You can also set it to be automatically added to the list of expenses.
To activate this option, you must configure your e-mails to be sent from the platform.
You can find all e-mail settings by clicking on the 'Settings' menu and selecting the 'General' submenu.
NOTE: E-mail retrieval only works when configuring your e-mail server.
If you've received a physical invoice or receipt, you can easily import it with your smartphone using the Billit app or the mobile version in your browser on your smartphone.
