 Guide to Sign and Send Function on GoSign (Web)
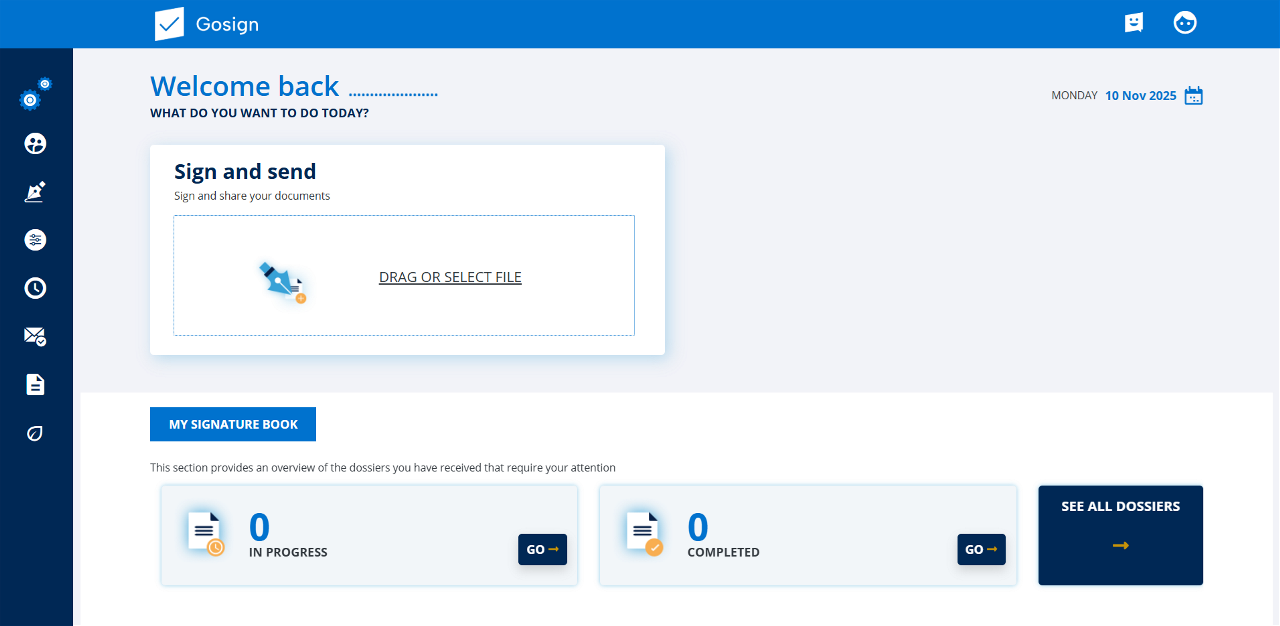
The Sign and Send function lets you sign documents and send them immediately to other users to sign them, or to the end user (e.g., a client waiting for a contract, etc.)
After login, you can upload or drag your file in the the Sign and Send section.
Uploading documents
To upload a document, click on the icon on the home page. One advantage of GoSign Web is that you can upload any type of file (.pdf, .doc, .xls, .jpg), including documents in .p7m format. However, depending on the type of document, not all types of signature will necessarily be possible. You can also upload several documents at the same time.
Additional settings
Once the document(s) have been uploaded, you can view some dossier management settings:
a dossier number is automatically generated by default;
the deadline (by which the dossier must be completed - click on the calendar icon to set the date);
the Trash icon to delete the document (you will first be asked to confirm that you want to delete it);
the Eye icon to display the uploaded document.
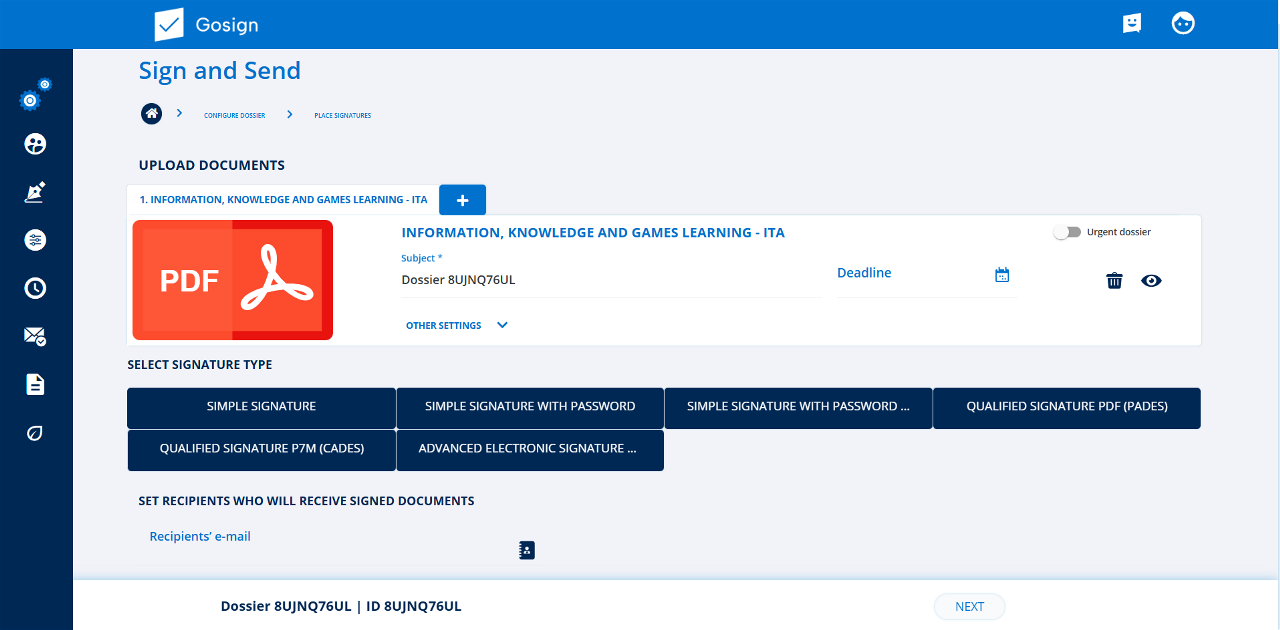
You can also assign the dossier a priority level: just switch on Urgent dossier.
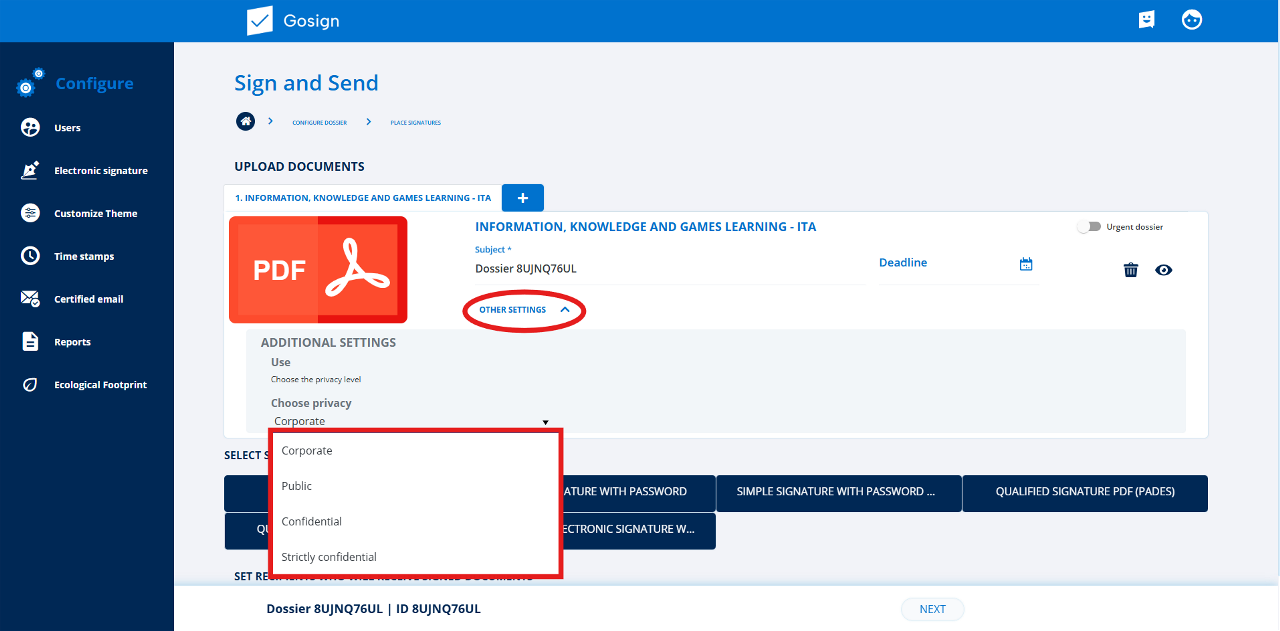
Click on OTHER SETTINGS to modify some of the dossier’s parameters:
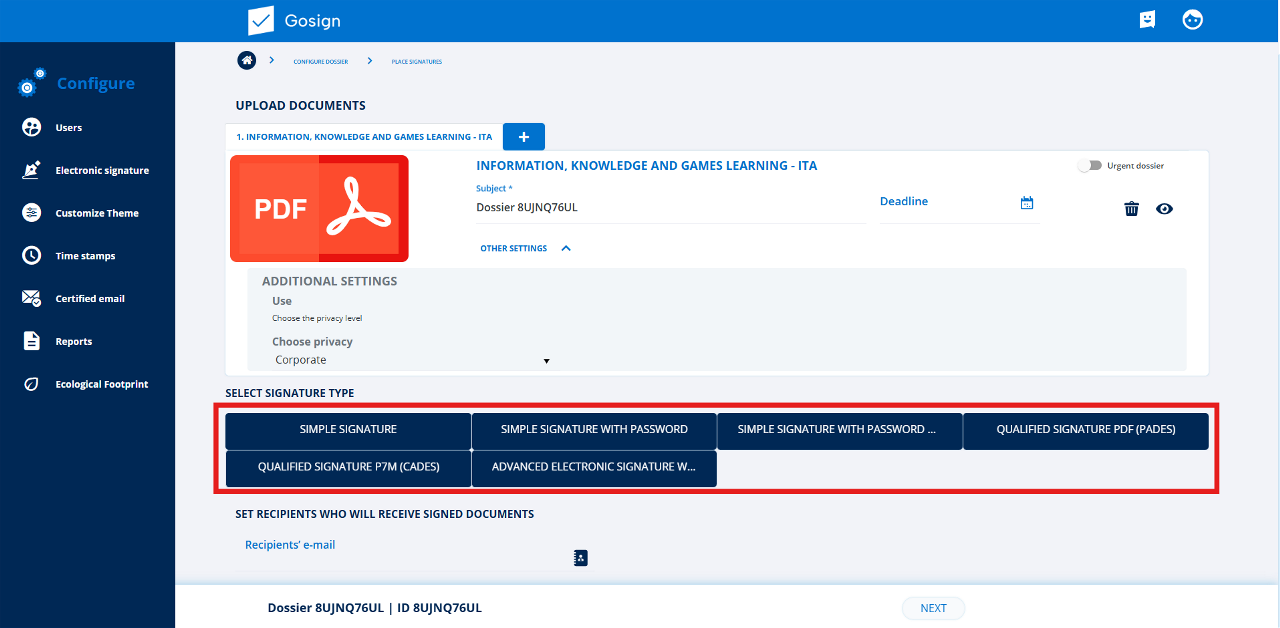
Selecting signature type
Four types of signature can be applied to dossiers. However, only two have legal value: PDF Digital Signature and P7M Digital Signature.
If the dossier is a .p7m file, the only option you can use is P7M Digital Signature.
Click on a type of signature to select it.
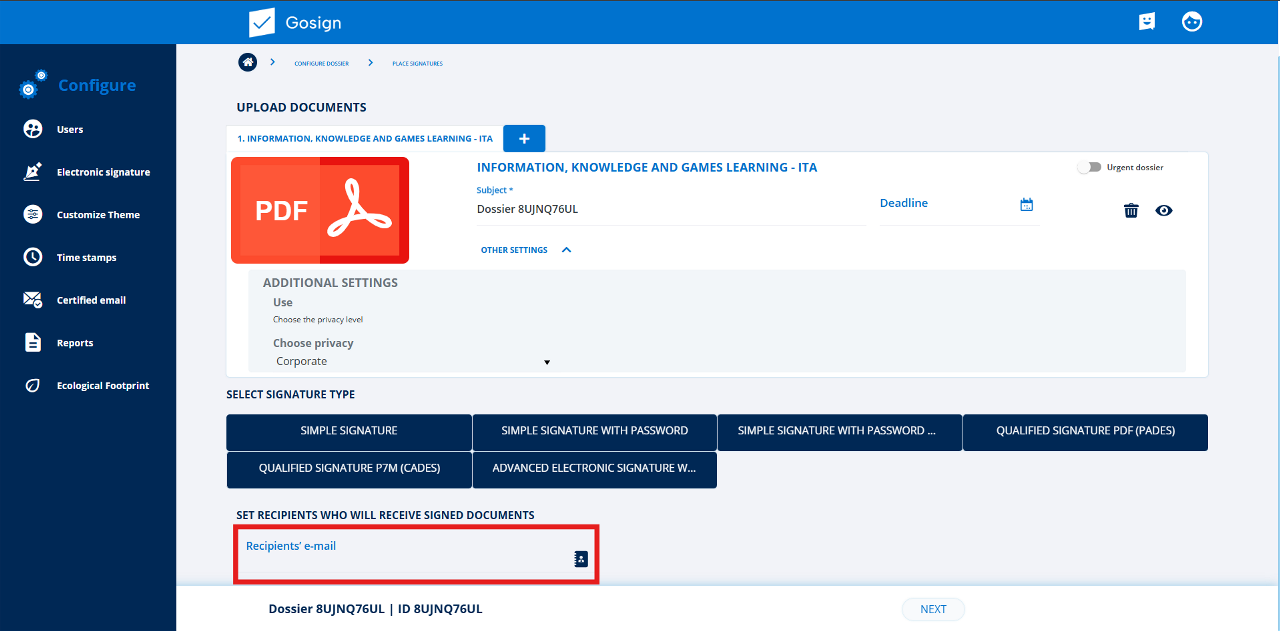
Selecting recipients
There are two ways to add recipients for the email that will contain the dossier:
Manual entry: You can enter the recipients’ email address manually, then press Enter to confirm;
Address book: Click on the Address Book icon to open the pop-up address book from which you can select recipients with a click.
To delete a recipient, click on the X next to the email address.
Once you have finished configuring the dossier, click on NEXT to sign it.
Document navigation
A preview of the document is displayed on the right side of the screen. There are some possible actions you can take on it.
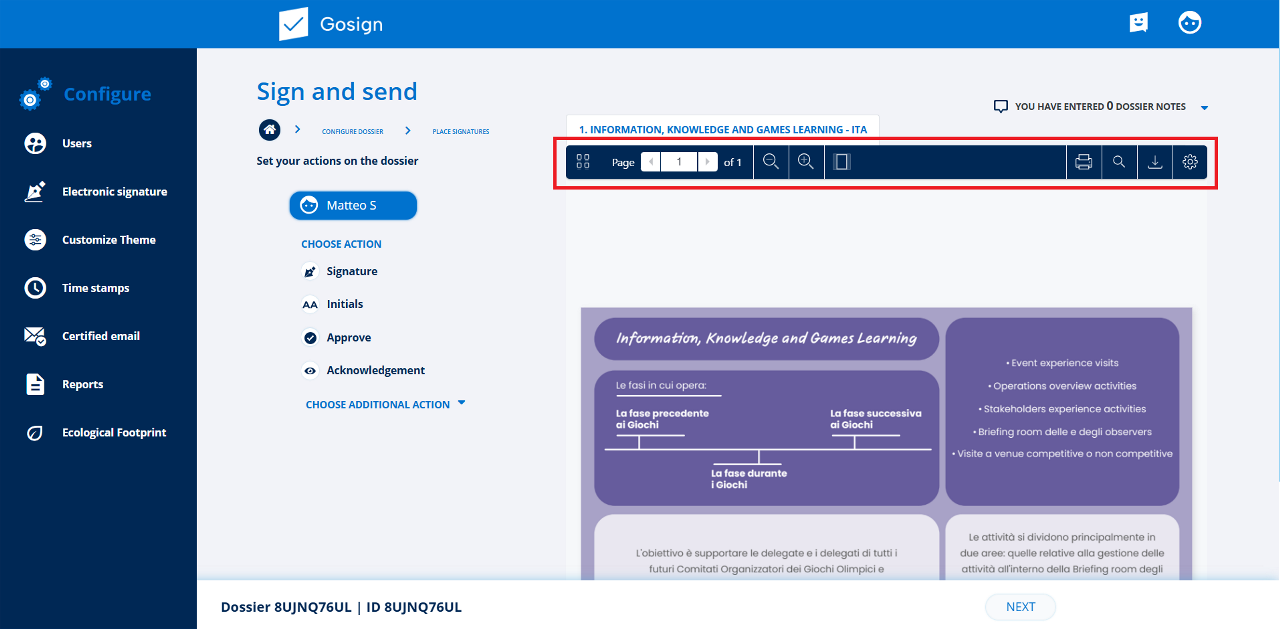
Click on the Magnifying Glass with the + and - icons to zoom in and out. Click on the Printer icon to print the document. Click on the Empty Magnifying Glass icon to search in the document.
Click on the first icon on the left to change the way the preview is displayed.
If there are several documents, click on the tab containing the name of the document you want to see to switch between them.
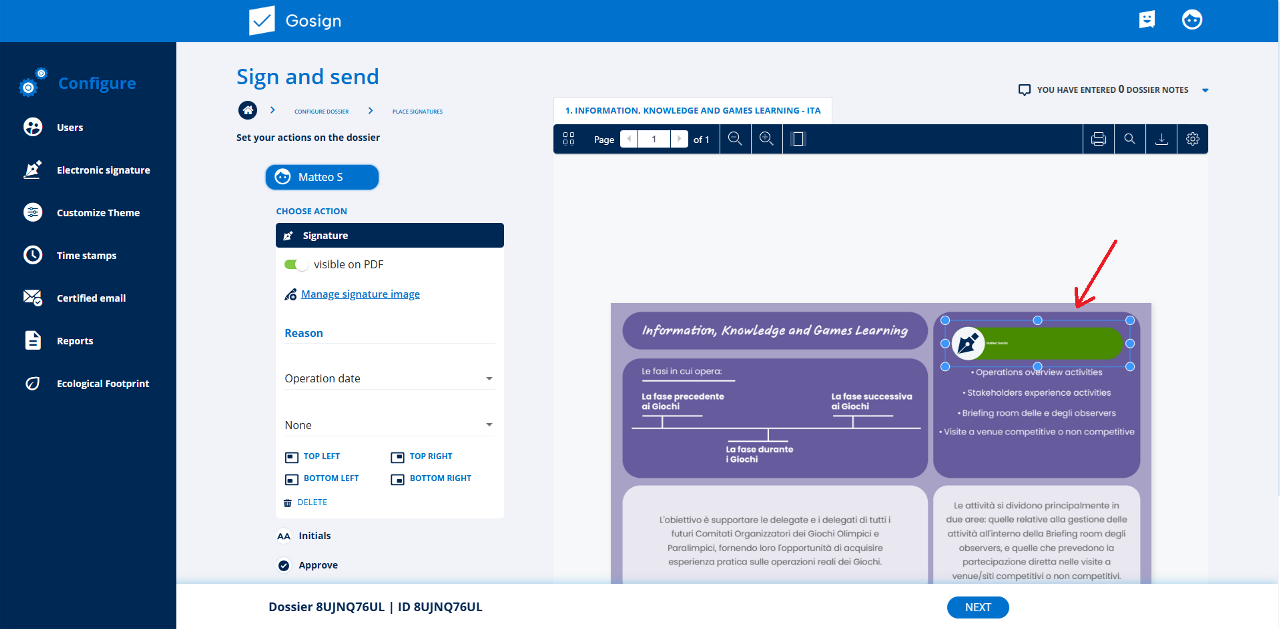
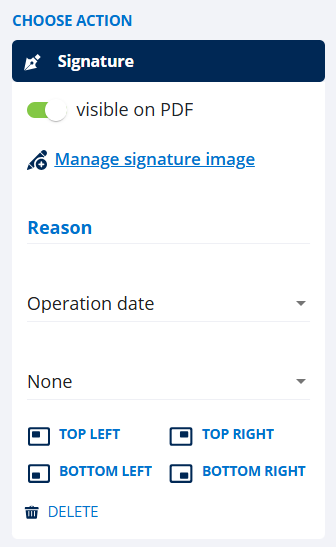
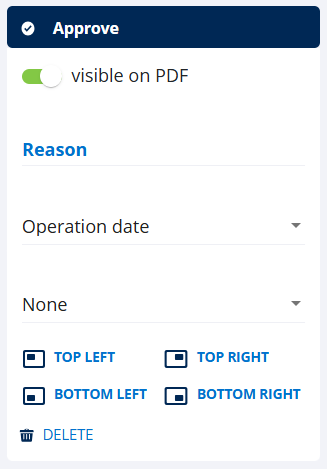
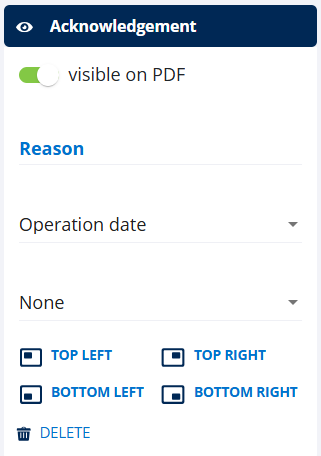
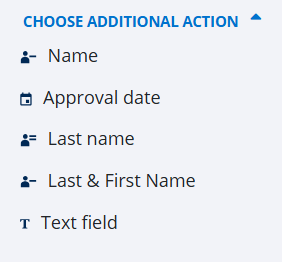
Selecting actions
Several action options are displayed to the left of the document preview:

Additional information
You can also add notes to the dossier. To add a note, click on YOU HAVE ENTERED 0 DOSSIER NOTES to open a text box.
Selecting a Signature Certificate and entering the PIN
You can to choose Signature with Device or Remote Signature to sign the dossier.
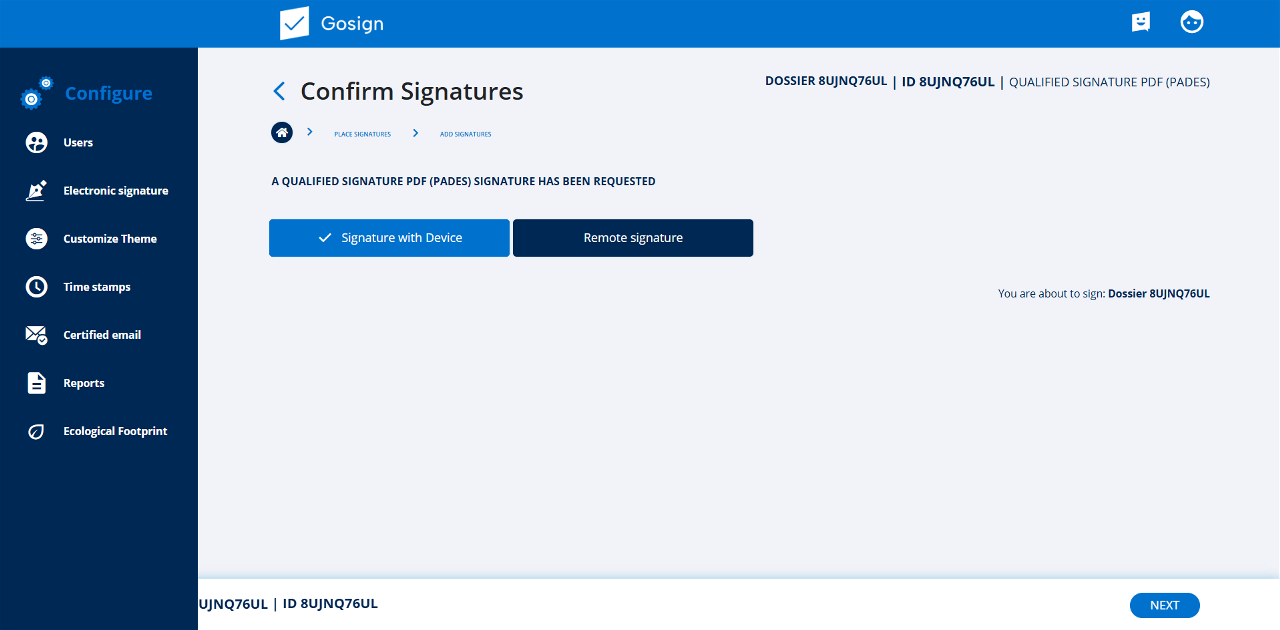
Once you have chosen a signature type, click on NEXT to continue.
If you choose Remote Signature / QES signature, you will be contacted via the My Infocert app on your cell phone to authorise the signature.
At the end of the signature operations, the file and the signed documents will be sent to the selected recipients. I will be able to find copies of the documents in the My Book Signature section, among the completed practices located in the lower section of the Homepage.
To logout to the application, simply click on the Logout command available among the commands of the personal menu.

